How to Deploy Flowise to Koyeb to Create Custom AI Workflows
Introduction
Flowise is an open-source, low-code tool for building customized LLM orchestration flows and AI agents. Through an interactive UI, you can bring together the best AI-based technologies to create novel processing pipelines and create context-aware chatbots with just a few clicks.
In this guide, we will demonstrate how to deploy Flowise to Koyeb to make it easy to build and share workflows and chatbots with users anywhere in the world. We will deploy a PostgreSQL database to persist our workflows, AI agents, and credentials. Afterwards, we will deploy the Flowise Docker image, configured with authentication, providing an internet-accessible instance of the platform.
You can deploy the application from this guide with our Flowise One-Click app or by clicking the Deploy to Koyeb button below:

Be sure to modify all of the environment variables values set to CHANGE_ME to reflect your own data. You can consult the information in this guide if you need additional information.
Requirements
To successfully follow and complete this guide, you need:
- A Koyeb account to provision the PostgreSQL database and the Flowise application.
- An OpenAI API key to test Flowise functionality.
Steps
To complete this guide and deploy Flowise, you'll need to follow these steps:
Provision a PostgreSQL database on Koyeb
Before we can deploy Flowise, we need to provision a PostgreSQL database that we can use to persist application data including orchestration workflows, chat history, and credentials for AI providers. We will use Koyeb's PostgreSQL service which includes a Free instance type to get started.
To deploy a new PostgreSQL database, on the Overview tab of the Koyeb control panel, click Create Database Service. Choose a name for the service and choose the region closest to you or your users.
Once the database is provisioned, click on the .env option of the Connection Details tab. Click the copy icon to save the connection details for later.
Deploy Flowise to Koyeb
Now that we have the connection details for a PostgreSQL database, we can deploy Flowise to Koyeb.
On the Overview tab of the Koyeb control panel, click Create Web Service to begin:
-
Select Docker as the deployment method.
-
Set the Docker image to
docker.io/flowiseai/flowise. Optionally, append an image tag if you'd like to deploy a specific version. -
In the Deployment section, click the Override toggle associated with Command and enter
flowisein the field. Click the Override toggle associated with Command args and enterstartin the field. -
In the Environment variables and files section, click Bulk edit to enter multiple environment variables at once. In the text box that appears, paste the following:
APIKEY_PATH=/root/.flowise
DATABASE_TYPE=postgres
DATABASE_SSL=true
DATABASE_HOST=
DATABASE_PORT=5432
DATABASE_USER=koyeb-adm
DATABASE_PASSWORD=
DATABASE_NAME=koyebdb
FLOWISE_SECRETKEY_OVERWRITE=
FLOWISE_USERNAME=
FLOWISE_PASSWORD=
Set the variable values to reference your own information as follows:
APIKEY_PATH: Set to the directory in the Docker image to store Flowise API information. This should be/root/.flowise.DATABASE_TYPE: Set topostgres.DATABASE_SSL: Set totrue.DATABASE_HOST: Set to the PostgreSQL host copied from the Koyeb PostgreSQL connection details.DATABASE_PORT: Set to the port PostgreSQL is listening to. This will be 5432 by default.DATABASE_USER: Set to the PostgreSQL username copied from the Koyeb PostgreSQL connection details. This will bekoyeb-admby default if you didn't change it during provisioning.DATABASE_PASSWORD: Set to the PostgreSQL password copied from the Koyeb PostgreSQL connection details.DATABASE_NAME: Set to the PostgreSQL database name to connect to. This will bekoyebdbby default.FLOWISE_SECRETKEY_OVERWRITE: Set this to a random string that will be used to encrypt the credentials stored within the PostgreSQL database. You need to provide the same key whenever redeploying to be able to decrypt the credential information.FLOWISE_USERNAME: Set this to the username you want to use to authenticate to the Flowise instance.FLOWISE_PASSWORD: Set this to the password you want to use to authenticate to the Flowise instance.
-
In the Instance section, select size Small or larger.
-
Choose a name for the App and Service, for example
flowise-on-koyeb, and click Deploy.
Koyeb will pull the Flowise Docker image from Docker Hub and deploy it using the configuration you provided. During the deployment process, Flowise will connect to the PostgreSQL database and initialize it to create the necessary data structures.
Once the deployment is healthy, visit your Koyeb Service's subdomain (you can find this on your Service's detail page). It will have the following format:
https://<YOUR_APP_NAME>-<KOYEB_ORG_NAME>.koyeb.app
You should see a Flowise landing page, protected by an authentication challenge. Enter the username and password you chose earlier to log in.
Test Flowise Chatflows
Now that you have a Flowise instance, you can begin to use the platform to build complex workflows and AI agents. We can test out the basic functionality using a relatively simple flow.
Add your OpenAI API key
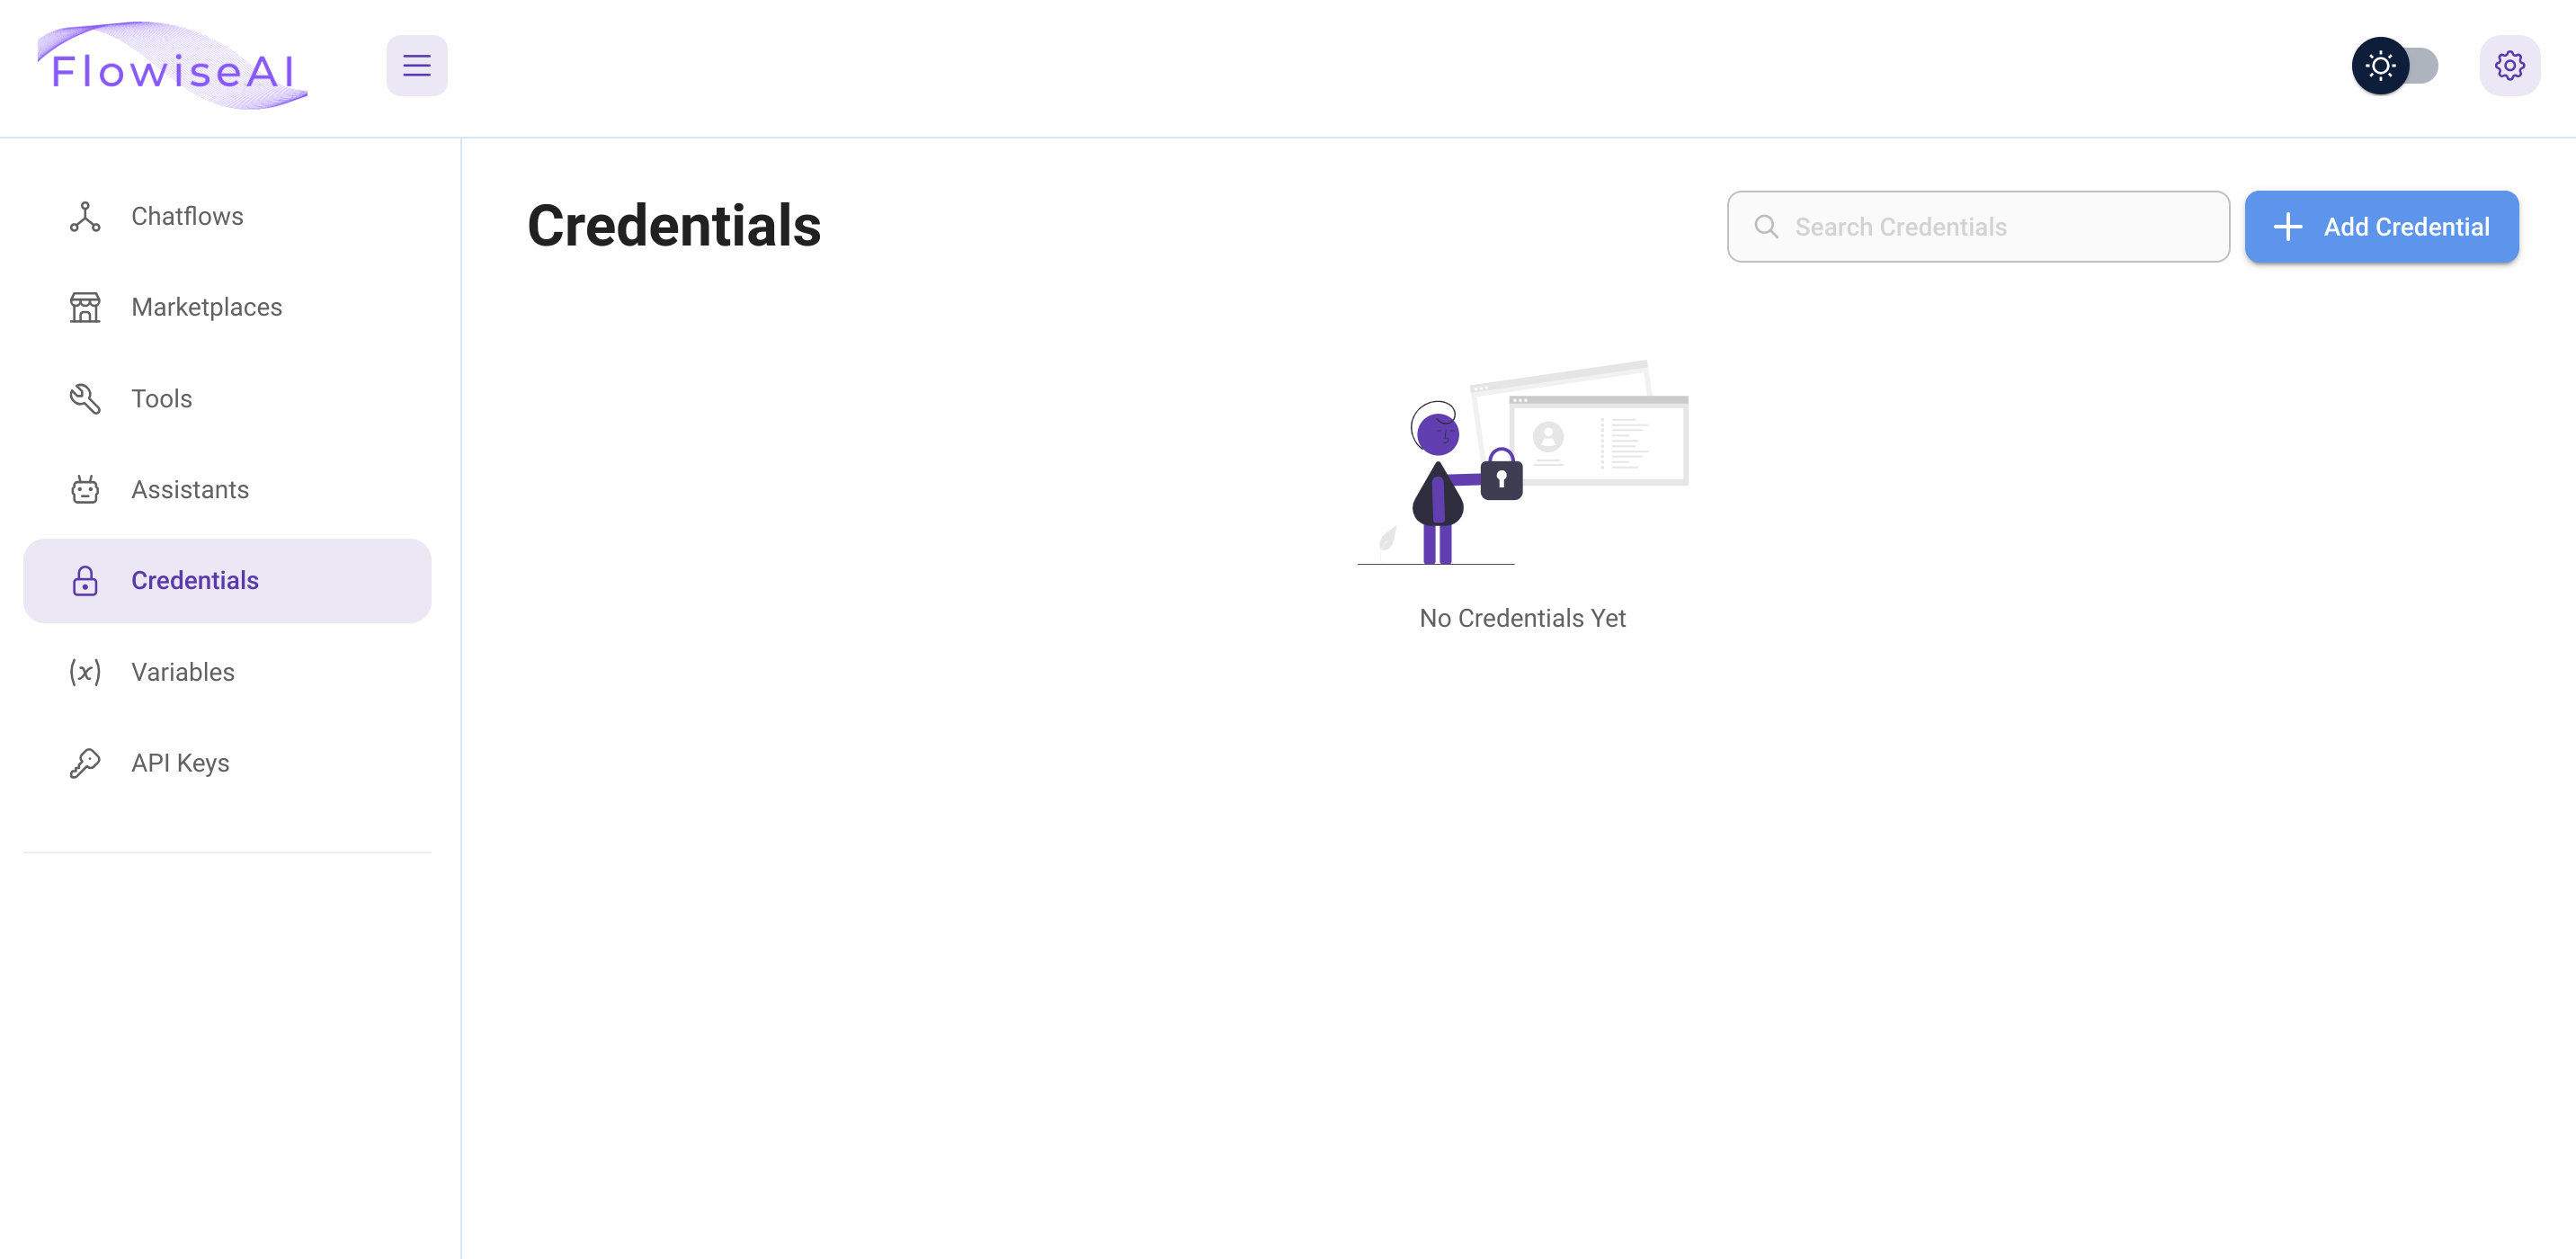
First, navigate to the Credentials page from the left-hand menu. On the Credentials page, click Add Credential:
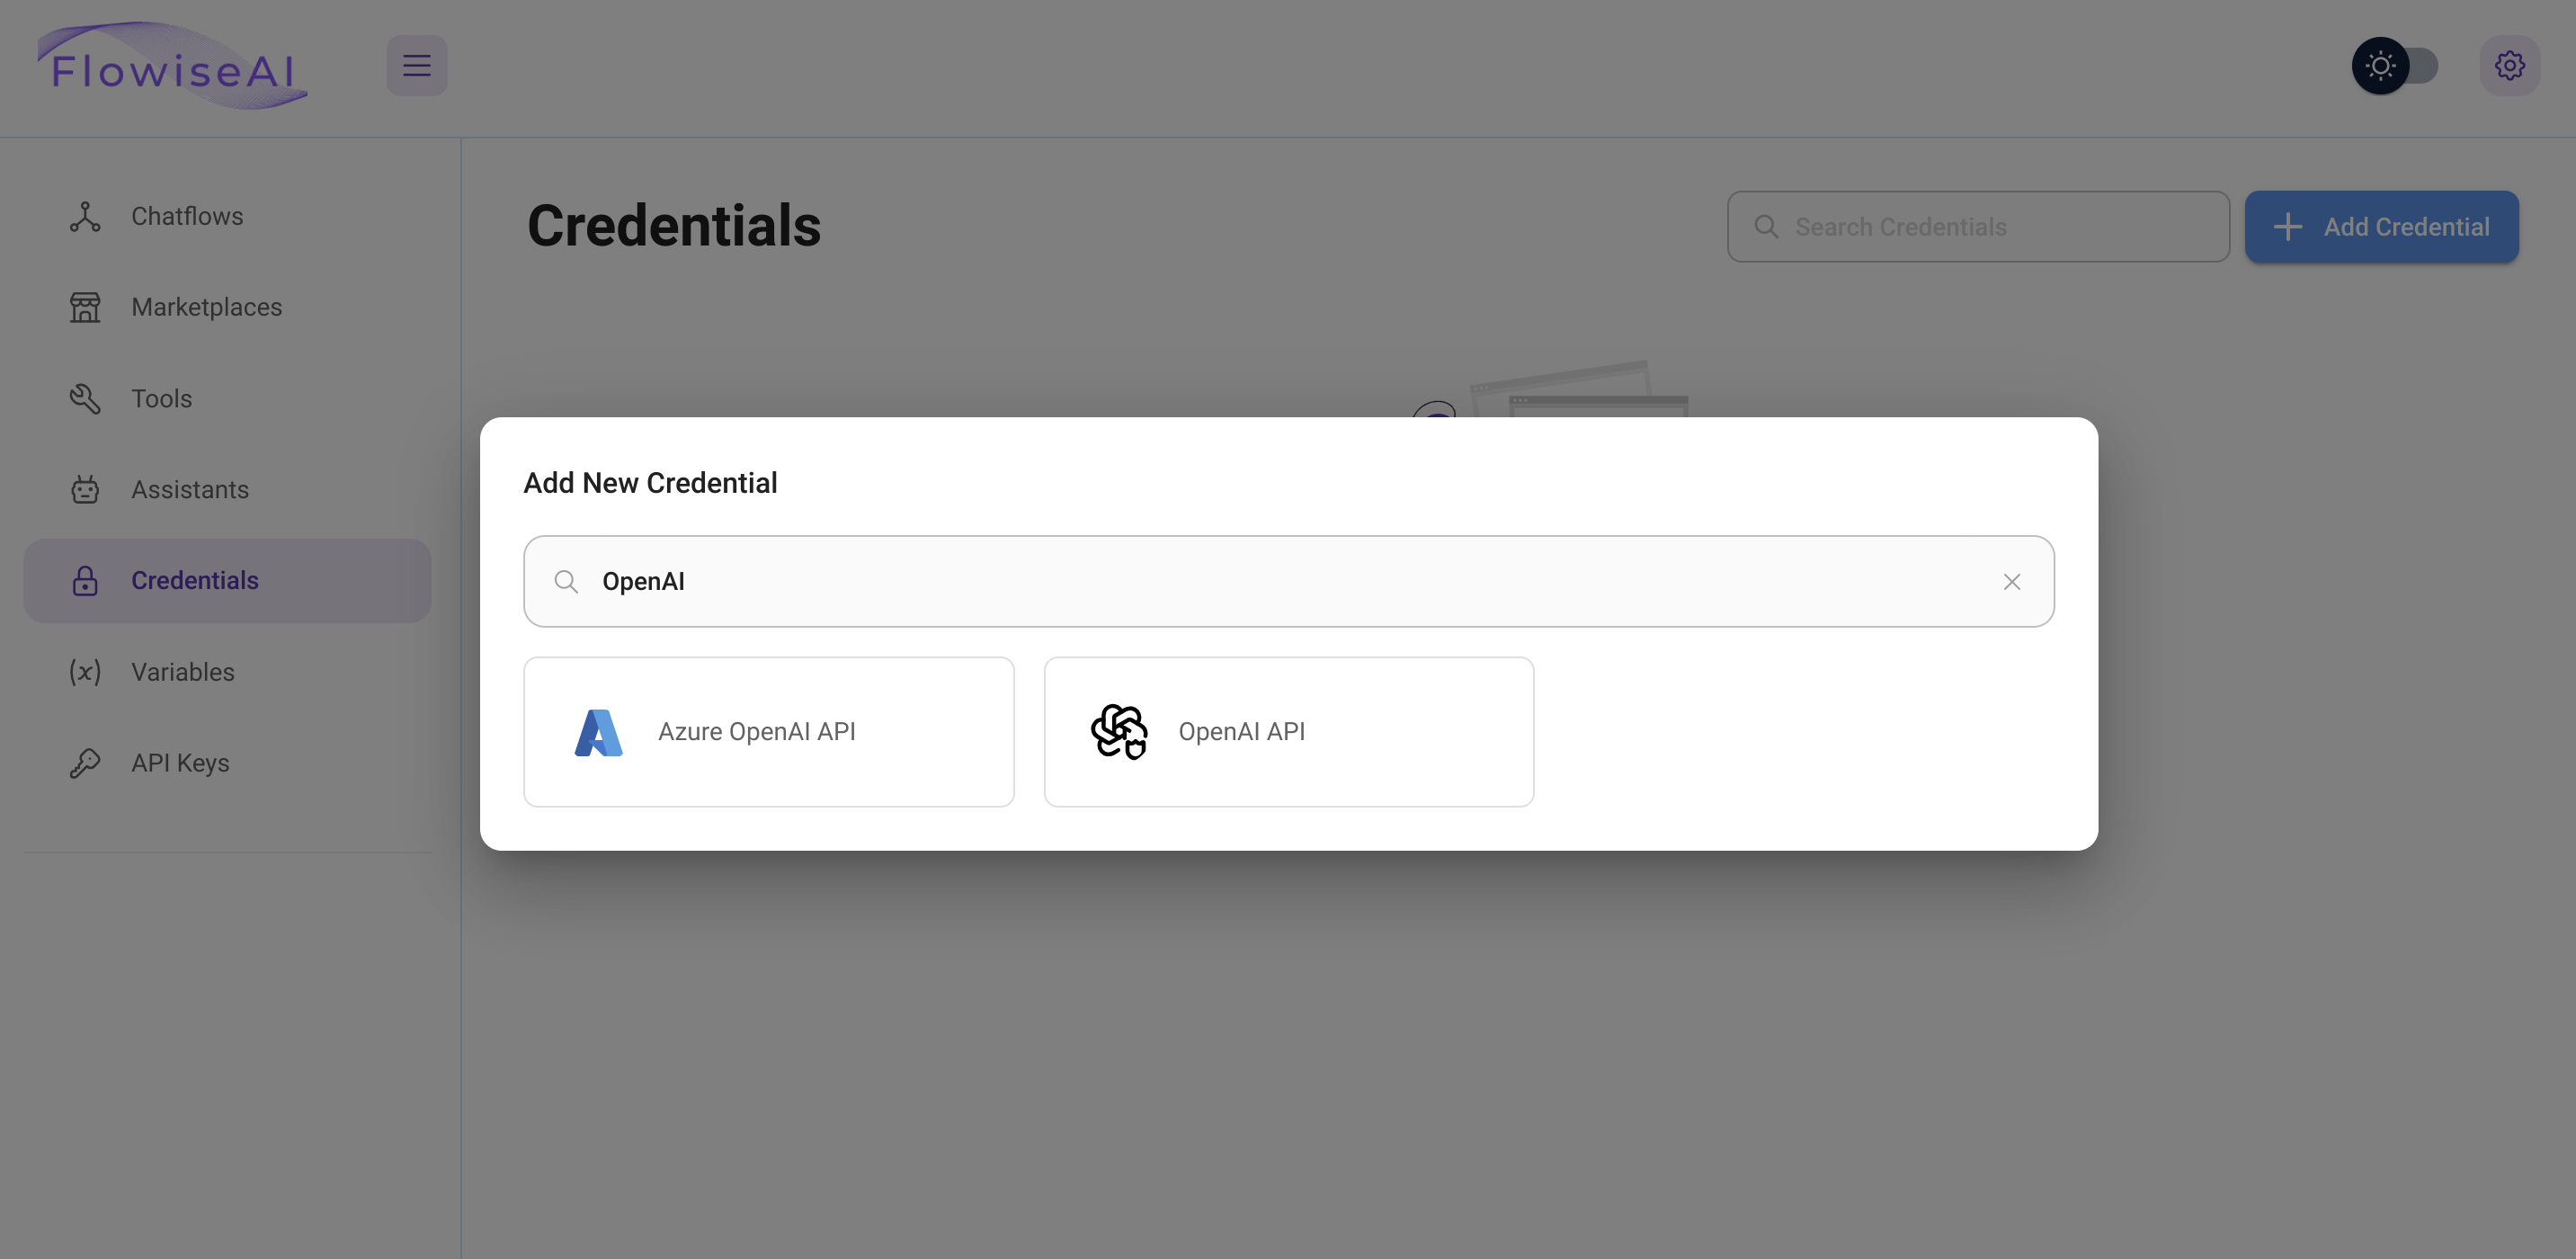
In the search field, enter "OpenAI" to filter the available options. Select OpenAI API to continue:
Choose a name for the new key (for example OPENAI_API_KEY) and enter your key in the appropriate field. Click Add when you're ready:

Choose a workflow template
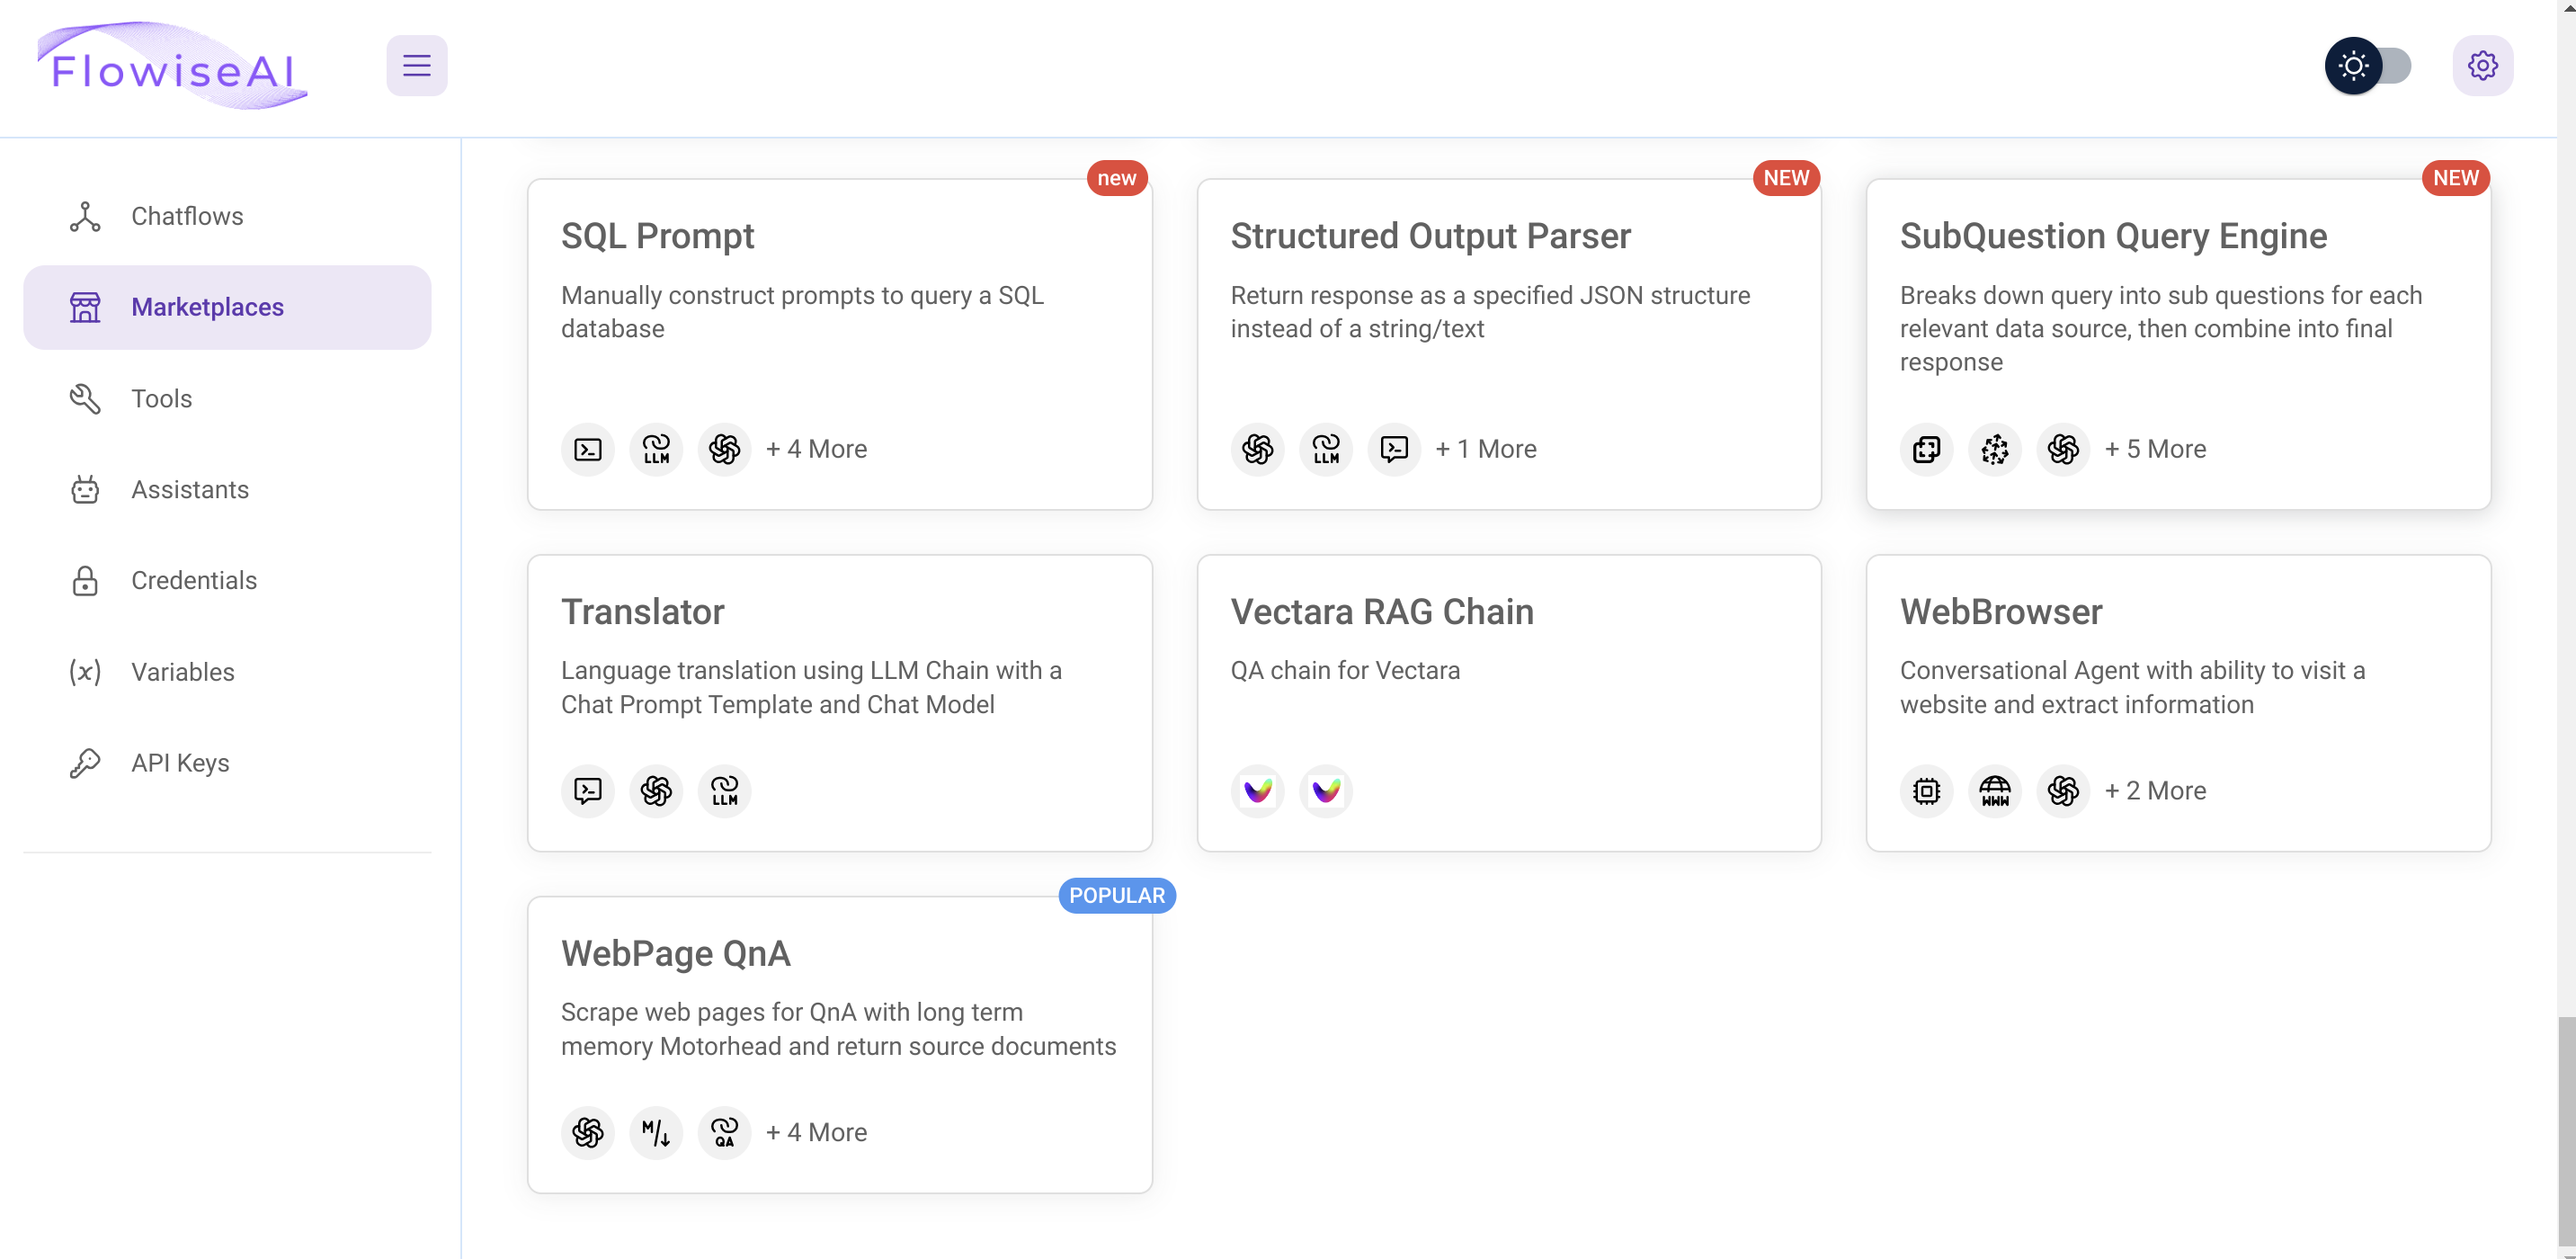
Next, visit the Marketplaces page in the left-hand menu. Find the Translator template and click to select it:
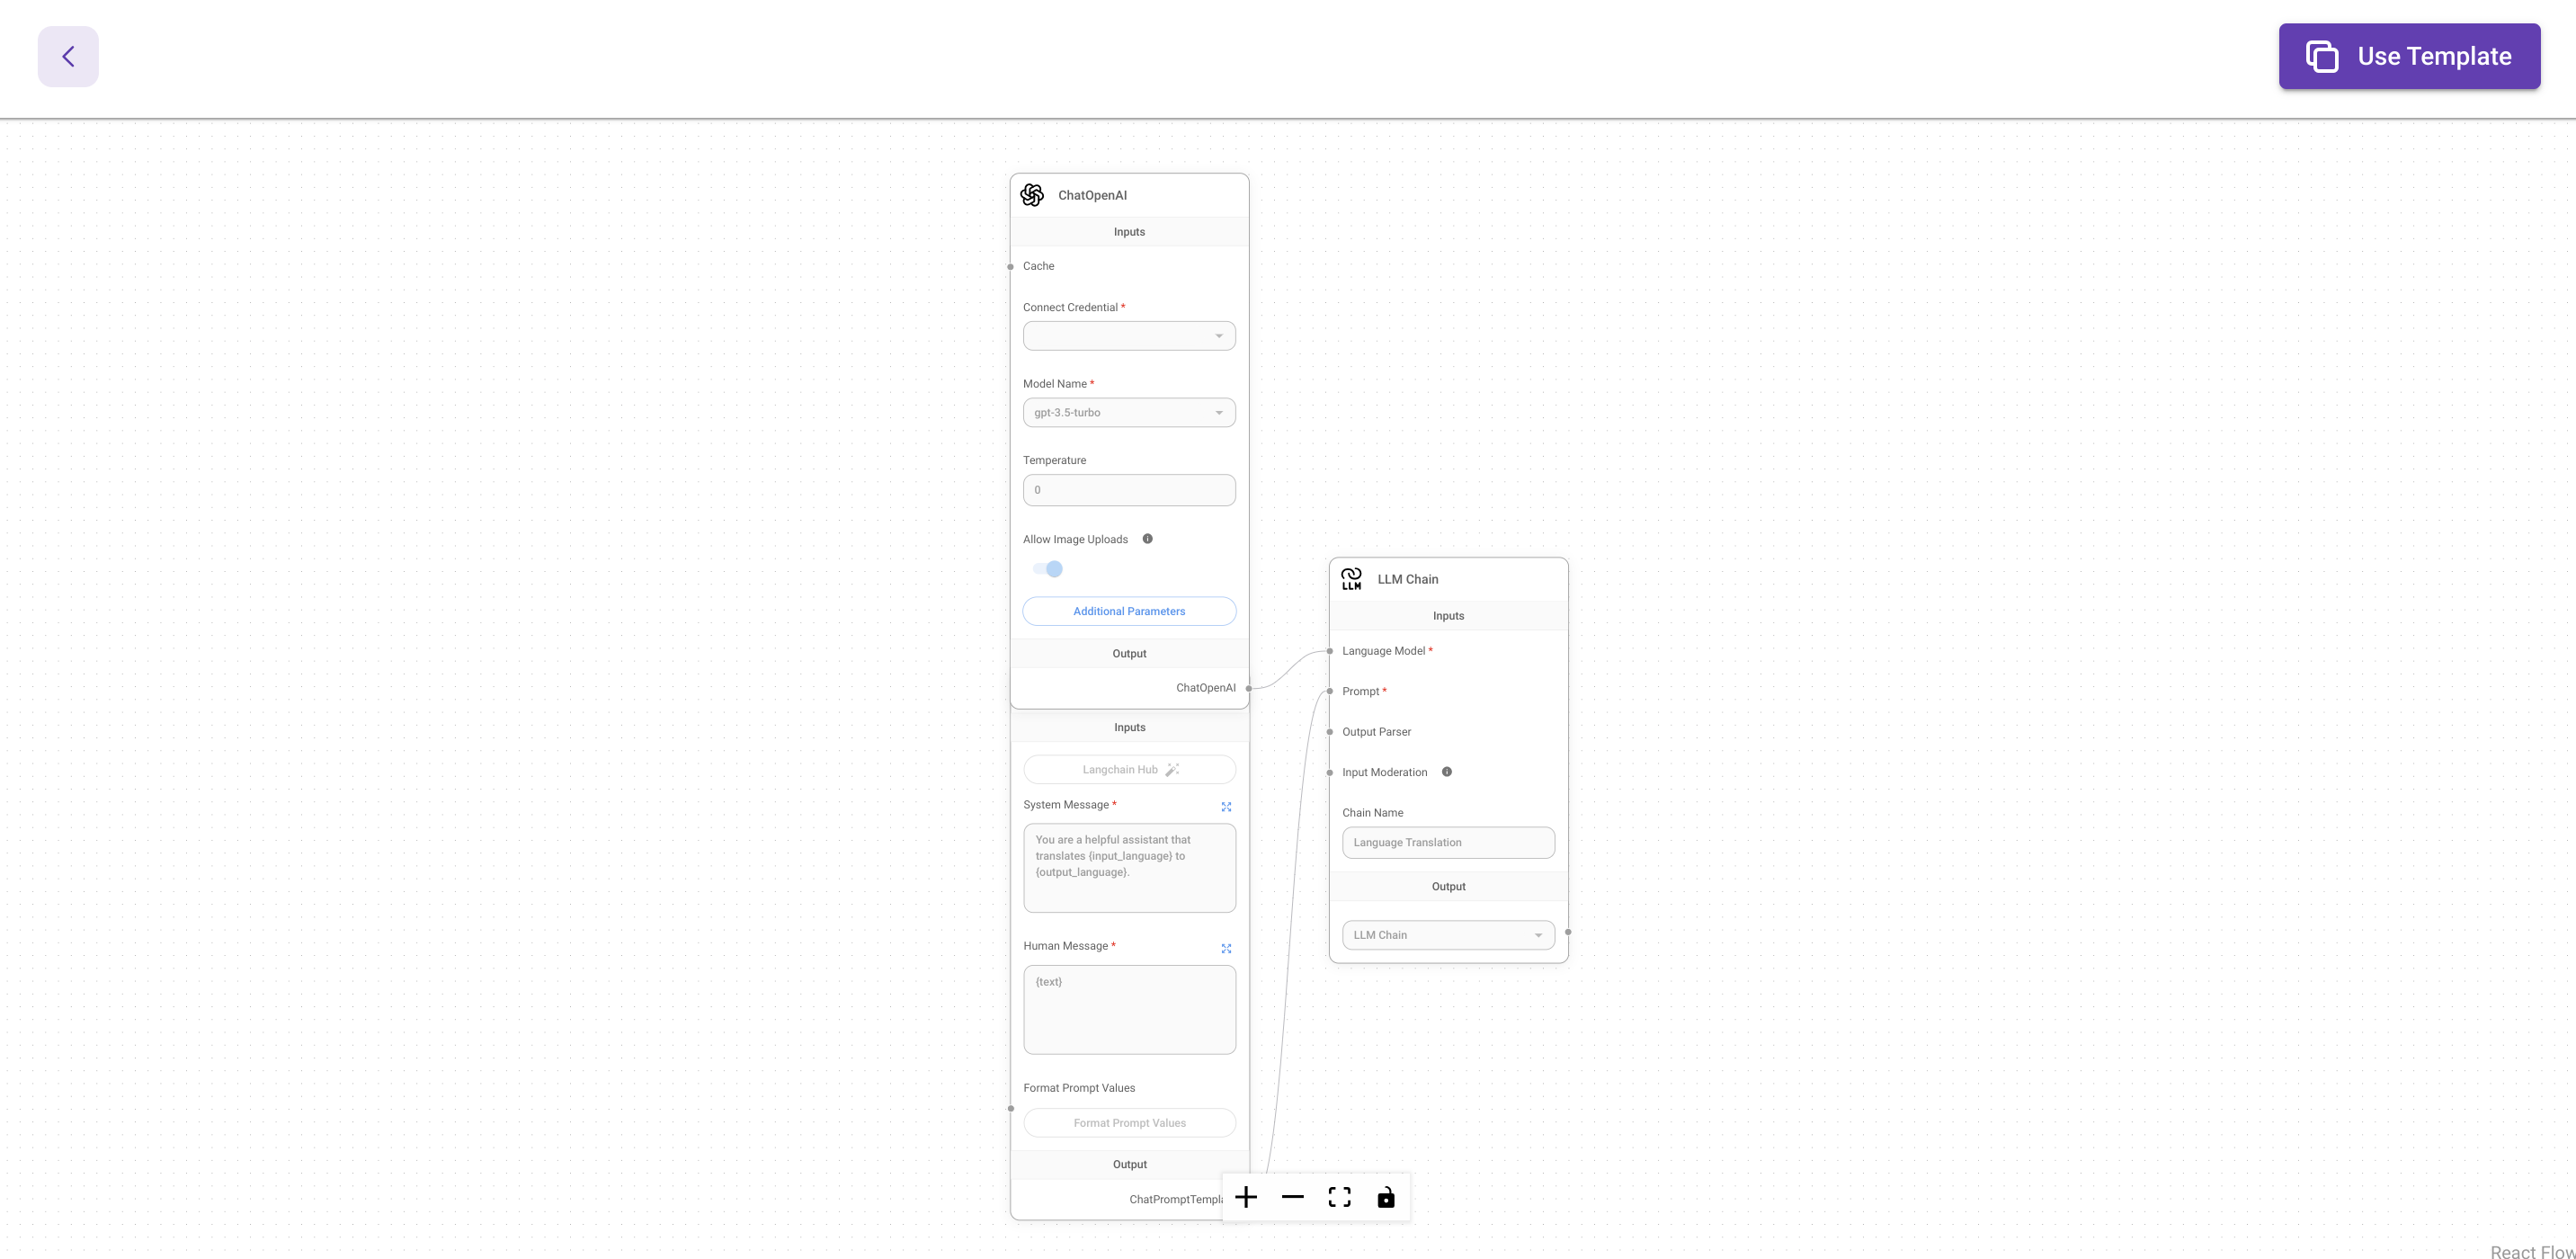
You will be taken to the template's overview page where you can see the different components that are used and how they fit together. Click Use Template to copy the template to your workflows:
Customize the workflow
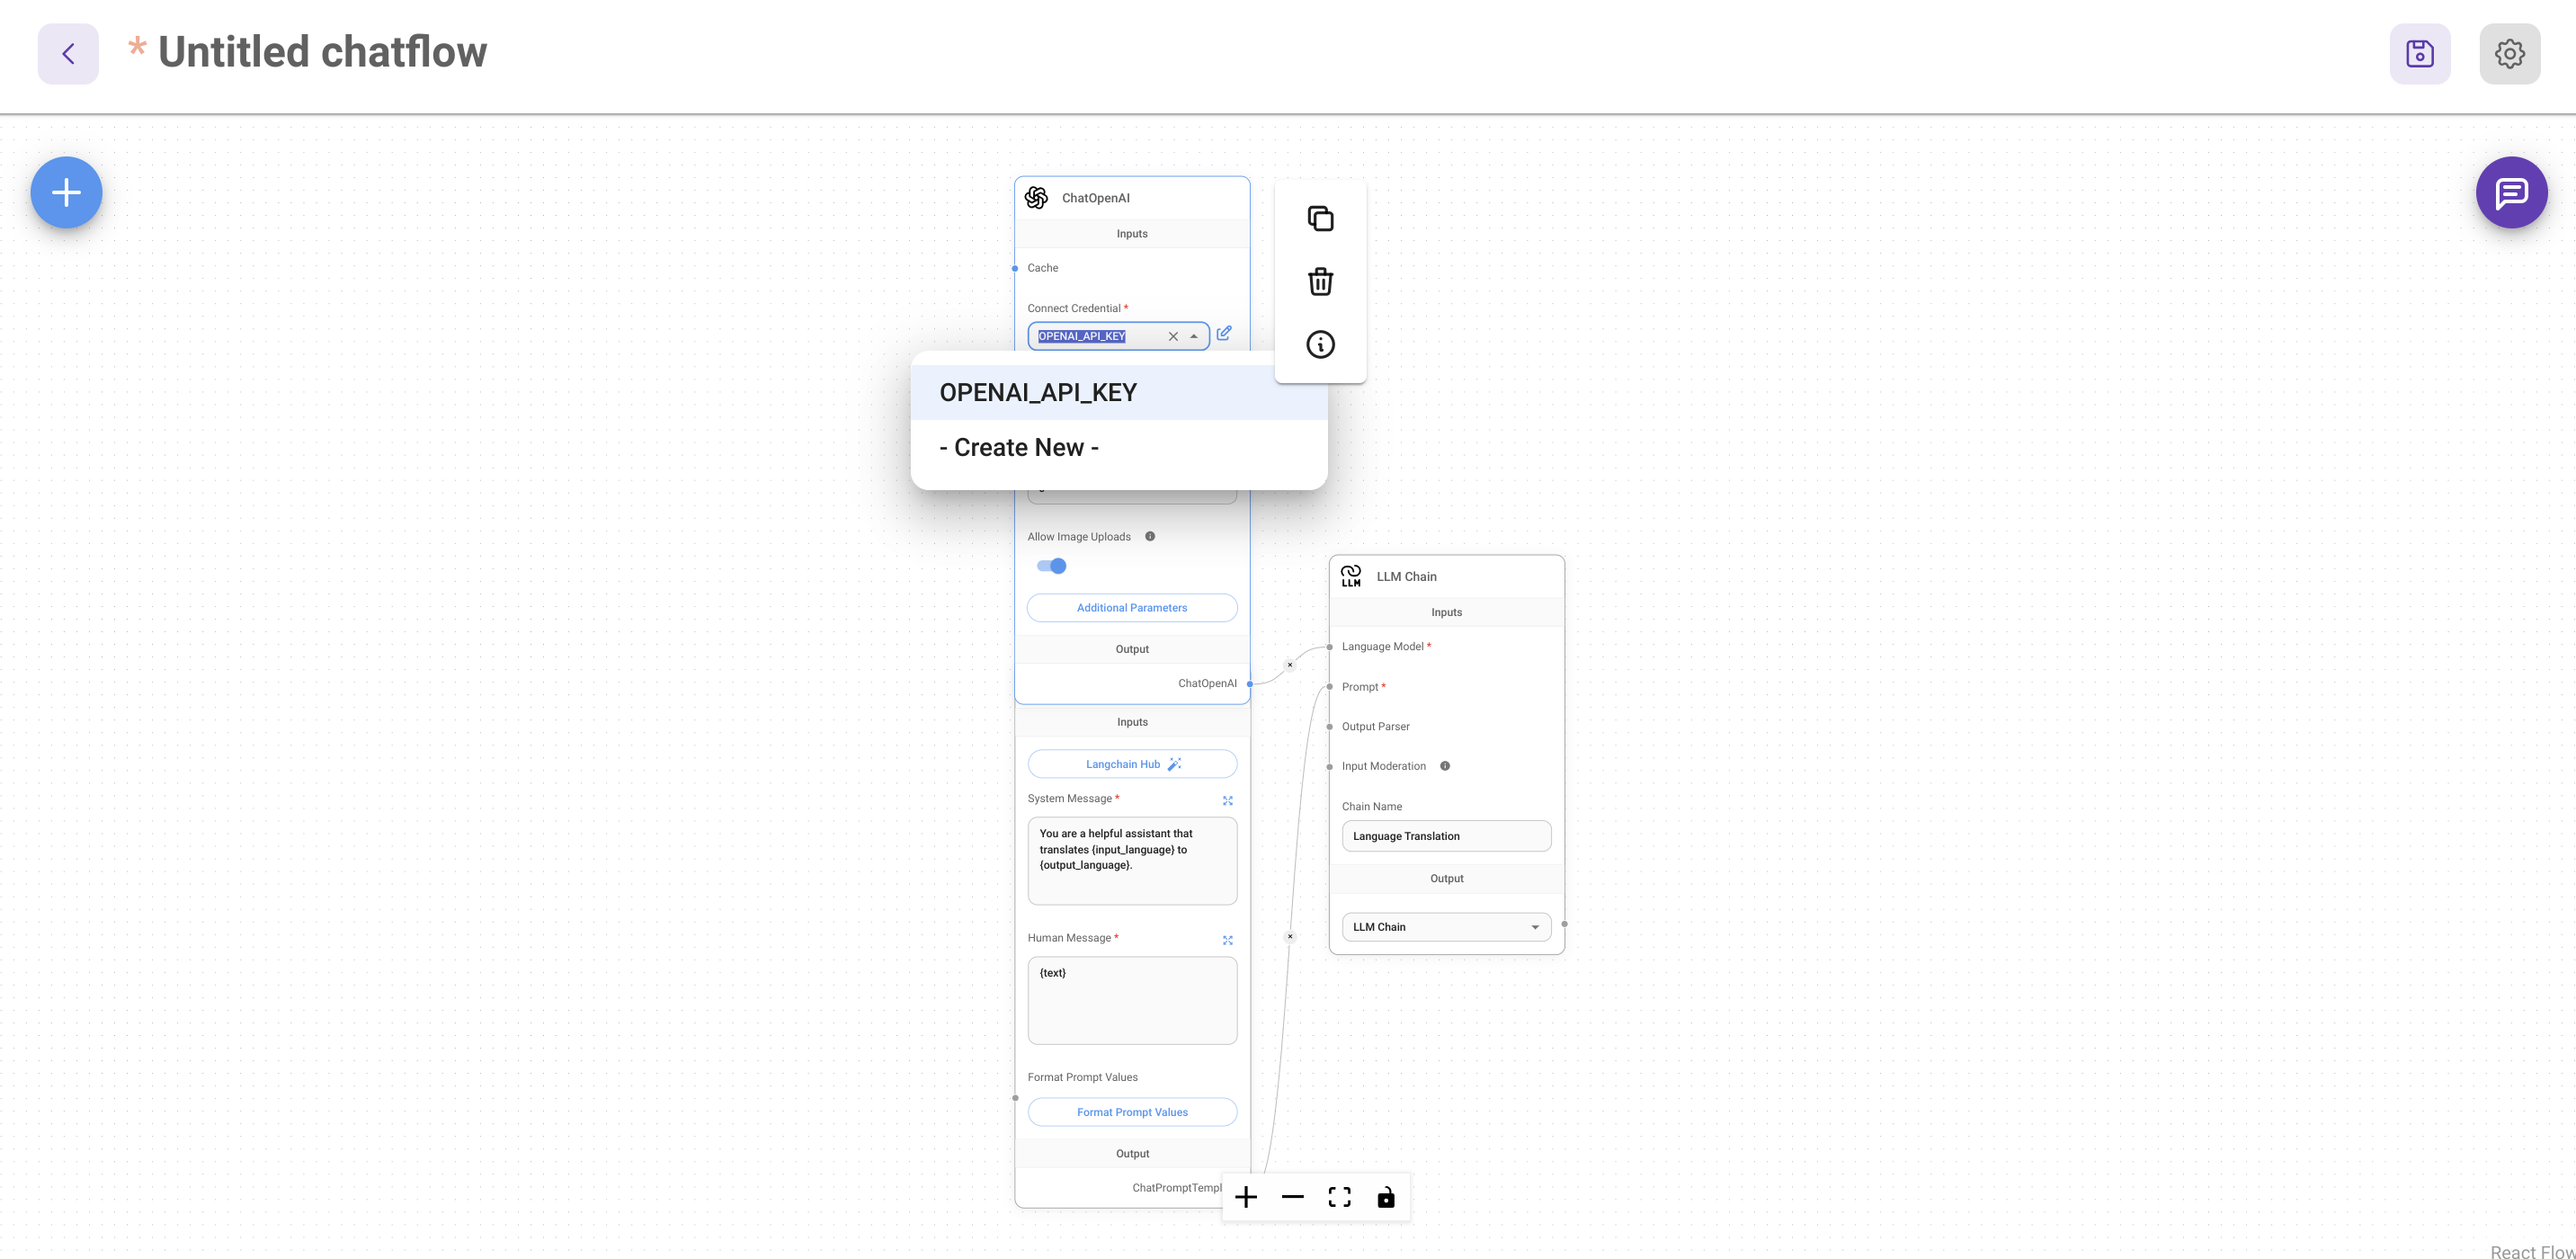
On the new view of the template, select your OpenAI API key in the Connect Credential field of the ChatOpenAI component:
Click the Save icon in the upper-right corner and choose a name for your workflow. Once your workflow is saved, you can test it out.
To test the new workflow, click the chat icon on the right-hand side of the workflow screen. A chat session will start:
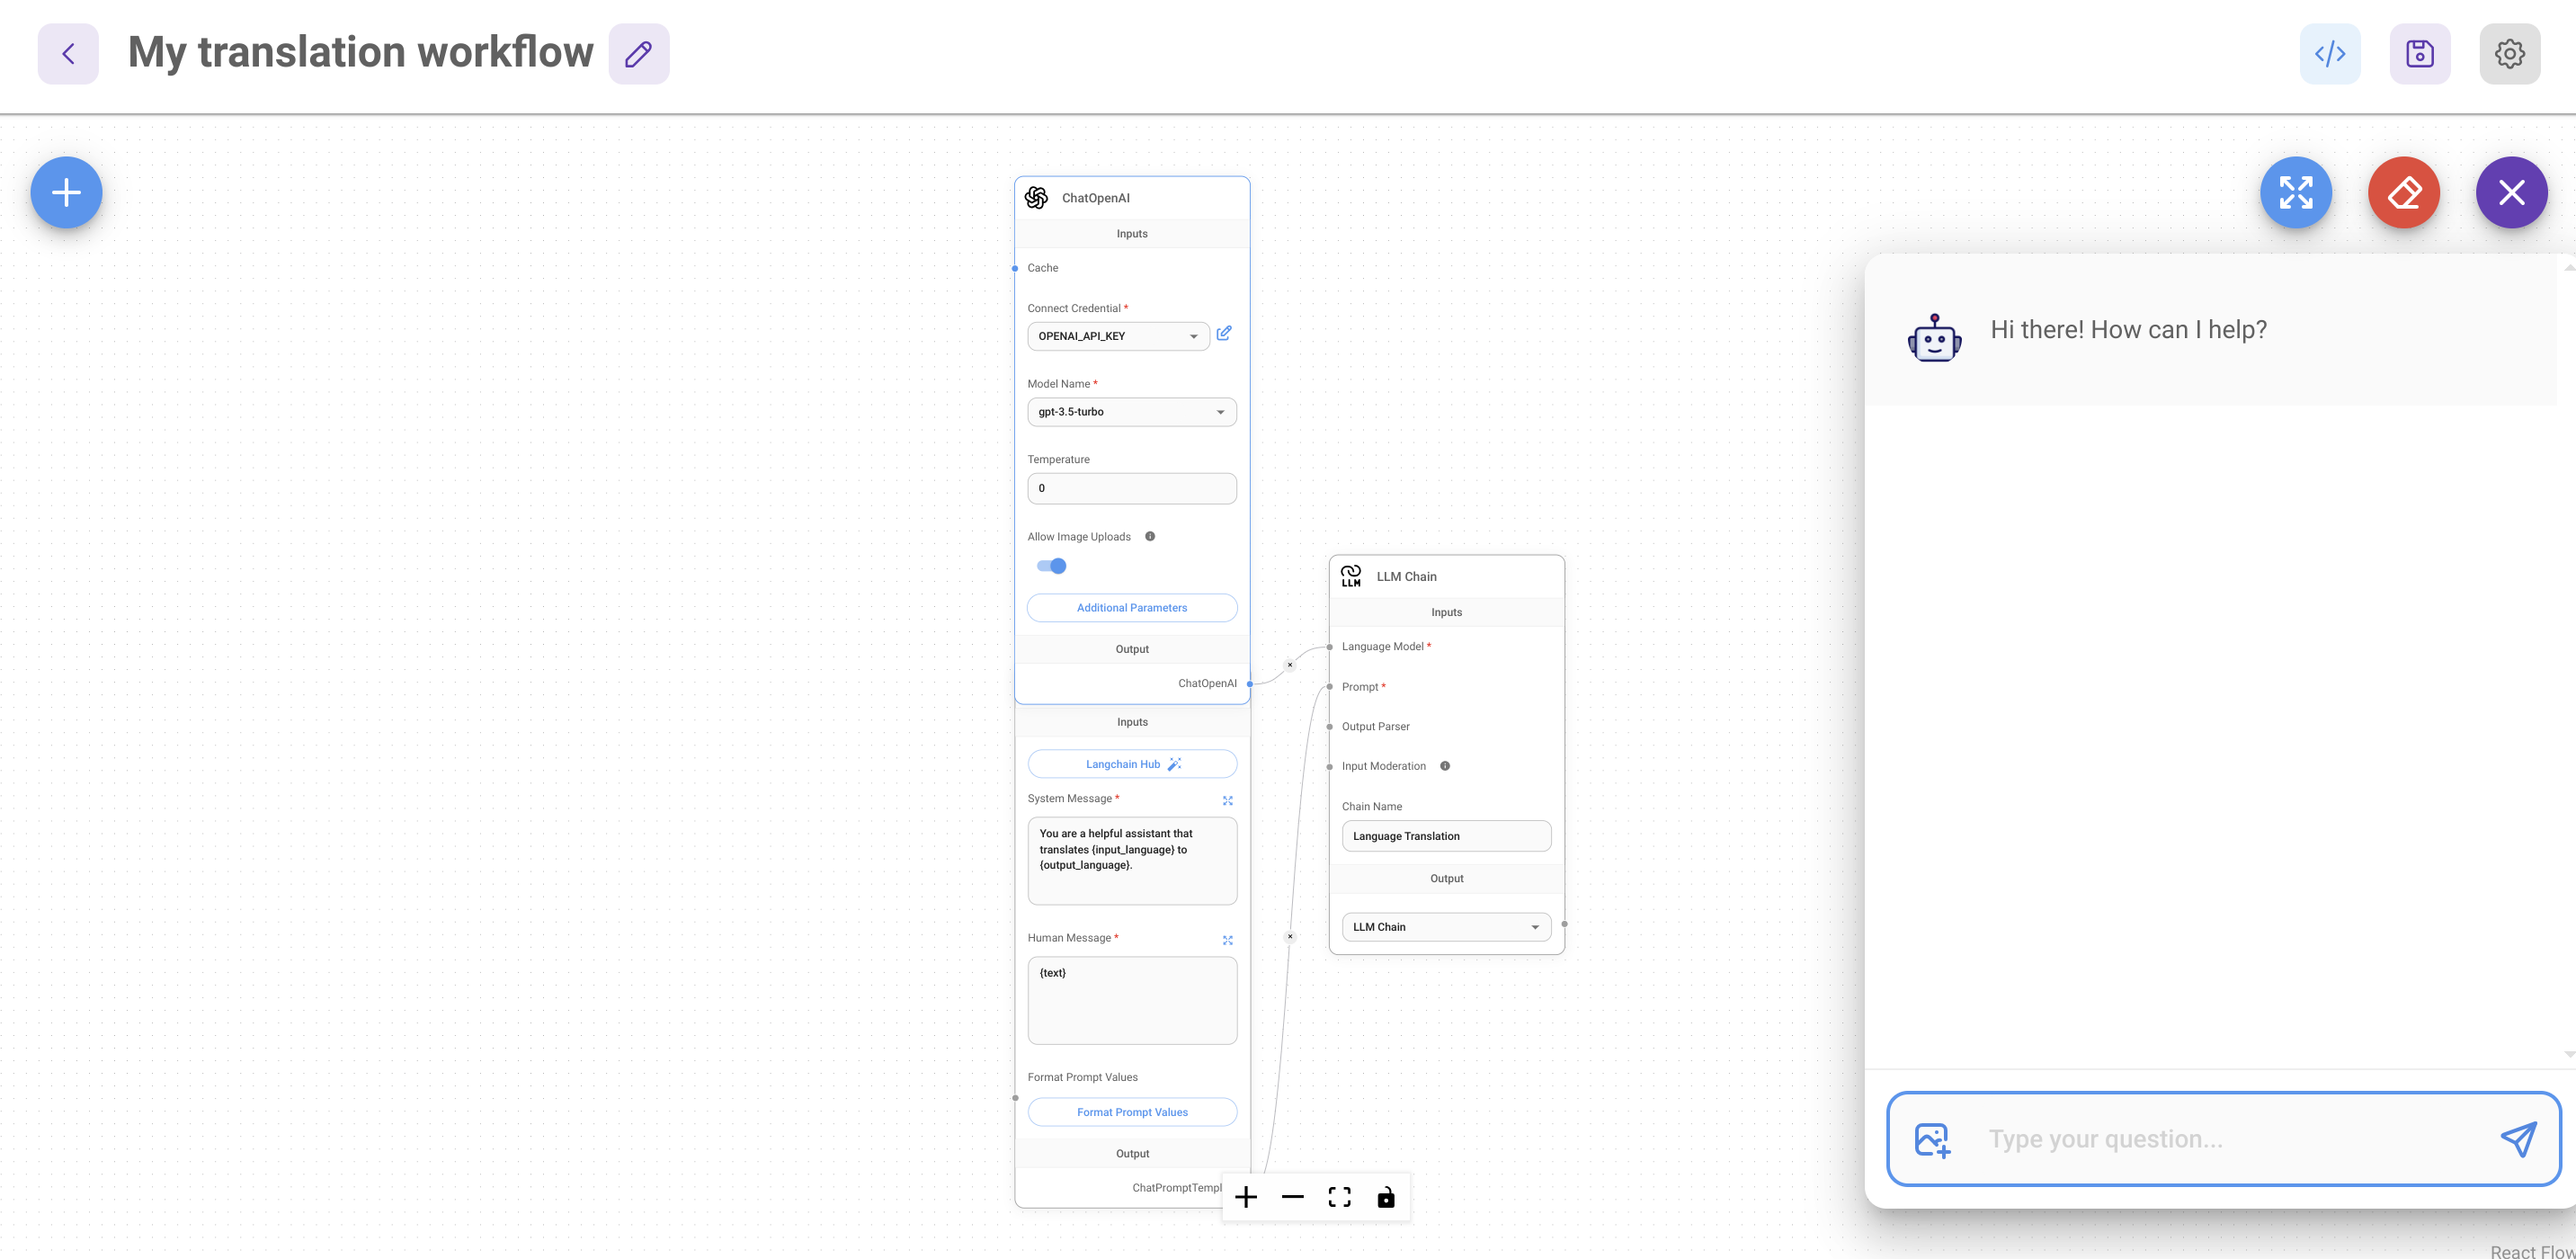
The translation workflow will translate any user input to another language. By default, the workflow will translate text from English to French. Type a sentence you'd like translated to try it out:

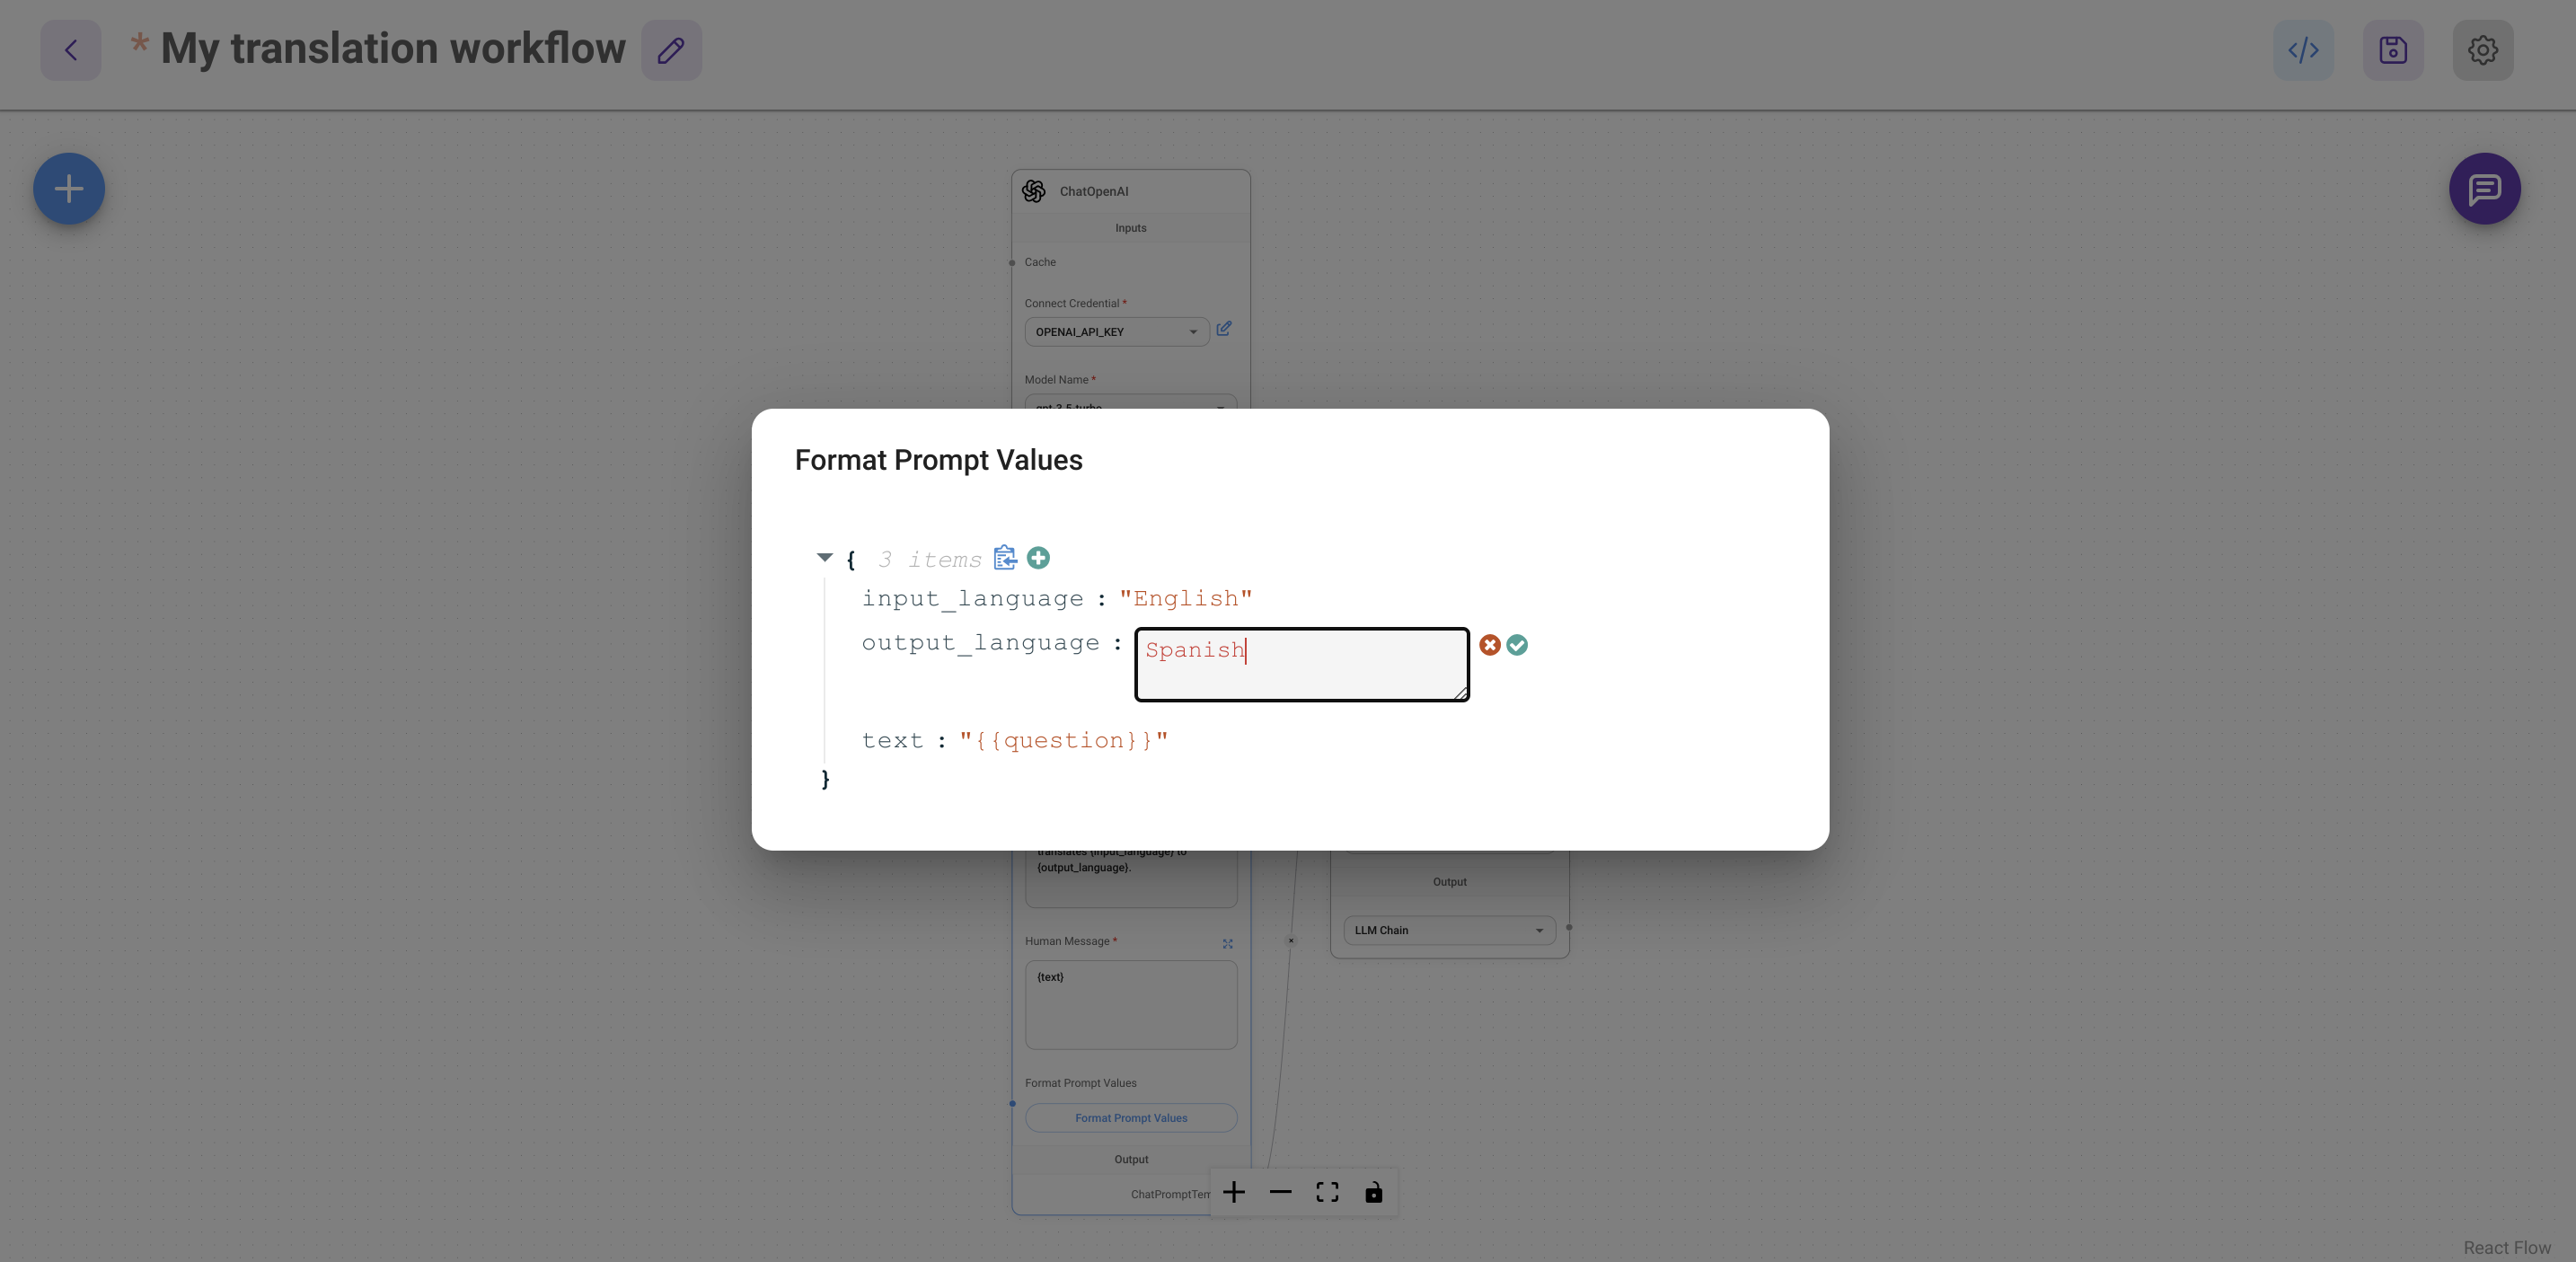
Next, click Format Prompt Values in the Chat Prompt Template component. Click the edit icon next to the output_language item and change it to a new language:
Click the Save icon in the upper-right corner to save the change you just made. Open the chat box again and retry your prompt:

The response should be in the new language you selected.
Conclusion
In this guide, we demonstrated how to deploy and configure Flowise on Koyeb. We began by setting up a PostgreSQL database and copying the connection details. Afterwards, we deployed the official Flowise Docker image to Koyeb, using environment variables to customize our configuration.
We've only scratched the surface on the capabilities that Flowise offers for constructing and deploying custom AI workflows and agents. Take a look at the Flowise documentation or their official YouTube channel to learn more about what is possible.