Deploy a Ghost Blog in Production to Koyeb
Introduction
Ghost is a modern open-source content management system (CMS) and blogging platform for publishing content, newsletters, and more. You can use Ghost to design and build your website, launch free or paid content services, manage user memberships, and track performance.
In this guide, we will go over how to set up a Ghost blog on Koyeb to launch a new site. We will deploy Ghost using the project's official Docker image, backed by a MySQL database. We will configure Ghost to use Cloudinary, a digital asset management platform, so that assets like images are accessible after redeploying or scaling out. We will also configure a transaction email provider so that Ghost can send out account-oriented emails to subscribers and other users of your service.
Account requirements
To follow along with this guide, you will need to create accounts with the following services. You can use each service's entry-level plan to get started:
- Koyeb: We will use Koyeb to deploy, run, and scale the Ghost process.
- Aiven: We will use Aiven as our database provider. We need a MySQL database for Ghost to store post content, user information, and more.
- Cloudinary: Cloudinary is a digital asset management (DAM) platform that we will use to persistently host uploaded media like images and video.
- Mailgun: We will use Mailgun to send transactional and bulk emails to users.
We will go over how to set up the resources we need from each of the above providers throughout the guide.
You can deploy and preview the Java application from this guide using the Deploy to Koyeb button below:

Note: Be sure to set the environment variables to your own information according to the deployment instructions. You can consult the repository on GitHub to find out more about the example application that this guide uses.
Create a MySQL database with Aiven
Before we can deploy Ghost, we need to provision a database where it can store its data. Ghost uses MySQL to store post content, account information, emails, sessions, and more.
To create a new MySQL database, log into your Aiven account. In the Aiven console, follow these steps to create a new MySQL database:
- Click the Create service button.
- On the next screen, select MySQL.
- Select Free plan to get started.
- Select the region to deploy your database. In this guide, we will select
aws-eu-west-3to demonstrate deploying resources in Europe, but you should choose the region closest to your users. - Ensure that the
Free-1-5gbplan is selected. - Choose a name for your MySQL database. We will use
ghost-mysqlfor this guide. - Click the Create free service button to begin provisioning your new database.
The following screen will show the connection details for your new database. Copy down the following information to use later when you deploy Ghost:
- Host
- Port
- User
- Password
These values will be mapped to environment variables that Ghost reads like this:
| Aiven MySQL info | Ghost environment variable | Example |
|---|---|---|
| Host | database__connection__host | ghost-mysql-account-fe75.aivencloud.com |
| Port | database__connection__port | 16361 |
| User | database__connection__user | avnadmin |
| Password | database__connection__password | AVNS_XSxMGFOgWCrFHiyYFgm |
Copy the Cloudinary environment variable
Next, you need to retrieve an API URL from your Cloudinary account. Ghost will use this to authenticate with Cloudinary to upload and optimize images and other assets used by your blog.
To find the URL, log into your Cloudinary account. In the side navigation pane, select the Programmable Media view and then click Dashboard.
Next, click the copy icon associated with the API Environment variable. This will copy your Cloudinary URL needed to authenticate to your account to upload and retrieve media.
The copied value includes a CLOUDINARY_URL= prefix that would be useful for setting a local environment variable. When setting this on Koyeb, remember to not include that as part of the value.
| Cloudinary account info | Ghost environment variable | Example |
|---|---|---|
| API Environment variable | CLOUDINARY_URL | cloudinary://362737766187248:oD-ldl09ZgKPK0AmGcAoDNb8Bmg@dyn2flngo |
Copy the Mailgun SMTP information
Next, you need to copy the SMTP information for your Mailgun account. Ghost uses this to send transactional and bulk email as part of its account management lifecycle and subscription services.
To begin, log into your Mailgun account. In the side navigation pane, open the Sending menu. Next, click the Domain settings sub-menu item.
On the domain settings page, click on the SMTP credentials tab. Copy the Login value and save it for later. This will be the username we use to authenticate to Mailgun's SMTP service.
Note: The following step will reset your SMTP password. If you are currently using this for other purposes, you will need to update the password in those contexts.
Next, click the Reset password button. A message will appear confirming that your password has been reset. Click the copy icon on the message to copy the new password to your clipboard. Save this value for later.
| Mailgun SMTP info | Ghost environment variable | Example |
|---|---|---|
| Login | mail__options__auth__user | postmaster@sandboxbac59f0e6dac45cdab38e53aee4e1363.mailgun.org |
| Password | mail__options__auth__pass | e627704d99111f00c7aedf3805961383-262b123e-66b6979f |
Create a Dockerfile for Ghost
Now that we have the credentials for our deployment, we need to define how Ghost should run.
The official Ghost Docker image unfortunately does not include the Cloudinary storage adapter. It can only store pictures and other uploaded media to the local filesystem. Since we don't want our deployment tied to one machine's local filesystem, we need to modify the base image to include the adapter.
Luckily, the Cloudinary storage adapter includes instructions for creating an image with the adapter added. We will use this as a basis for our own deployment.
On your local computer, create a new directory to hold your project files and navigate inside:
mkdir ghost-blog
cd ghost-blog
Here, create a new Dockerfile with the following contents:
FROM ghost:5-alpine as cloudinary
RUN apk add g++ make python3
RUN su-exec node yarn add ghost-storage-cloudinary

FROM ghost:5-alpine
COPY --chown=node:node --from=cloudinary $GHOST_INSTALL/node_modules $GHOST_INSTALL/node_modules
COPY --chown=node:node --from=cloudinary $GHOST_INSTALL/node_modules/ghost-storage-cloudinary $GHOST_INSTALL/content/adapters/storage/ghost-storage-cloudinary
# Here, we use the Ghost CLI to set some pre-defined values.
RUN set -ex; \
    su-exec node ghost config storage.active ghost-storage-cloudinary; \
    su-exec node ghost config storage.ghost-storage-cloudinary.upload.use_filename true; \
    su-exec node ghost config storage.ghost-storage-cloudinary.upload.unique_filename false; \
    su-exec node ghost config storage.ghost-storage-cloudinary.upload.overwrite false; \
    su-exec node ghost config storage.ghost-storage-cloudinary.fetch.quality auto; \
    su-exec node ghost config storage.ghost-storage-cloudinary.fetch.cdn_subdomain true; \
    su-exec node ghost config mail.transport "SMTP"; \
    su-exec node ghost config mail.options.service "Mailgun";
The instructions here use the ghost:5-alpine image as a starting point for customization. The only changes that are introduced to the base image are to download and build the ghost-storage-cloudinary package and copy it to the location where Ghost expects to find storage adapters. After that, it uses the included Ghost CLI to set some basic configuration options.
When you are finished, you can initialize a Git repository in the directory and add the Dockerfile. This file is all you need to deploy the customized Ghost image to Koyeb.
Note: Be sure to change <YOUR_GITHUB_USERNAME> and <YOUR_REPOSITORY_NAME> to match your own values in the commands below.
git init
git commit -m "Initial commit"
git remote add origin git@github.com:<YOUR_GITHUB_USERNAME>/<YOUR_REPOSITORY_NAME>.git
git push -u origin main
Deploy Ghost to Koyeb
Now we have everything we need to deploy Ghost to Koyeb.
Begin by logging into your Koyeb account. Follow these steps to deploy your Ghost image to the platform:
- On the Overview tab of the Koyeb console, click Create Web Service.
- Choose GitHub as the deployment method.
- Select the GitHub repository with your Ghost
Dockerfile. Alternatively, use the public example Ghost repo in the Public GitHub repository:https://github.com/koyeb/example-ghost. - In the Builder section, select Dockerfile.
- Towards the bottom, choose a name for your App and Service. When setting the
urlenvironment variable later, use the following format if you do not have a custom domain:https://<YOUR_APP_NAME>-<KOYEB_ORG_NAME>.koyeb.app. - In the Environment variables and files section, click the Add variable button to add the following variables:
| Variable name | Description | Example |
|---|---|---|
url | Full base URL to access Ghost. | https://<YOUR_APP_NAME>-<KOYEB_ORG_NAME>.koyeb.app |
database__connection__host | Aiven MySQL database host | ghost-mysql-account-fe75.aivencloud.com |
database__connection__port | Aiven MySQL database port | 16361 |
database__connection__user | Aiven MySQL database user | avnadmin |
database__connection__password | Aiven MySQL database password | AVNS_XSxMGFOgWCrFHiyYFgm |
mail__options__auth__user | Mailgun SMTP login | postmaster@sandboxbac59f0e6dac45cdab38e53aee4e1363.mailgun.org |
mail__options__auth__pass | Mailgun SMTP password | e627704d99111f00c7aedf3805961383-262b123e-66b6979f |
CLOUDINARY_URL | Cloudinary API connection URL | cloudinary://362737766187248:oD-ldl09ZgKPK0AmGcAoDNb8Bmg@dyn2flngo |
- In the Exposed ports section, change the exposed port to 2368.
- Click the Deploy button.
Koyeb will pull the Ghost Dockerfile from GitHub repository and use it to build a Docker image. It will then provision a container based on the image to start Ghost. The Ghost process will start up, configuring the database and performing initialization routines before serving the page.
Start using Ghost
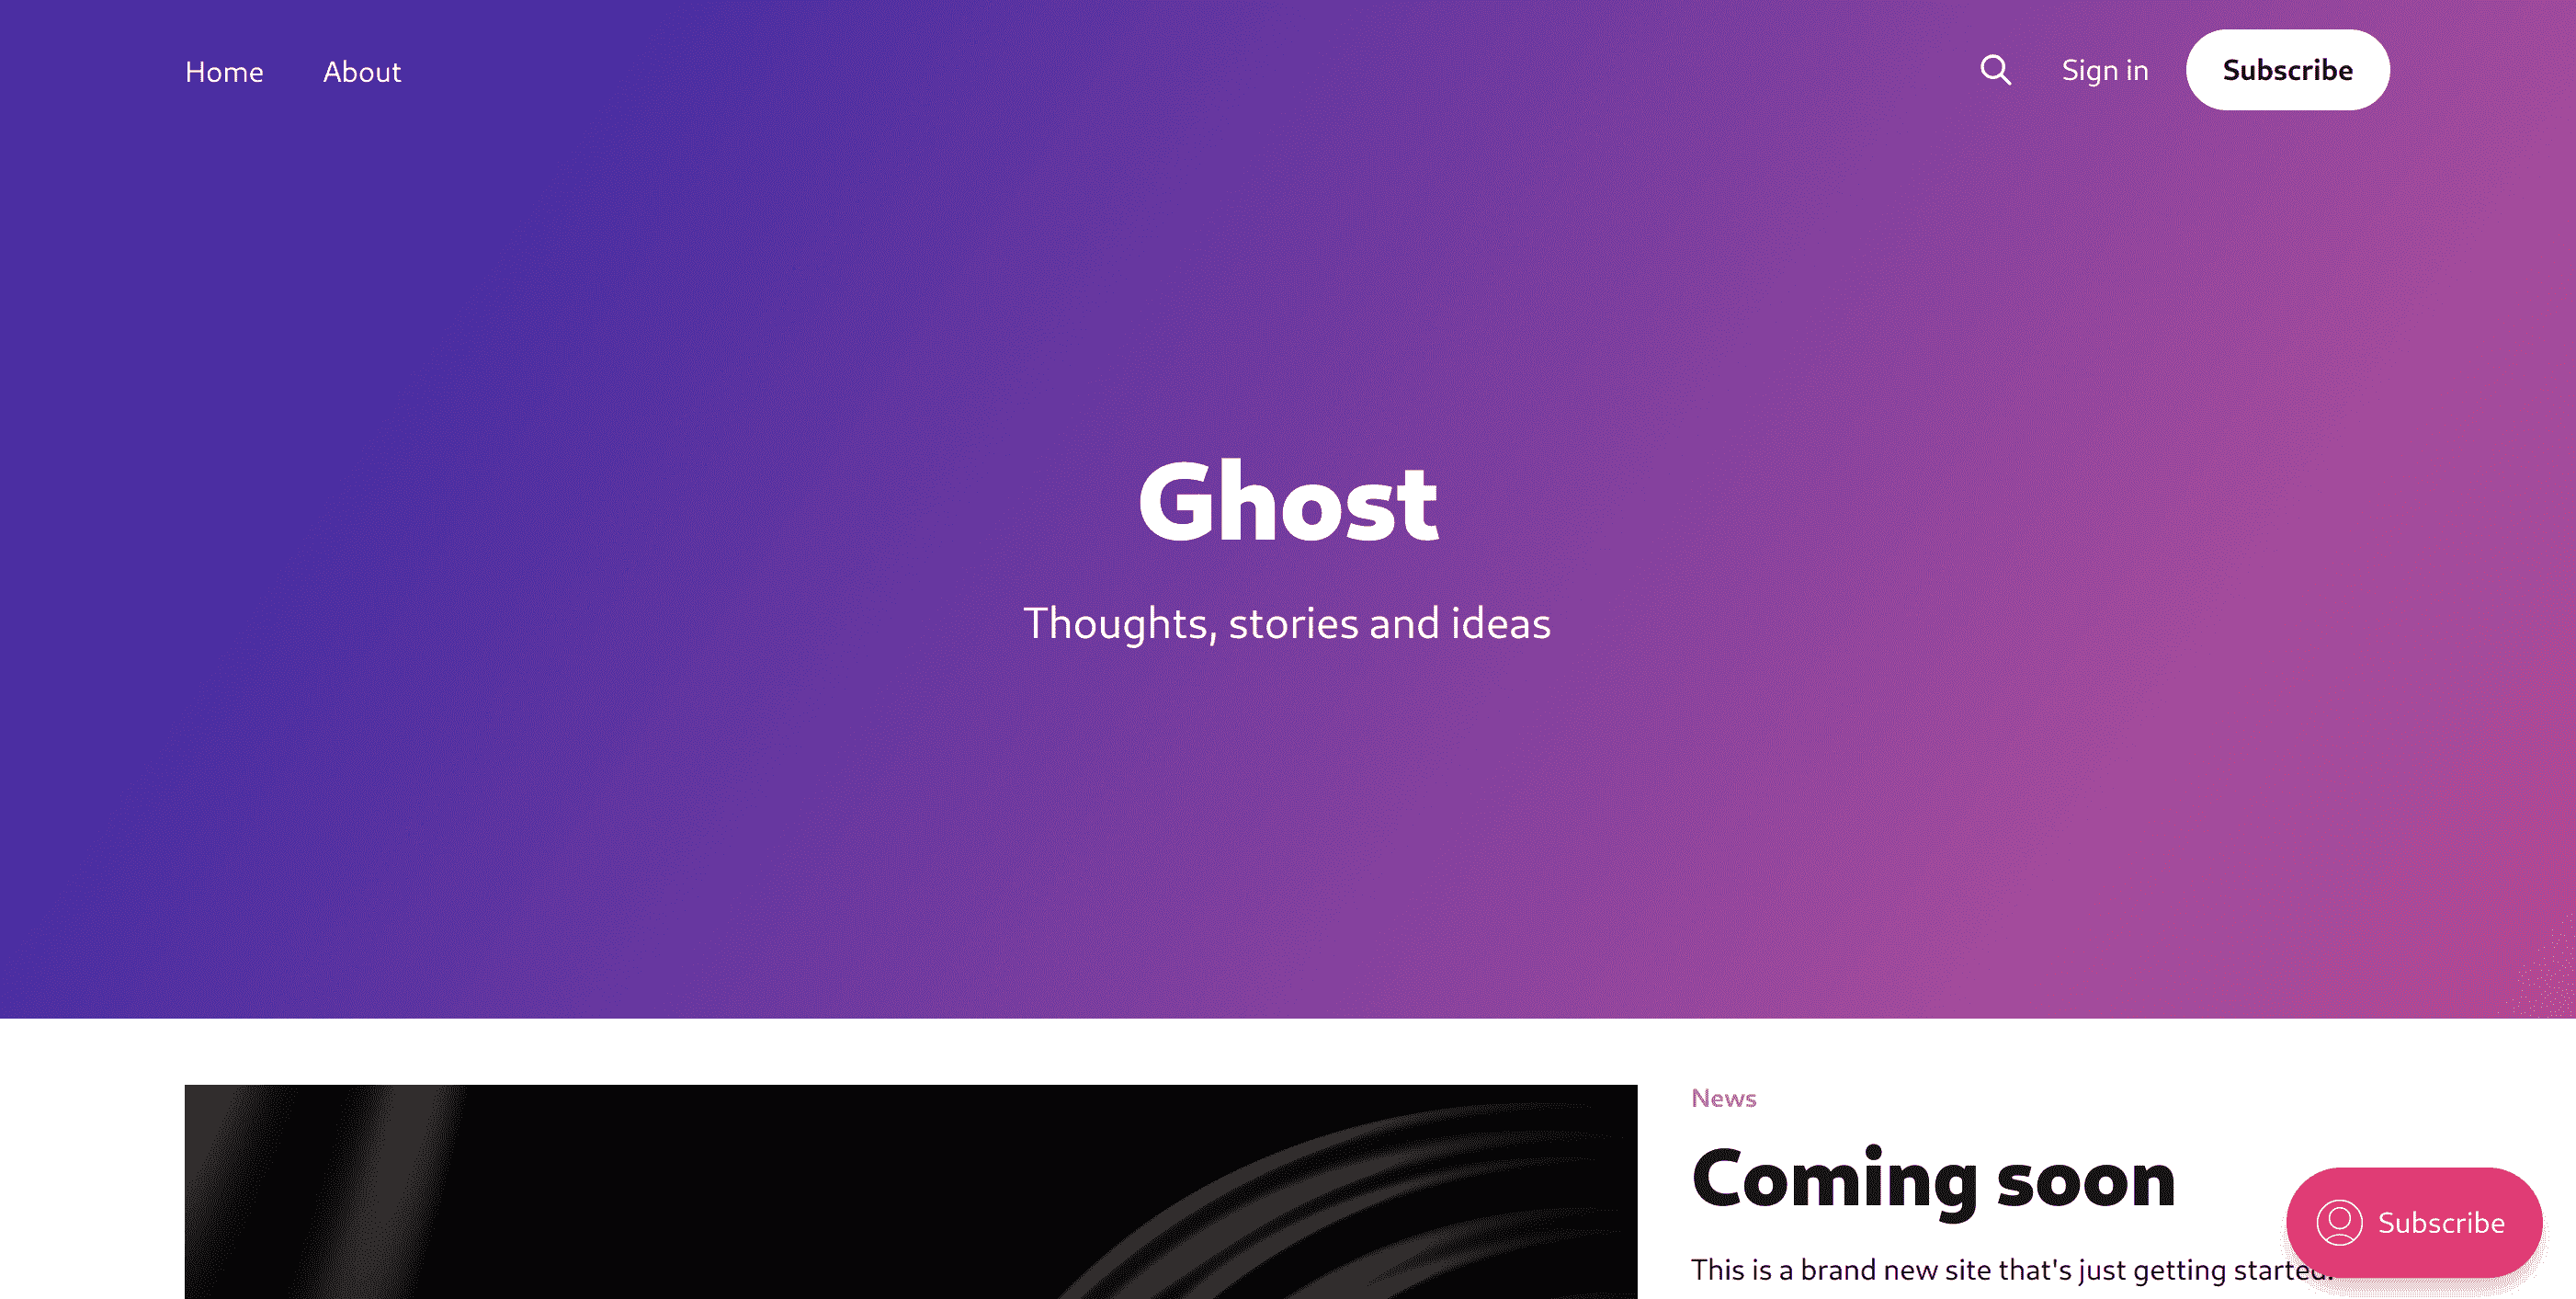
To access your Ghost blog, visit your Koyeb Service's subdomain (you can find this on your Service's page). It will have the following format:
https://<YOUR_APP_NAME>-<KOYEB_ORG_NAME>.koyeb.app
You will be able to see the default landing page:
You can verify that the Mailgun configuration is working properly by clicking the Subscribe button on your site:
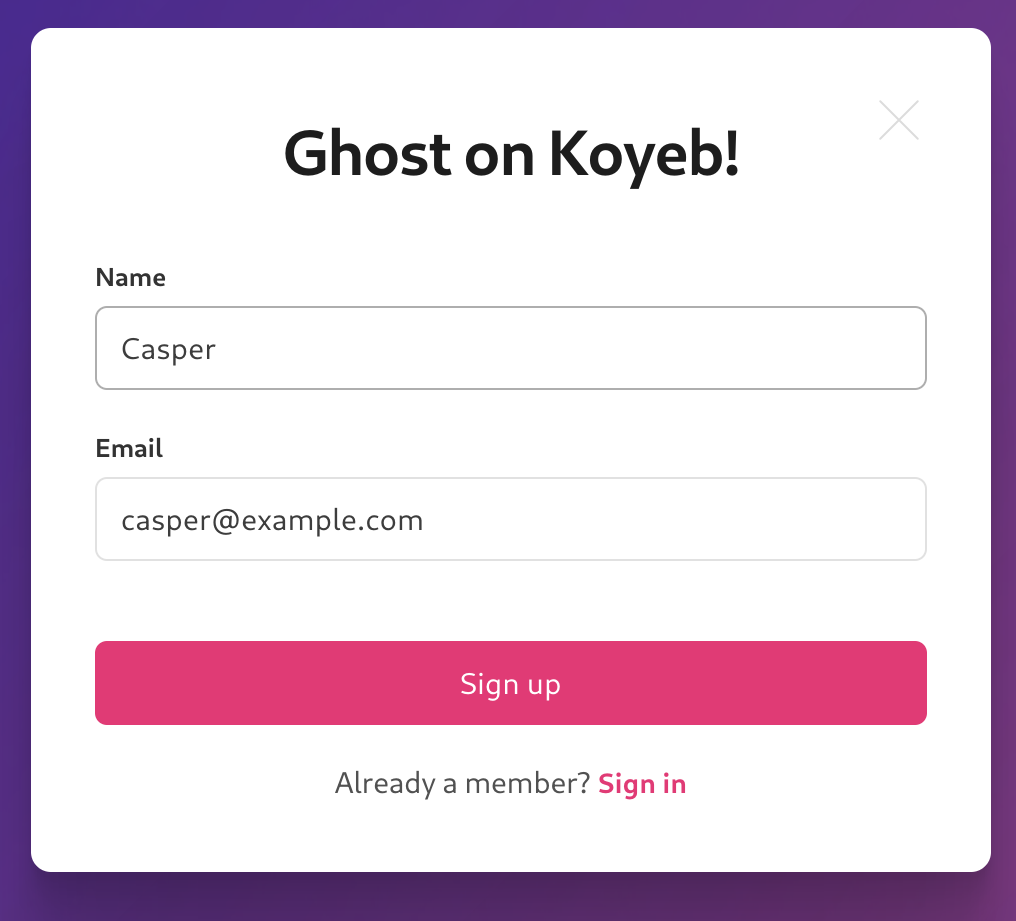
If your SMTP settings are configured correctly, the sign up procedure will not hang and you will receive an email verifying the subscription.
To log into Ghost and begin configuring your blog, visit the /ghost route on your blog:
https://<YOUR_APP_NAME>-<KOYEB_ORG_NAME>.koyeb.app/ghost
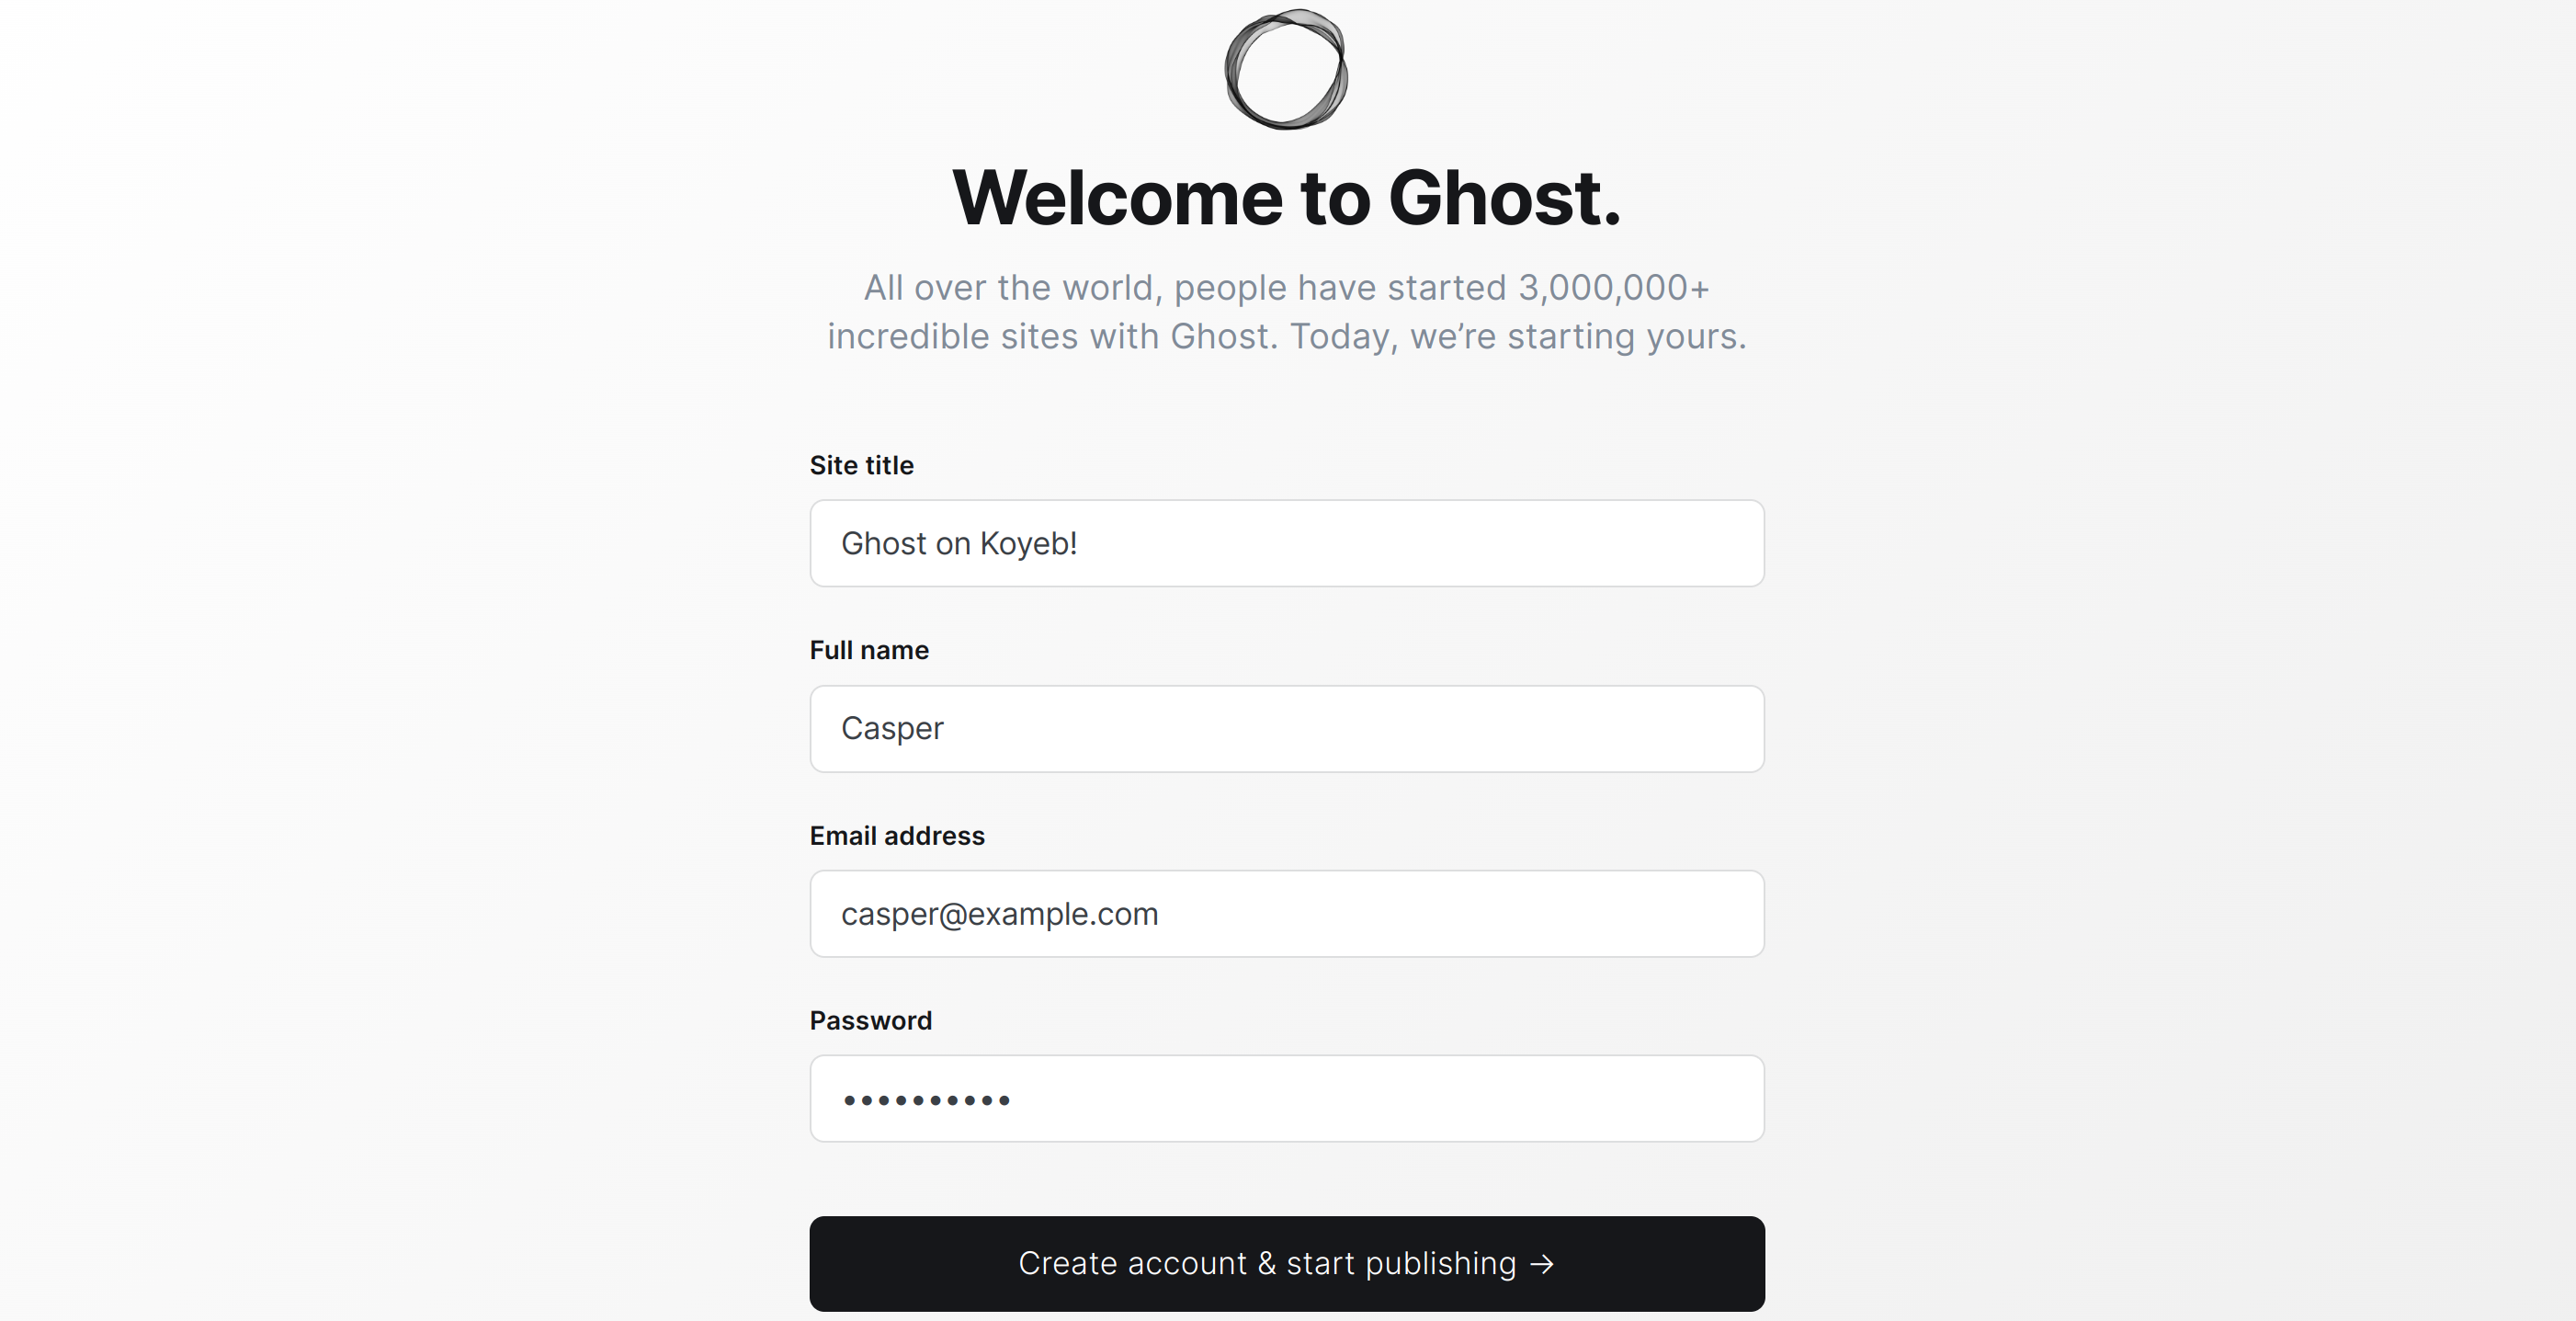
You will be asked to enter details about the site and will be able to create an admin account:
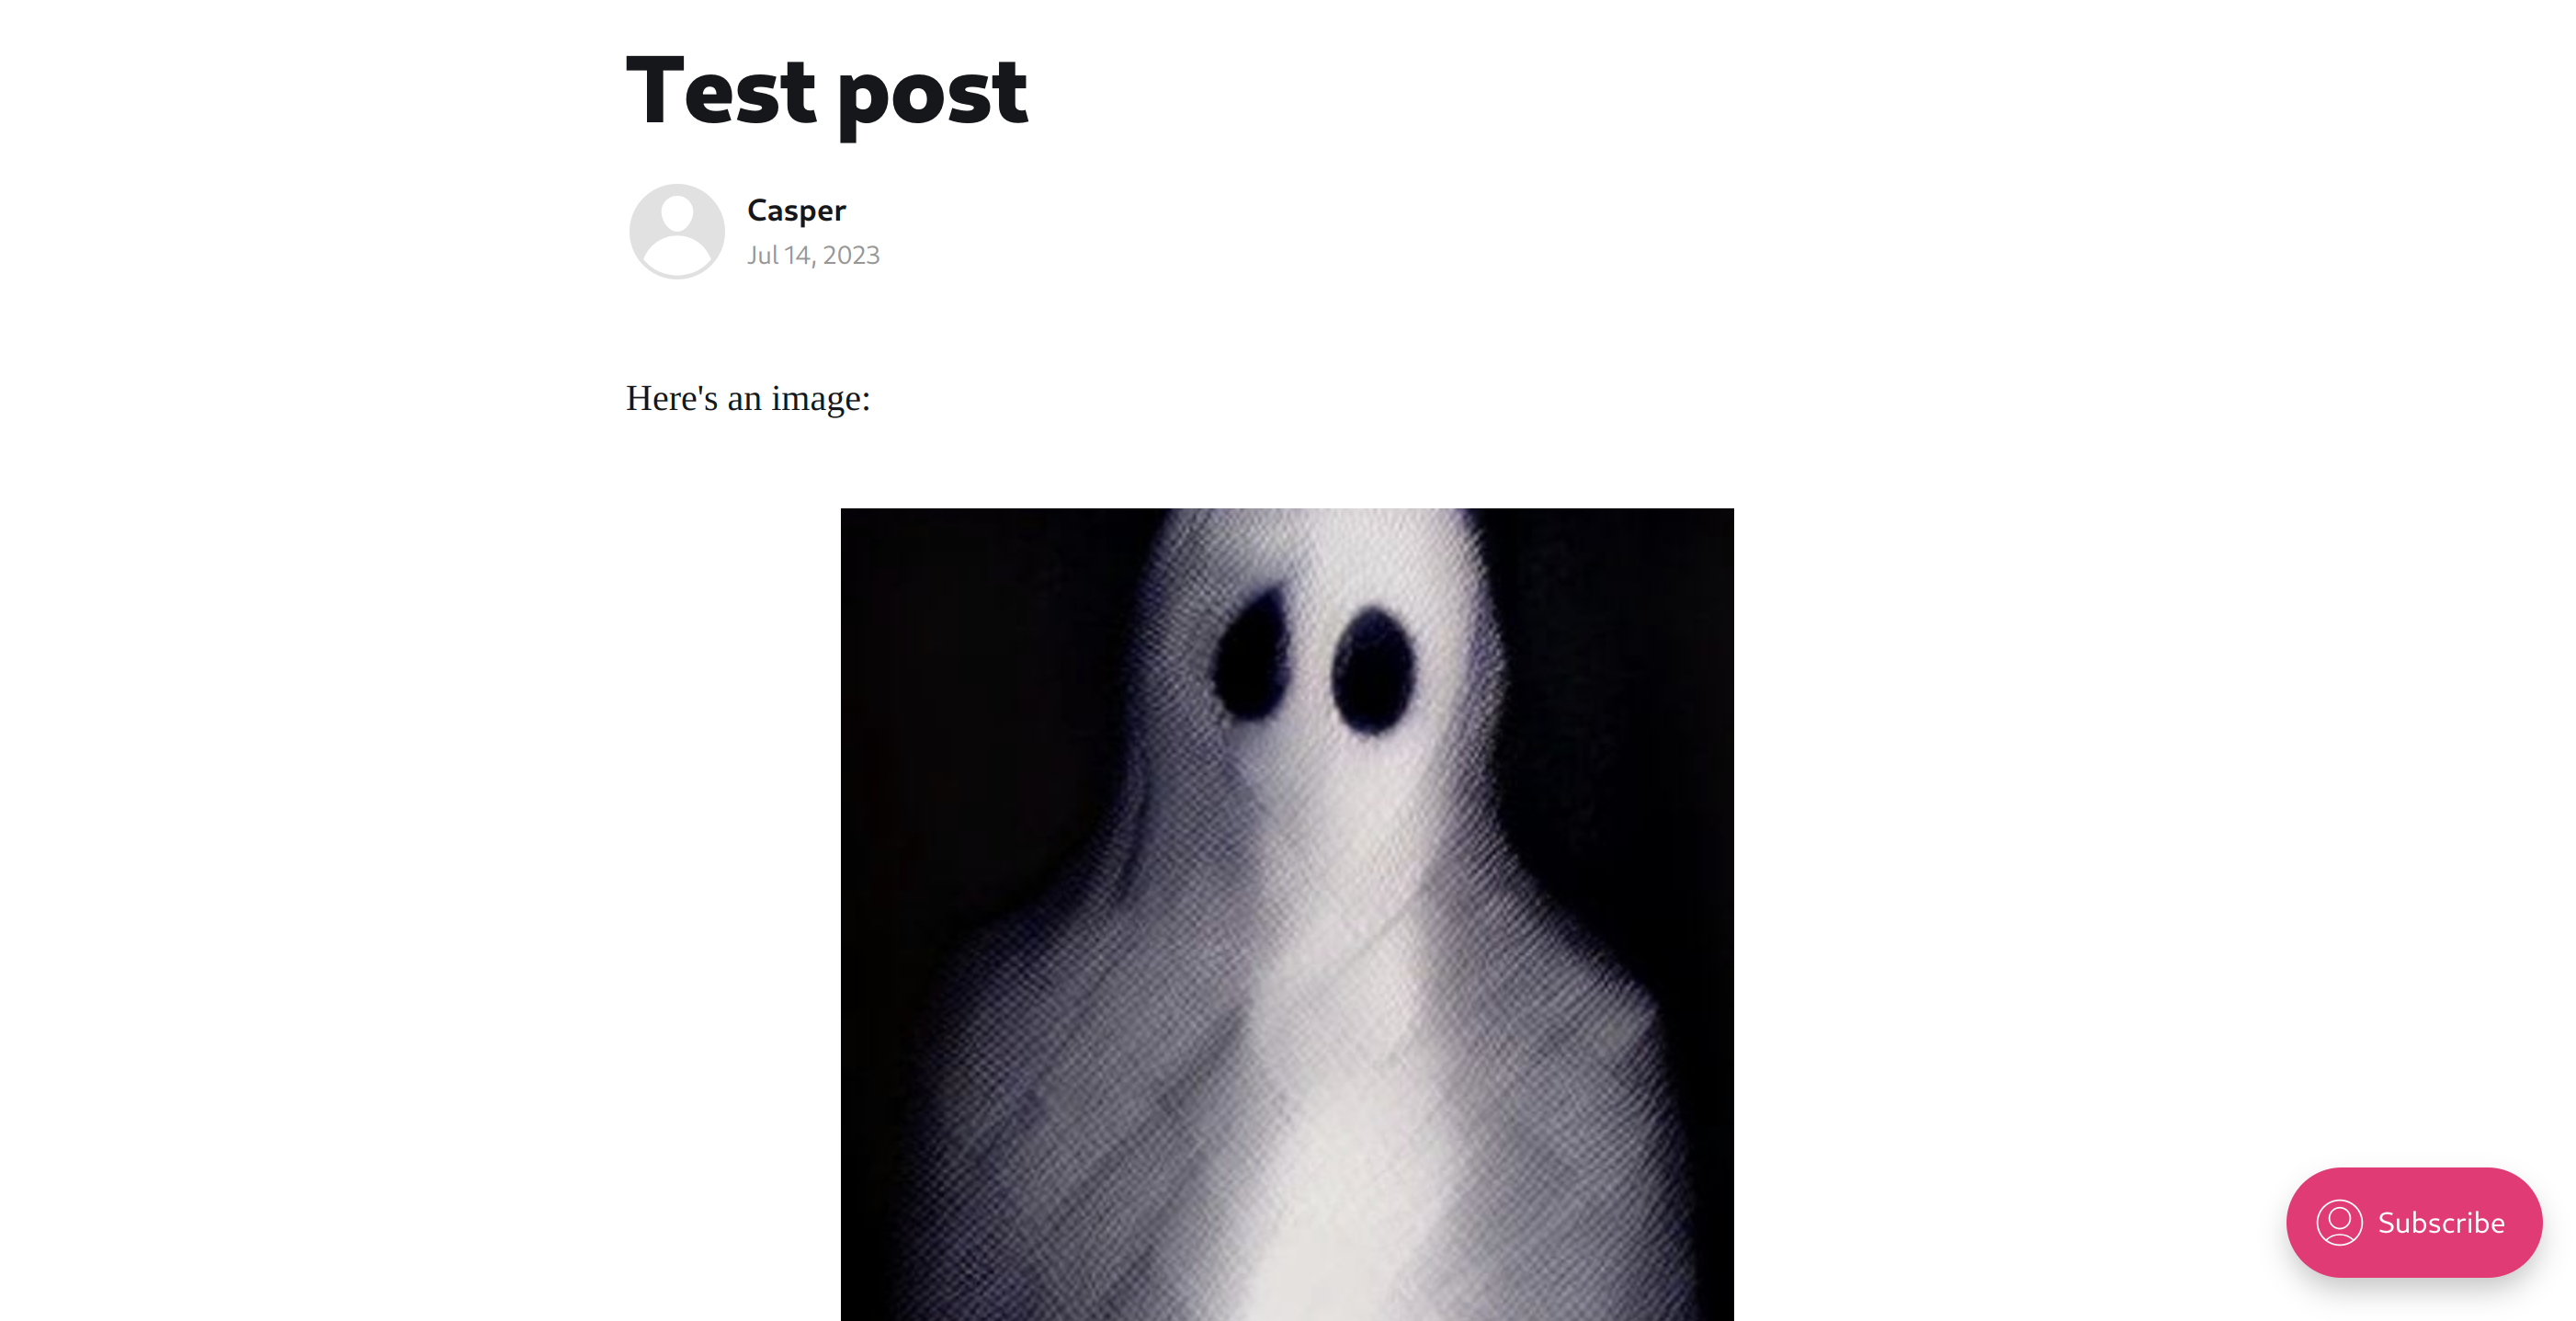
Once you have logged in, you can create a new post and include an image to test the Cloudinary integration:
After publishing, if you click on the post and open the image in a new tab, the URL should be served from a Cloudinary URL instead of directly from your blog's domain:
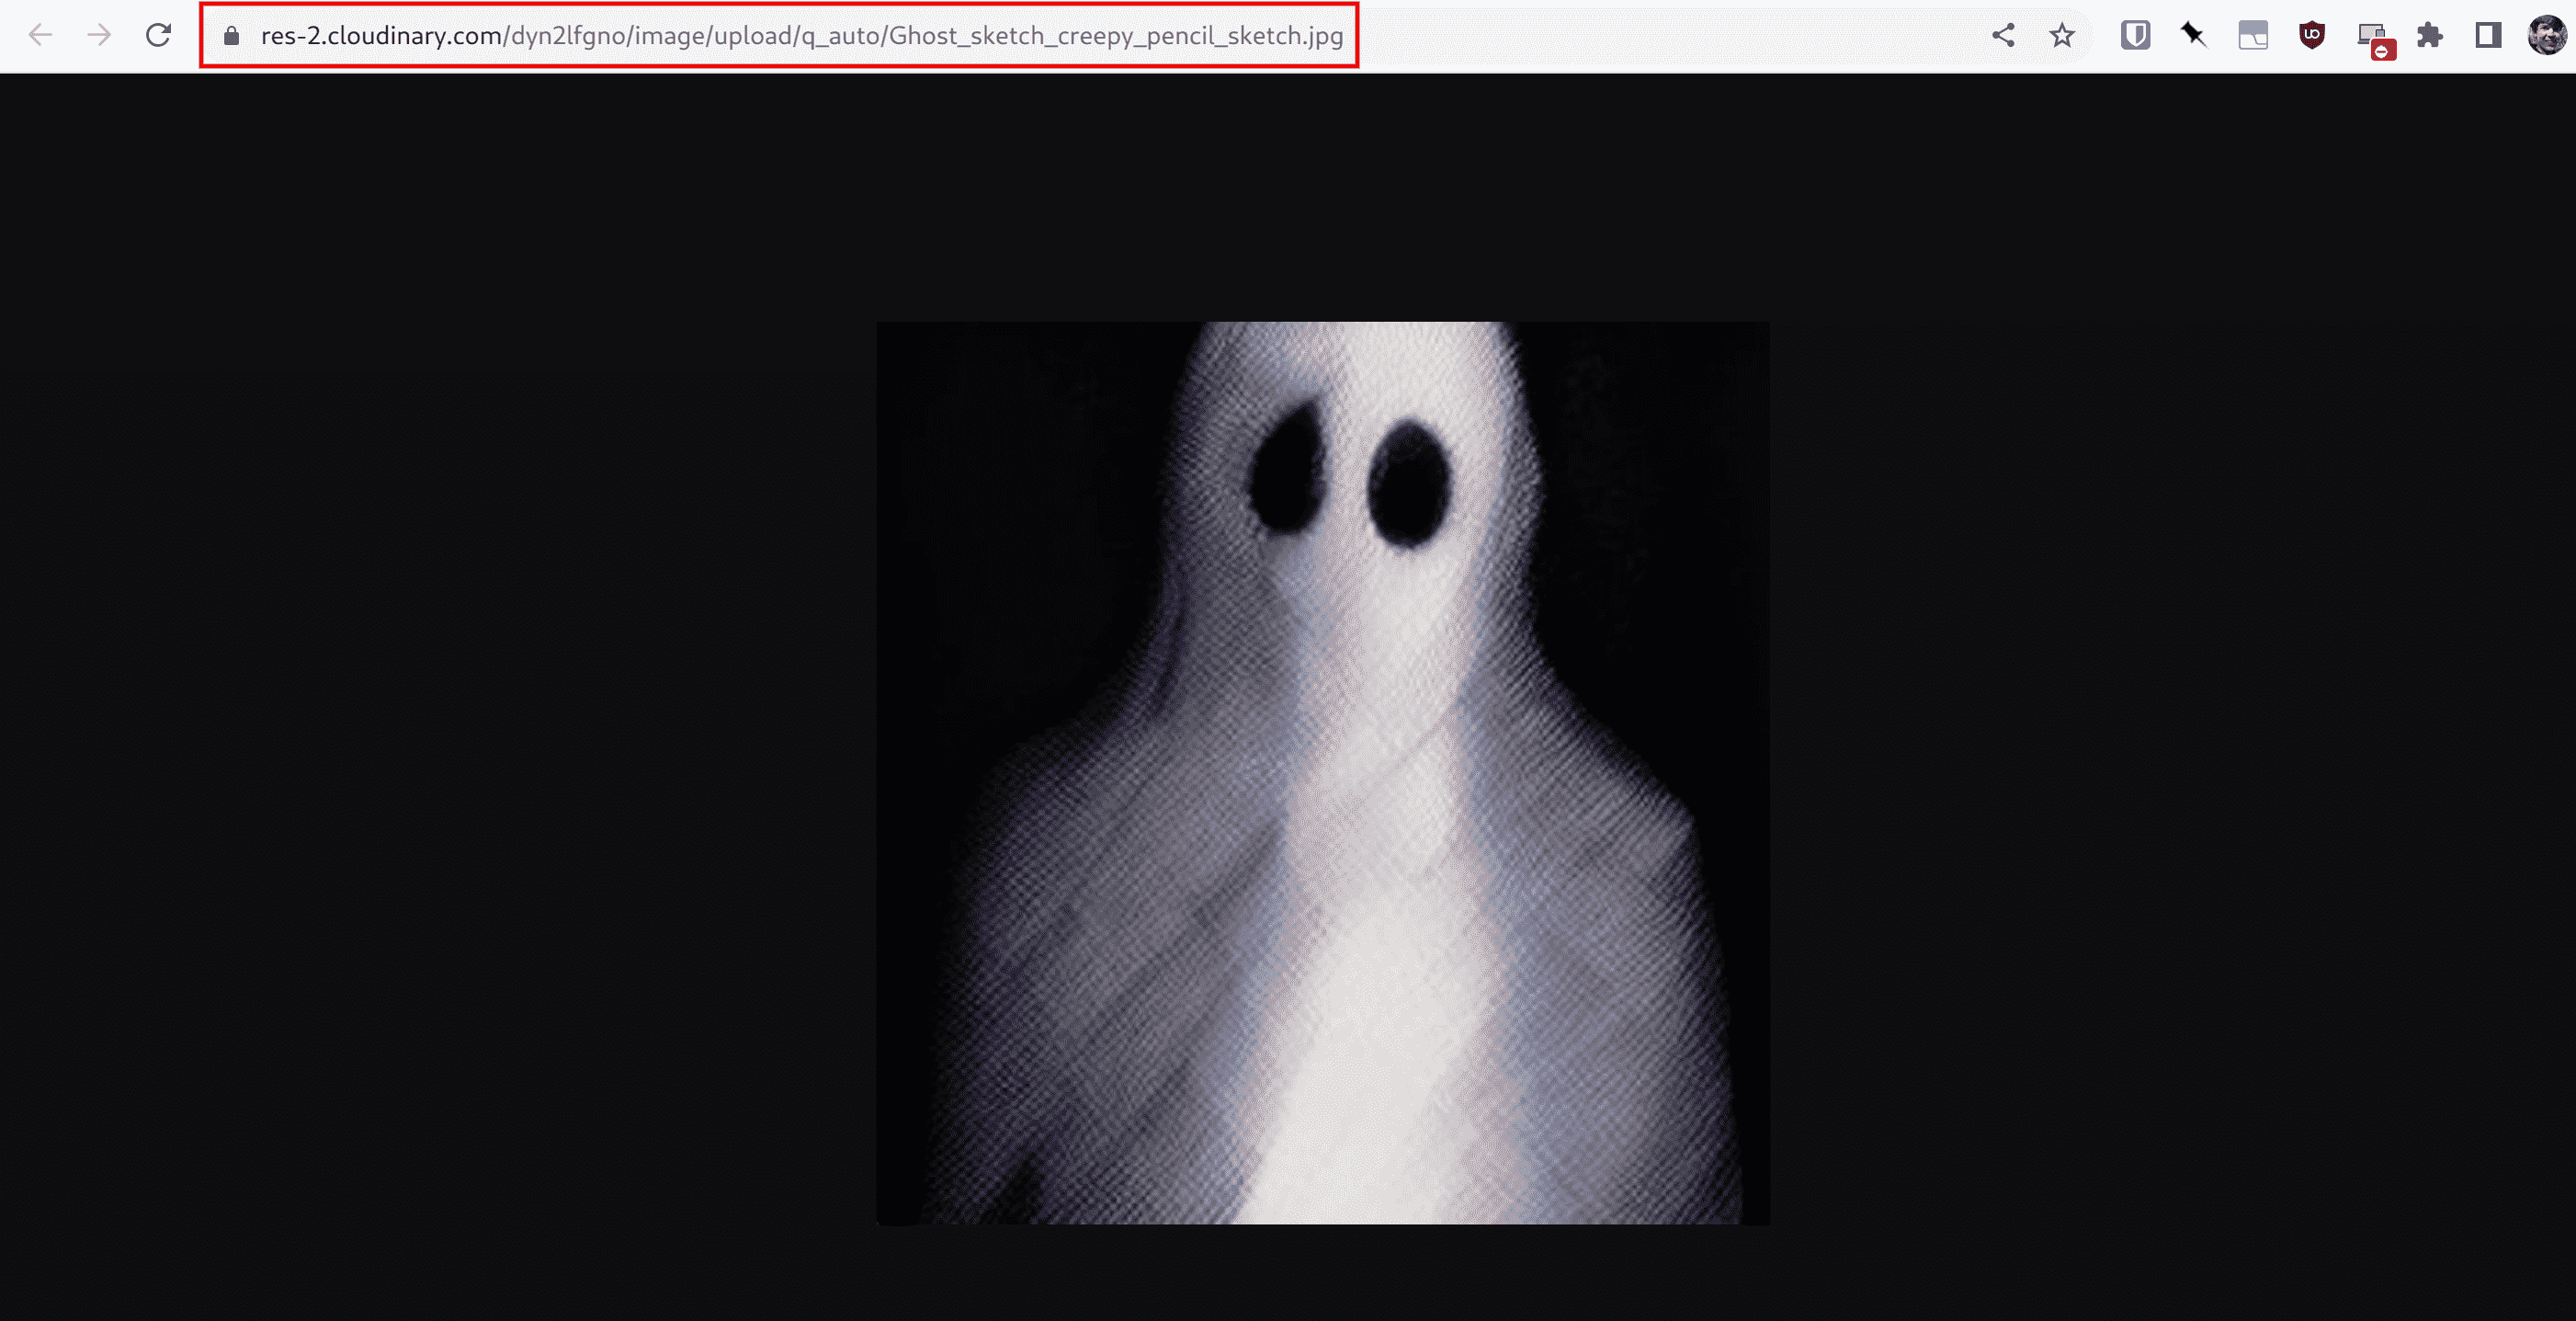
Serving media from a Cloudinary URL means that you can redeploy or scale your blog without losing your assets.
Conclusion
In this guide we covered how to deploy Ghost to Koyeb in a reliable and scalable way. We created a basic Dockerfile to configure Ghost's storage adapter to save media off disk, set up a remote MySQL database, and configured transactional and bulk email delivery for account management and user messaging.
Because our deployment is distributed and does not rely on local resources, it continues to work across redeployments and can scale easily. By offloading persistent data to remote databases and a digital asset management platform, you can manage the blog process and configuration separately from our data.