How to Set Up DocuSeal on Koyeb to Sign and Manage Digital Documents
Introduction
DocuSeal is an open-source document signing and management platform. It allows you to upload PDFs and other digital documents and mark them up to define the fields and signatures needed. Afterwards, you can send out signing requests to all relevant parties and managed the lifecycle of the signature process from within a centralized hub. DocuSeal can be deployed to your own infrastructure and configured to use custom email messaging to make sure it fits your organization's needs.
This guide will cover how to deploy and configure a DocuSeal instance on Koyeb to create, sign, and organize documents for your organization. We will use a PostgreSQL database hosted on Neon to store user information and other data. The documents themselves will be stored in a Backblaze B2 object storage bucket. We will configure DocuSeal to use Mailgun for mail delivery.
You can deploy and configure DocuSeal as configured in this guide using the Deploy to Koyeb button below:

Note: Remember to replace the value of the DATABASE_URL environment variable with the connection URL for your own PostgreSQL database and the value of the SECRET_KEY_BASE variable with a long randomized string. You can find out more about this requirement in the deployment section.
Requirements
To follow along with this guide, you will need to create accounts with the following services. You can use each service's entry-level plan to get started:
- Koyeb: We will use Koyeb to deploy, run, and scale the DocuSeal instance.
- Neon: We will provision a PostgreSQL database with Neon to store user and configuration data.
- Backblaze B2: We will use Backblaze's B2 object storage service to store the actual documents that DocuSeal manages.
- Mailgun: We will use Mailgun to send transactional emails to users for account-related activity and document notifications.
Steps
This guide will cover how to deploy DocuSeal to Koyeb with the following steps:
- Create a PostgreSQL database with Neon
- Create an object storage bucket with Backblaze B2
- Set up the Mailgun SMTP service
- Deploy DocuSeal to Koyeb
- Configure DocuSeal
Create a PostgreSQL database with Neon
DocuSeal uses a relational database to store user data and configuration information. In its default configuration, DocuSeal will use a local SQLite database to manage this information. To ensure that our data survives across redeploys and to make it easier to scale out the execution layer, we will configure it to use an external PostgreSQL database instead. We will use Neon for this to take advantage of their free tier.
To create a new PostgreSQL database, log into your Neon account. In the Neon console, follow these steps:
- In the Projects section, click the Create a project link on the bottom of the page.
- Choose a name for your PostgreSQL database. We will use
docusealfor this guide. - Leave the version to the default selection (15 at the time of writing).
- Select the region to deploy your database. In this guide, we will select "Europe (Frankfurt)" to demonstrate deploying resources in Europe, but you should choose the region closest to your users.
- Click the Create project button to begin provisioning your new database.
The following screen will show the connection details for your new database. Click on the copy icon associated with the psql connection string to copy it and save it to a safe place for later reference. We will use this value when we configure DocuSeal so that it can connect to and authenticate with the database.
Create an object storage bucket with Backblaze B2
Like the information stored in the database, by default, DocuSeal will attempt to store uploaded documents locally. Since the local disk space attached to our DocuSeal instance will be ephemeral, we need to keep our documents somewhere more persistent. For this, we'll use an object storage bucket provided by Backblaze B2.
To create an object storage bucket for DocuSeal, log into your Backblaze account and follow these steps:
- In the B2 Cloud Storage section on the left side of the dashboard, click Buckets.
- Click Create a Bucket to begin configuring a new bucket.
- Choose a name for the bucket. This must be globally unique, so choose a name not likely to be used by another user.
- Set the bucket privacy to Private.
- Enable the default encryption. This will help protect sensitive documents in storage.
- Choose to Disable the object lock. This feature, while useful, would prevent some of the document management capabilities we want DocuSeal to have.
- Click Create a Bucket to create the new bucket.
Copy and save the following information about your new bucket. You'll need it later to configure DocuSeal:
| Backblaze B2 item | DocuSeal field | Example value |
|---|---|---|
| Bucket name | Bucket | some-bucket-name |
| Endpoint | Endpoint | s3.eu-central-003.backblazeb2.com |
Now that you have a bucket, you need to create API credentials so that DocuSeal can authenticate to Backblaze as well as upload and manage documents:
- In the Account section on the left side of the dashboard, click Application Keys.
- Under Your Application Keys, click Add a New Application Key to begin configuring a new key.
- Select a name for your key to help you identify it more easily.
- Select the bucket you just created in the Allow access to Bucket(s) drop-down menu.
- Select Read and Write as the access type.
- Leave the remaining fields blank to accept the default policies.
- Click Create New Key to generate the new key to manage your bucket.
Copy and save the following information related to your new API key. You'll need it to properly authenticate to your Backblaze account and perform object operations:
| Backblaze B2 item | DocuSeal field | Example value |
|---|---|---|
keyID | Access key ID | 008c587cb98cb3d0000000003 |
applicationKey | Secret access key | K002cbYLV/CkW/x+28zsqmpbIAtdzMM |
Set up the Mailgun SMTP service
Next, you need to copy the SMTP information for your Mailgun account. DocuSeal uses email to perform account-related messages and for notifications about document changes.
To begin, log into your Mailgun account. In the side navigation pane, open the Sending menu. Next, click the Overview sub-menu item.
Mailgun offers sandbox domains to test its functionality. These are useful, but restricted to sending emails only to previously authorised email addresses. We can use this to test the mail delivery with DocuSeal for free. On the right sidebar of the Overview page, enter the email address you want to send test emails to in email address input field of the Authorized Recipients section and click the Save Recipient button.
Mailgun will send a verification email to the provided address. In the verification email, click the I Agree button to complete the authorisation process. If you refresh the page in Mailgun, you see that the target email address is now marked as verified.
From this same page, click the Select box associated with "SMTP" to see the information you need to send email using your Mailgun account. The information related to using SMTP with your Mailgun account will be displayed. Copy and save the following information:
| Mailgun SMTP info | DocuSeal Email field | Example |
|---|---|---|
| SMTP hostname | Host | smtp.mailgun.org |
| Username | "Username" and "Send from Email" | postmaster@sandboxbac59f0e6dac45cdab38e53aee4e1363.mailgun.org |
| Password | Password | e627704d99111f00c7aedf3805961383-262b123e-66b6979f |
Note: Mailgun displays port 587 as the recommended port. However, because of the authentication DocuSeal uses, we'll use the alternative port 465 when configuring the service instead.
Deploy DocuSeal to Koyeb
With the database connection string in hand, you can now deploy DocuSeal to Koyeb.
Start by logging into your Koyeb account. Follow these steps to deploy the default DocuSeal container image to the platform:
- On the Overview tab of the Koyeb console, click Create Web Service.
- Select Docker as your deployment method.
- Set the Image to
docker.io/docuseal/docuseal. You can append an image tag if you'd like to deploy a different tag. - In the Environment variables and files section, click the Add variable button to add the following variables:
DATABASE_URL: set to the connection URI you copied from Neon.SECRET_KEY_BASE: set to a unique random string. You can generate a string locally with OpenSSL by runningopenssl rand -hex 64locally. This same string needs to be set for redeployments or replicas to work correctly.
- Choose a name for your App and Service and click Deploy.
Koyeb will pull the DocuSeal container image from Docker Hub and use it to provision a new container. The DocuSeal application will start up, connect to and initialize the database, and begin listening on the port specified in the configuration.
Configure DocuSeal
Once DocuSeal is up and running, you can visit your Koyeb Service's subdomain (you can find this on your Service's page) to connect. It will have the following format:
https://<YOUR_APP_NAME>-<KOYEB_ORG_NAME>.koyeb.app
Set up the admin account
When you visit DocuSeal's URL, you will be redirected to an account creation page.
Fill out the form with your own information. For the "App URL" field, enter your Koyeb Service's subdomain that you are using to access DocuSeal. It will have the same format listed above:
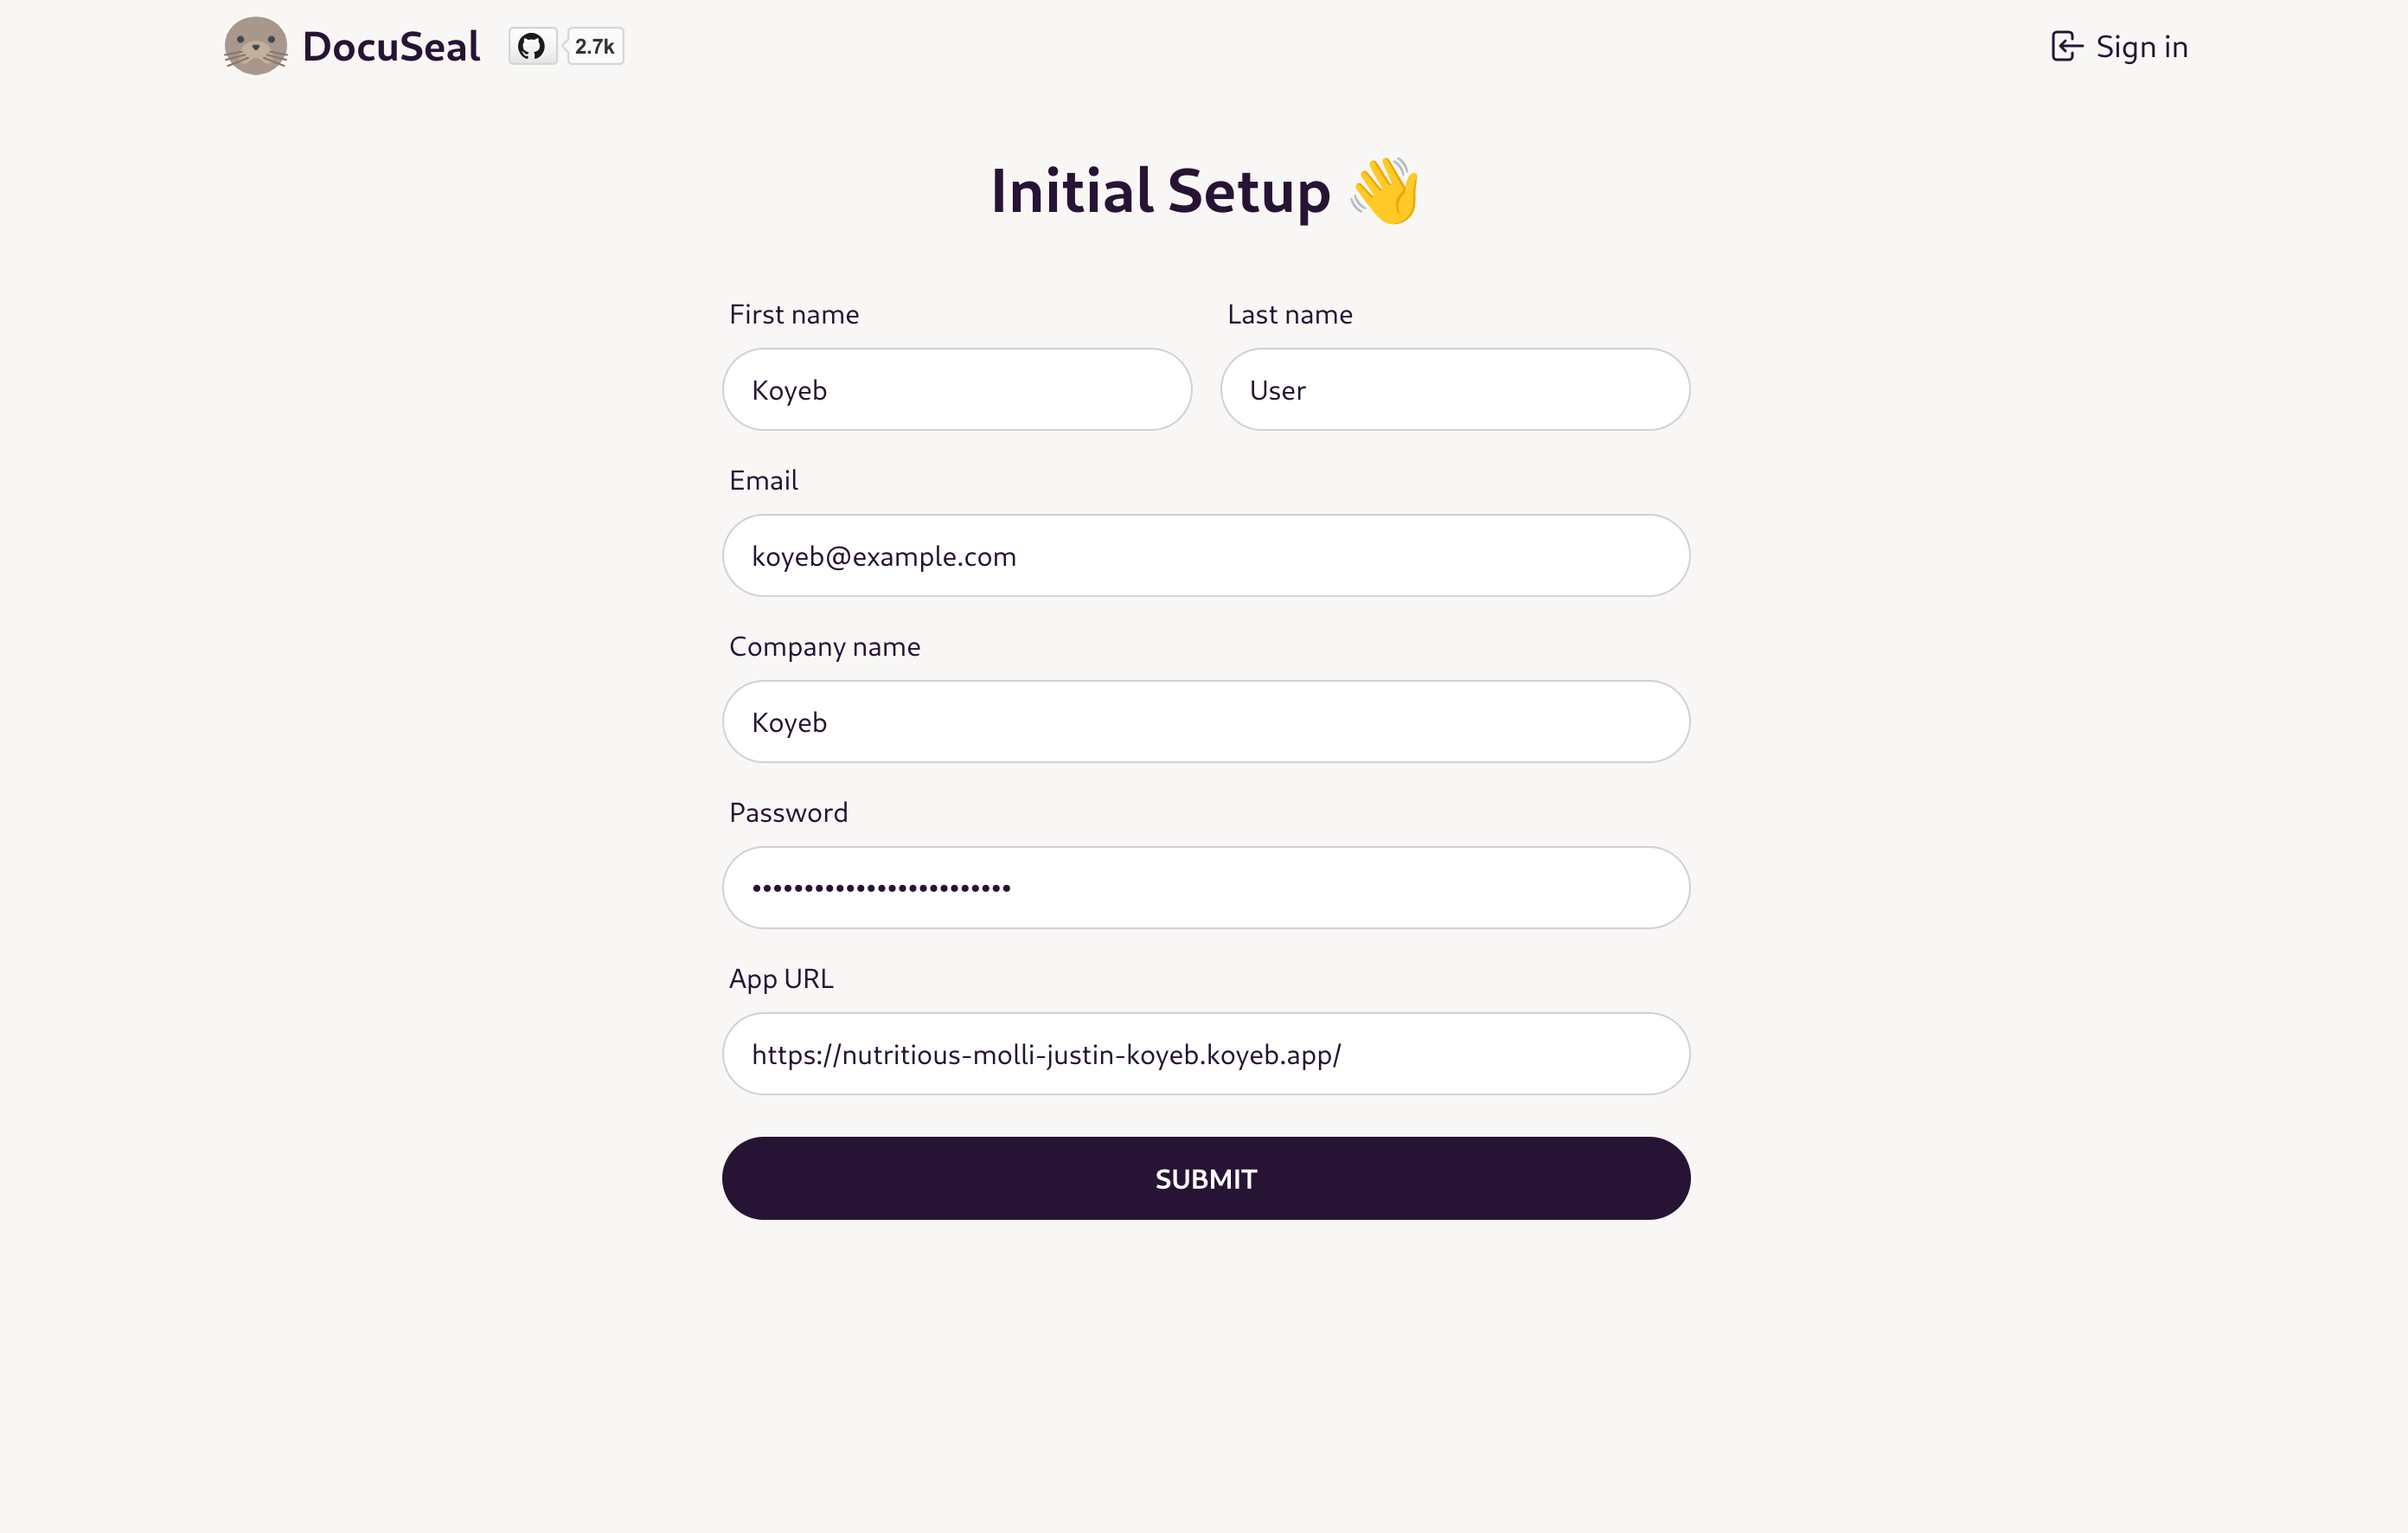
Click Submit when you are finished.
Next, you'll have the option to sign up for email updates about the DocuSeal project:
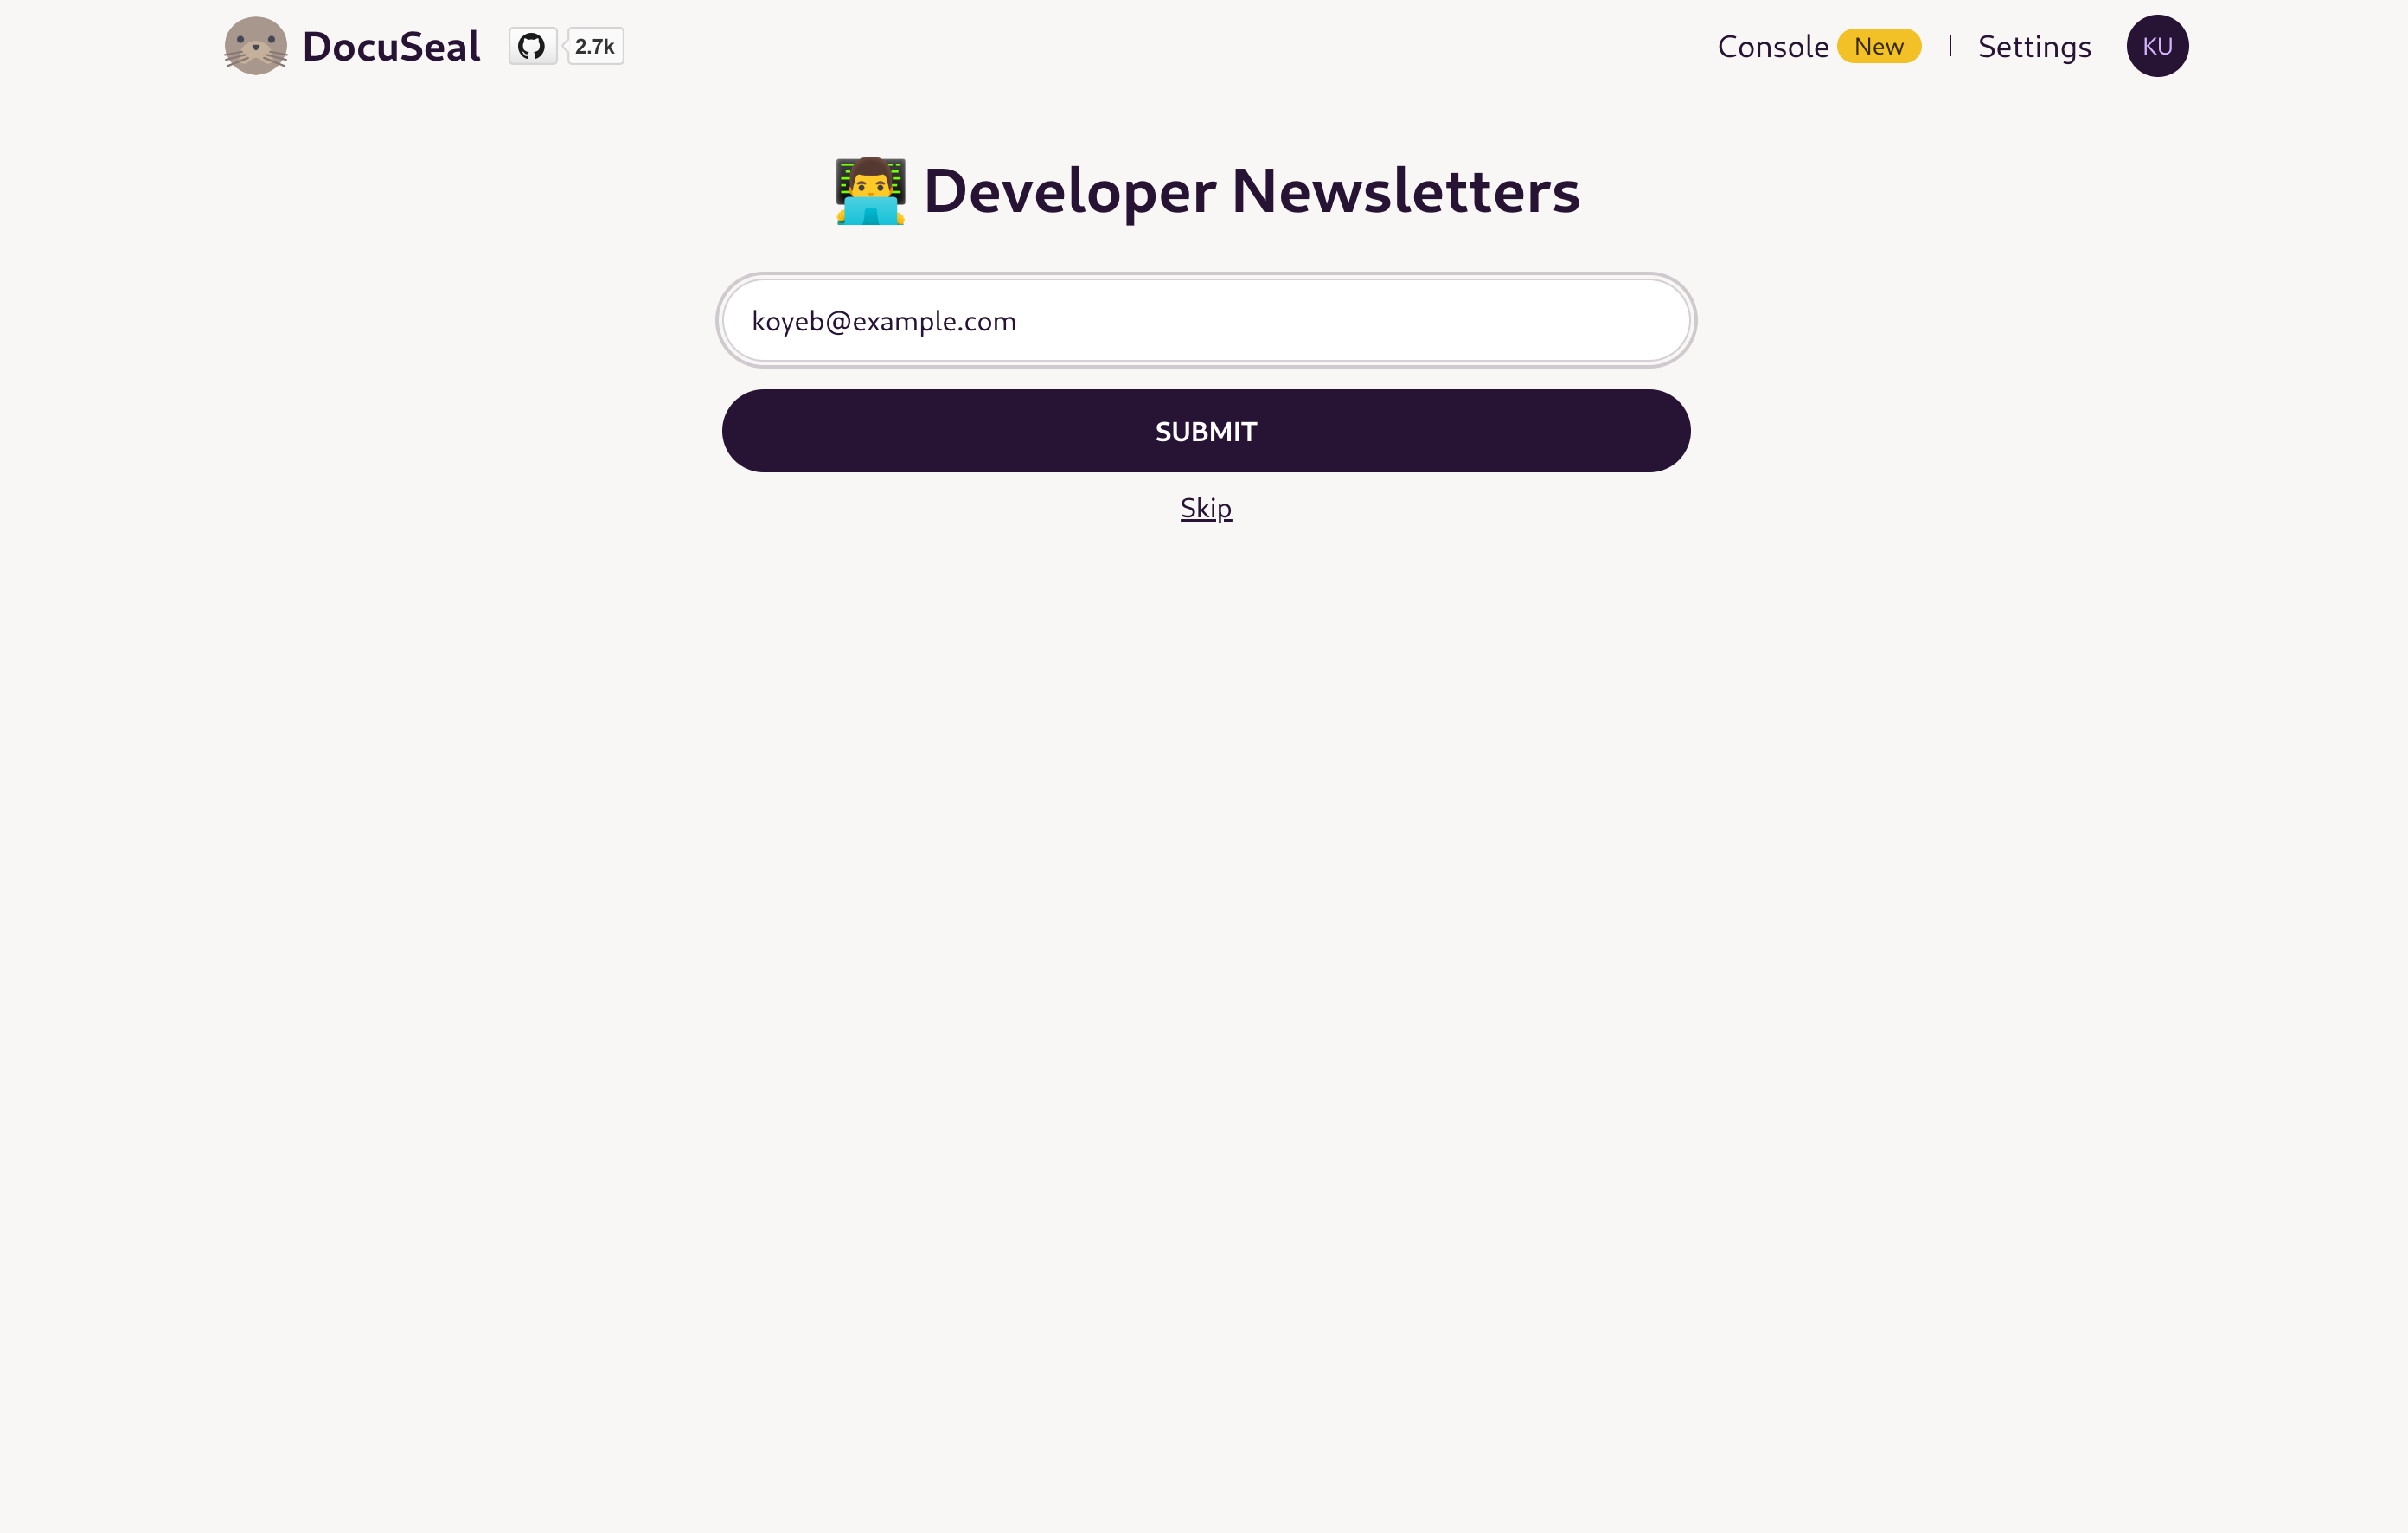
Either enter your email and click Submit or click Skip to continue.
You'll be dropped into the initial DocuSeal welcome page:
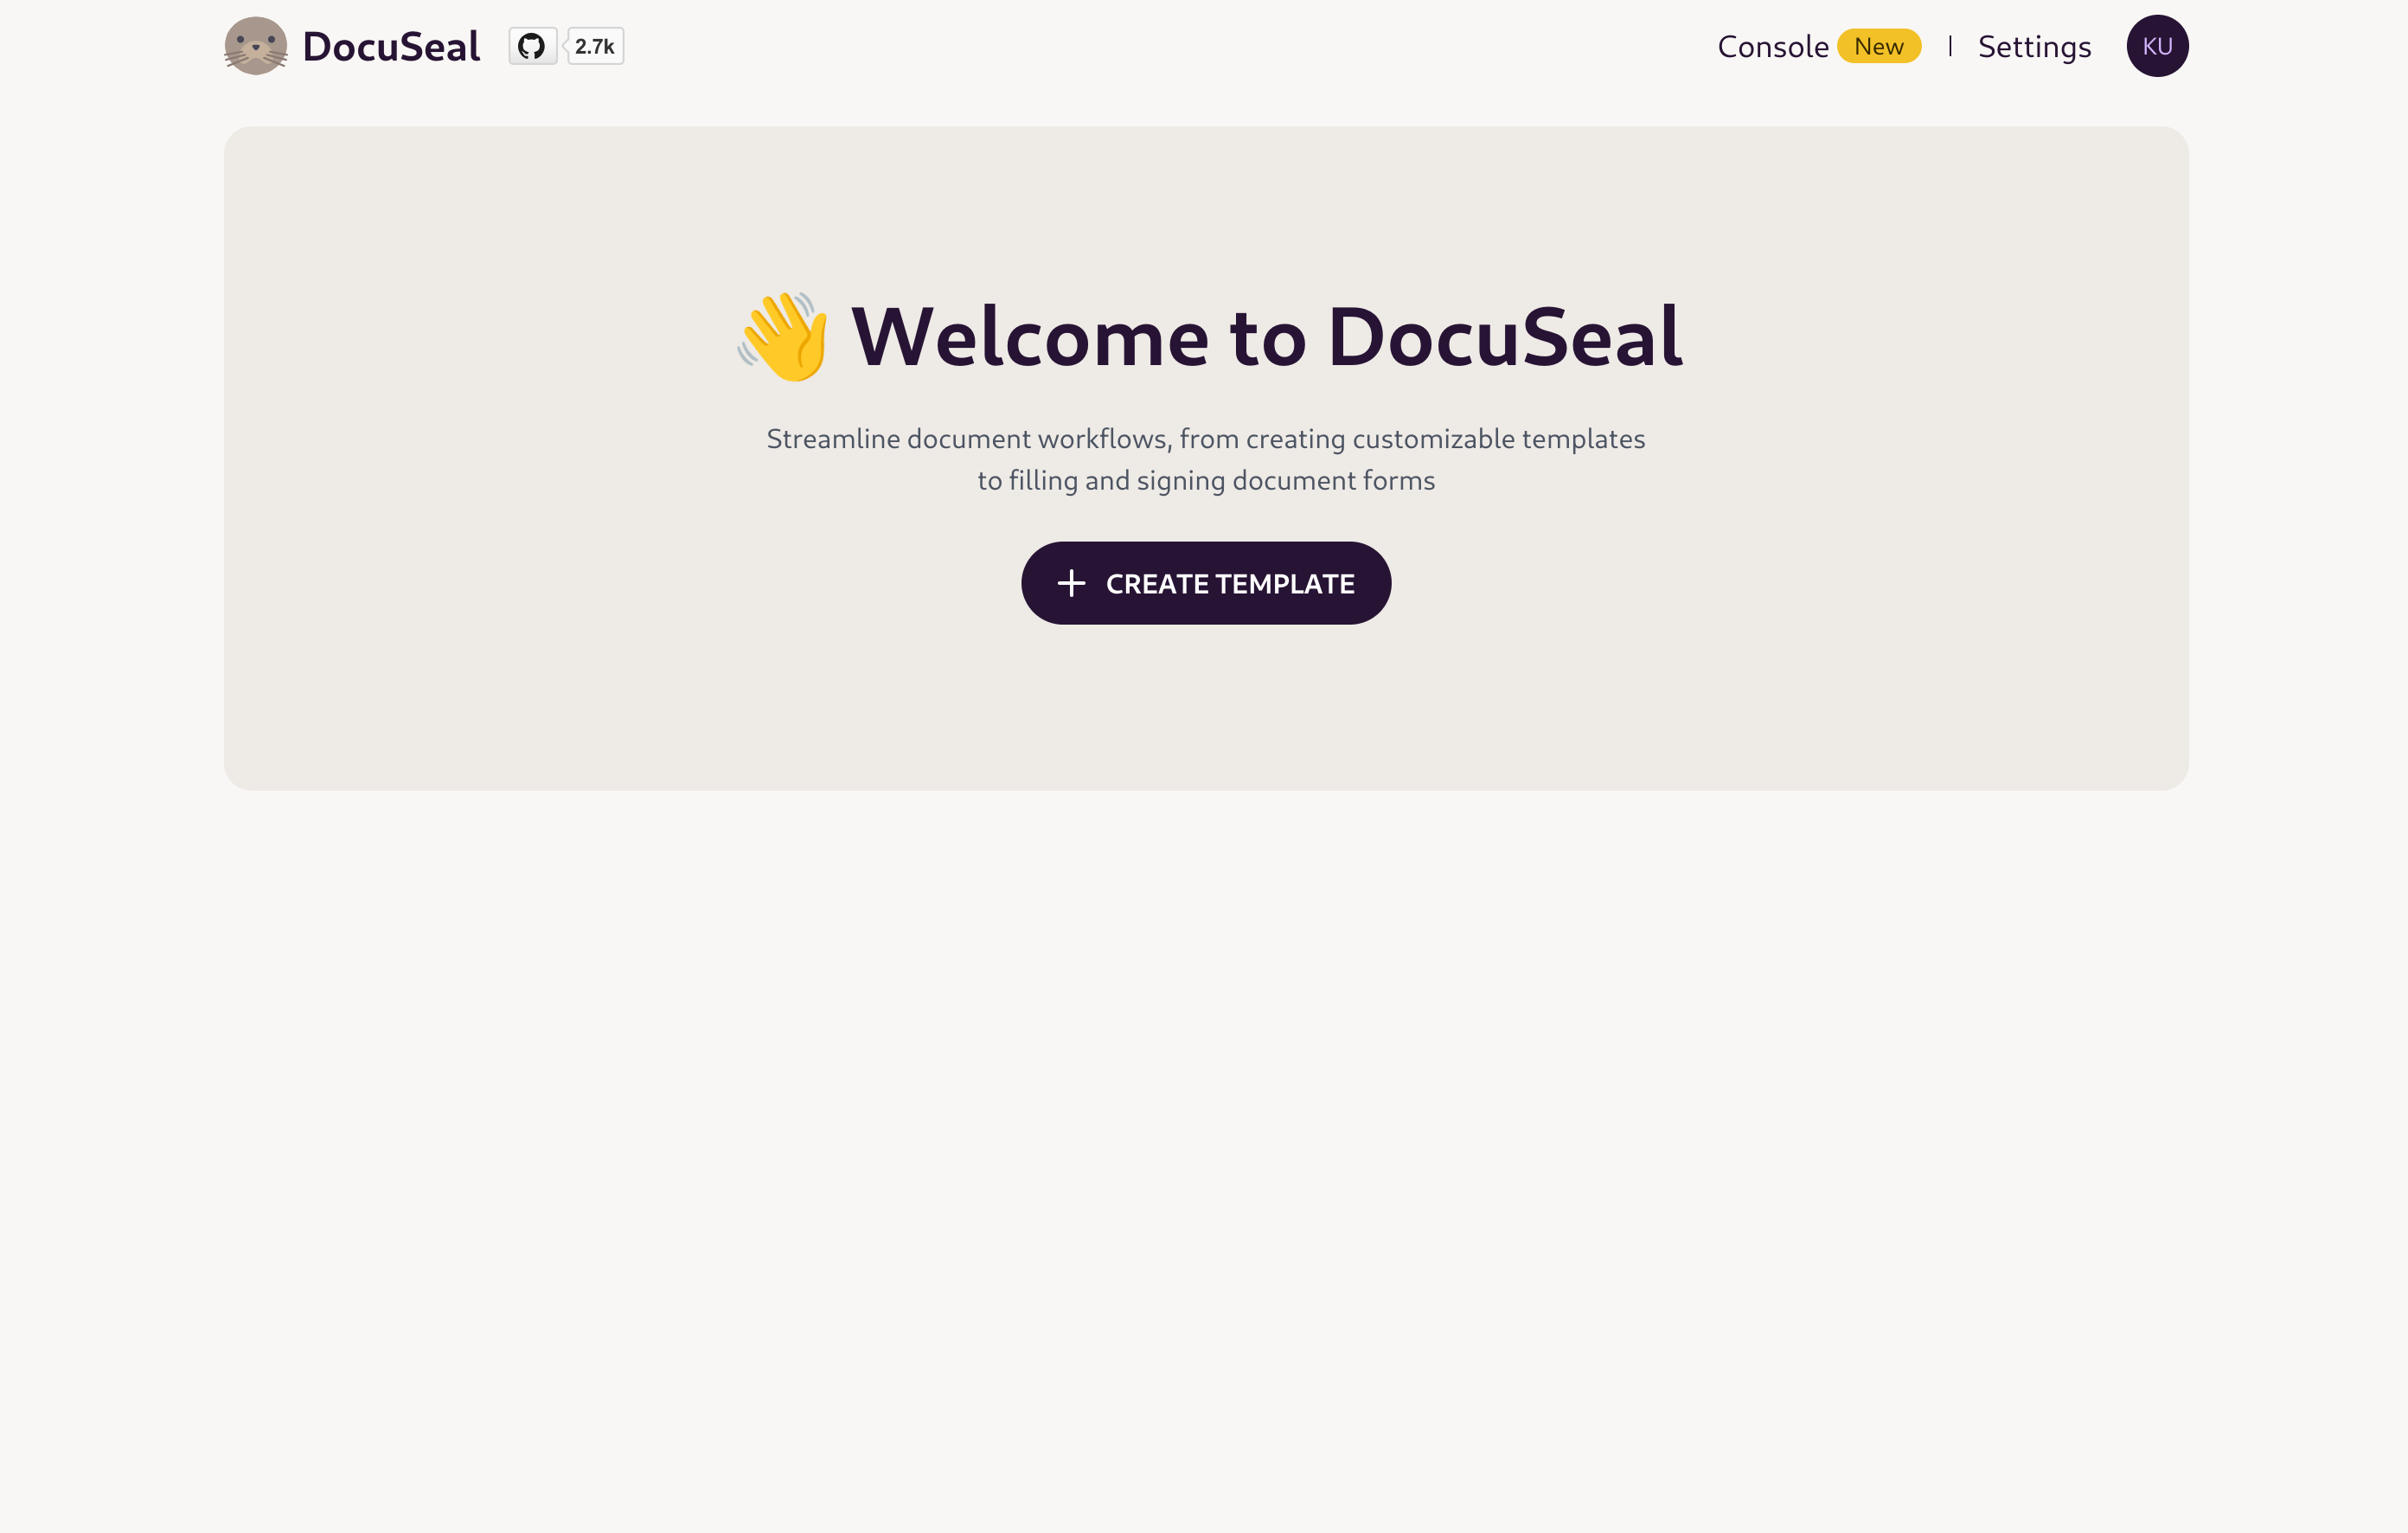
Now that we have an account, we can begin configuring DocuSeal.
Configure object storage
First, we need to configure DocuSeal to store all of its documents and other files in our object storage bucket.
In the upper-right corner, click Settings to access the configuration pages. In the left-hand menu, click Storage to continue:

Since Backblaze B2 is an AWS S3-compatible object storage implementation, click on the AWS option.
Configure the object storage by filling out the following information taken from your Backblaze account. See the notes that follow for specific information you'll need to know:
| DocuSeal field | Backblaze B2 item | Example value |
|---|---|---|
| Access key ID | keyID | 008c587cb98cb3d0000000003 |
| Secret access key | applicationKey | K002cbYLV/CkW/x+28zsqmpbIAtdzMM |
| Region | (not used) | any-string |
| Bucket | Bucket name | some-bucket-name |
| Endpoint | Endpoint | https://s3.eu-central-003.backblazeb2.com |
Note 1: For the "Endpoint" value, you need to prepend https:// to the value copied from the Backblaze dashboard.
Note 2: While Backblaze B2 can be used in different regions (you must select this during original account creation), it doesn't use those designations for bucket addressing (it is built directly into the endpoint name instead). This field is marked as required, so enter any dummy string to continue.
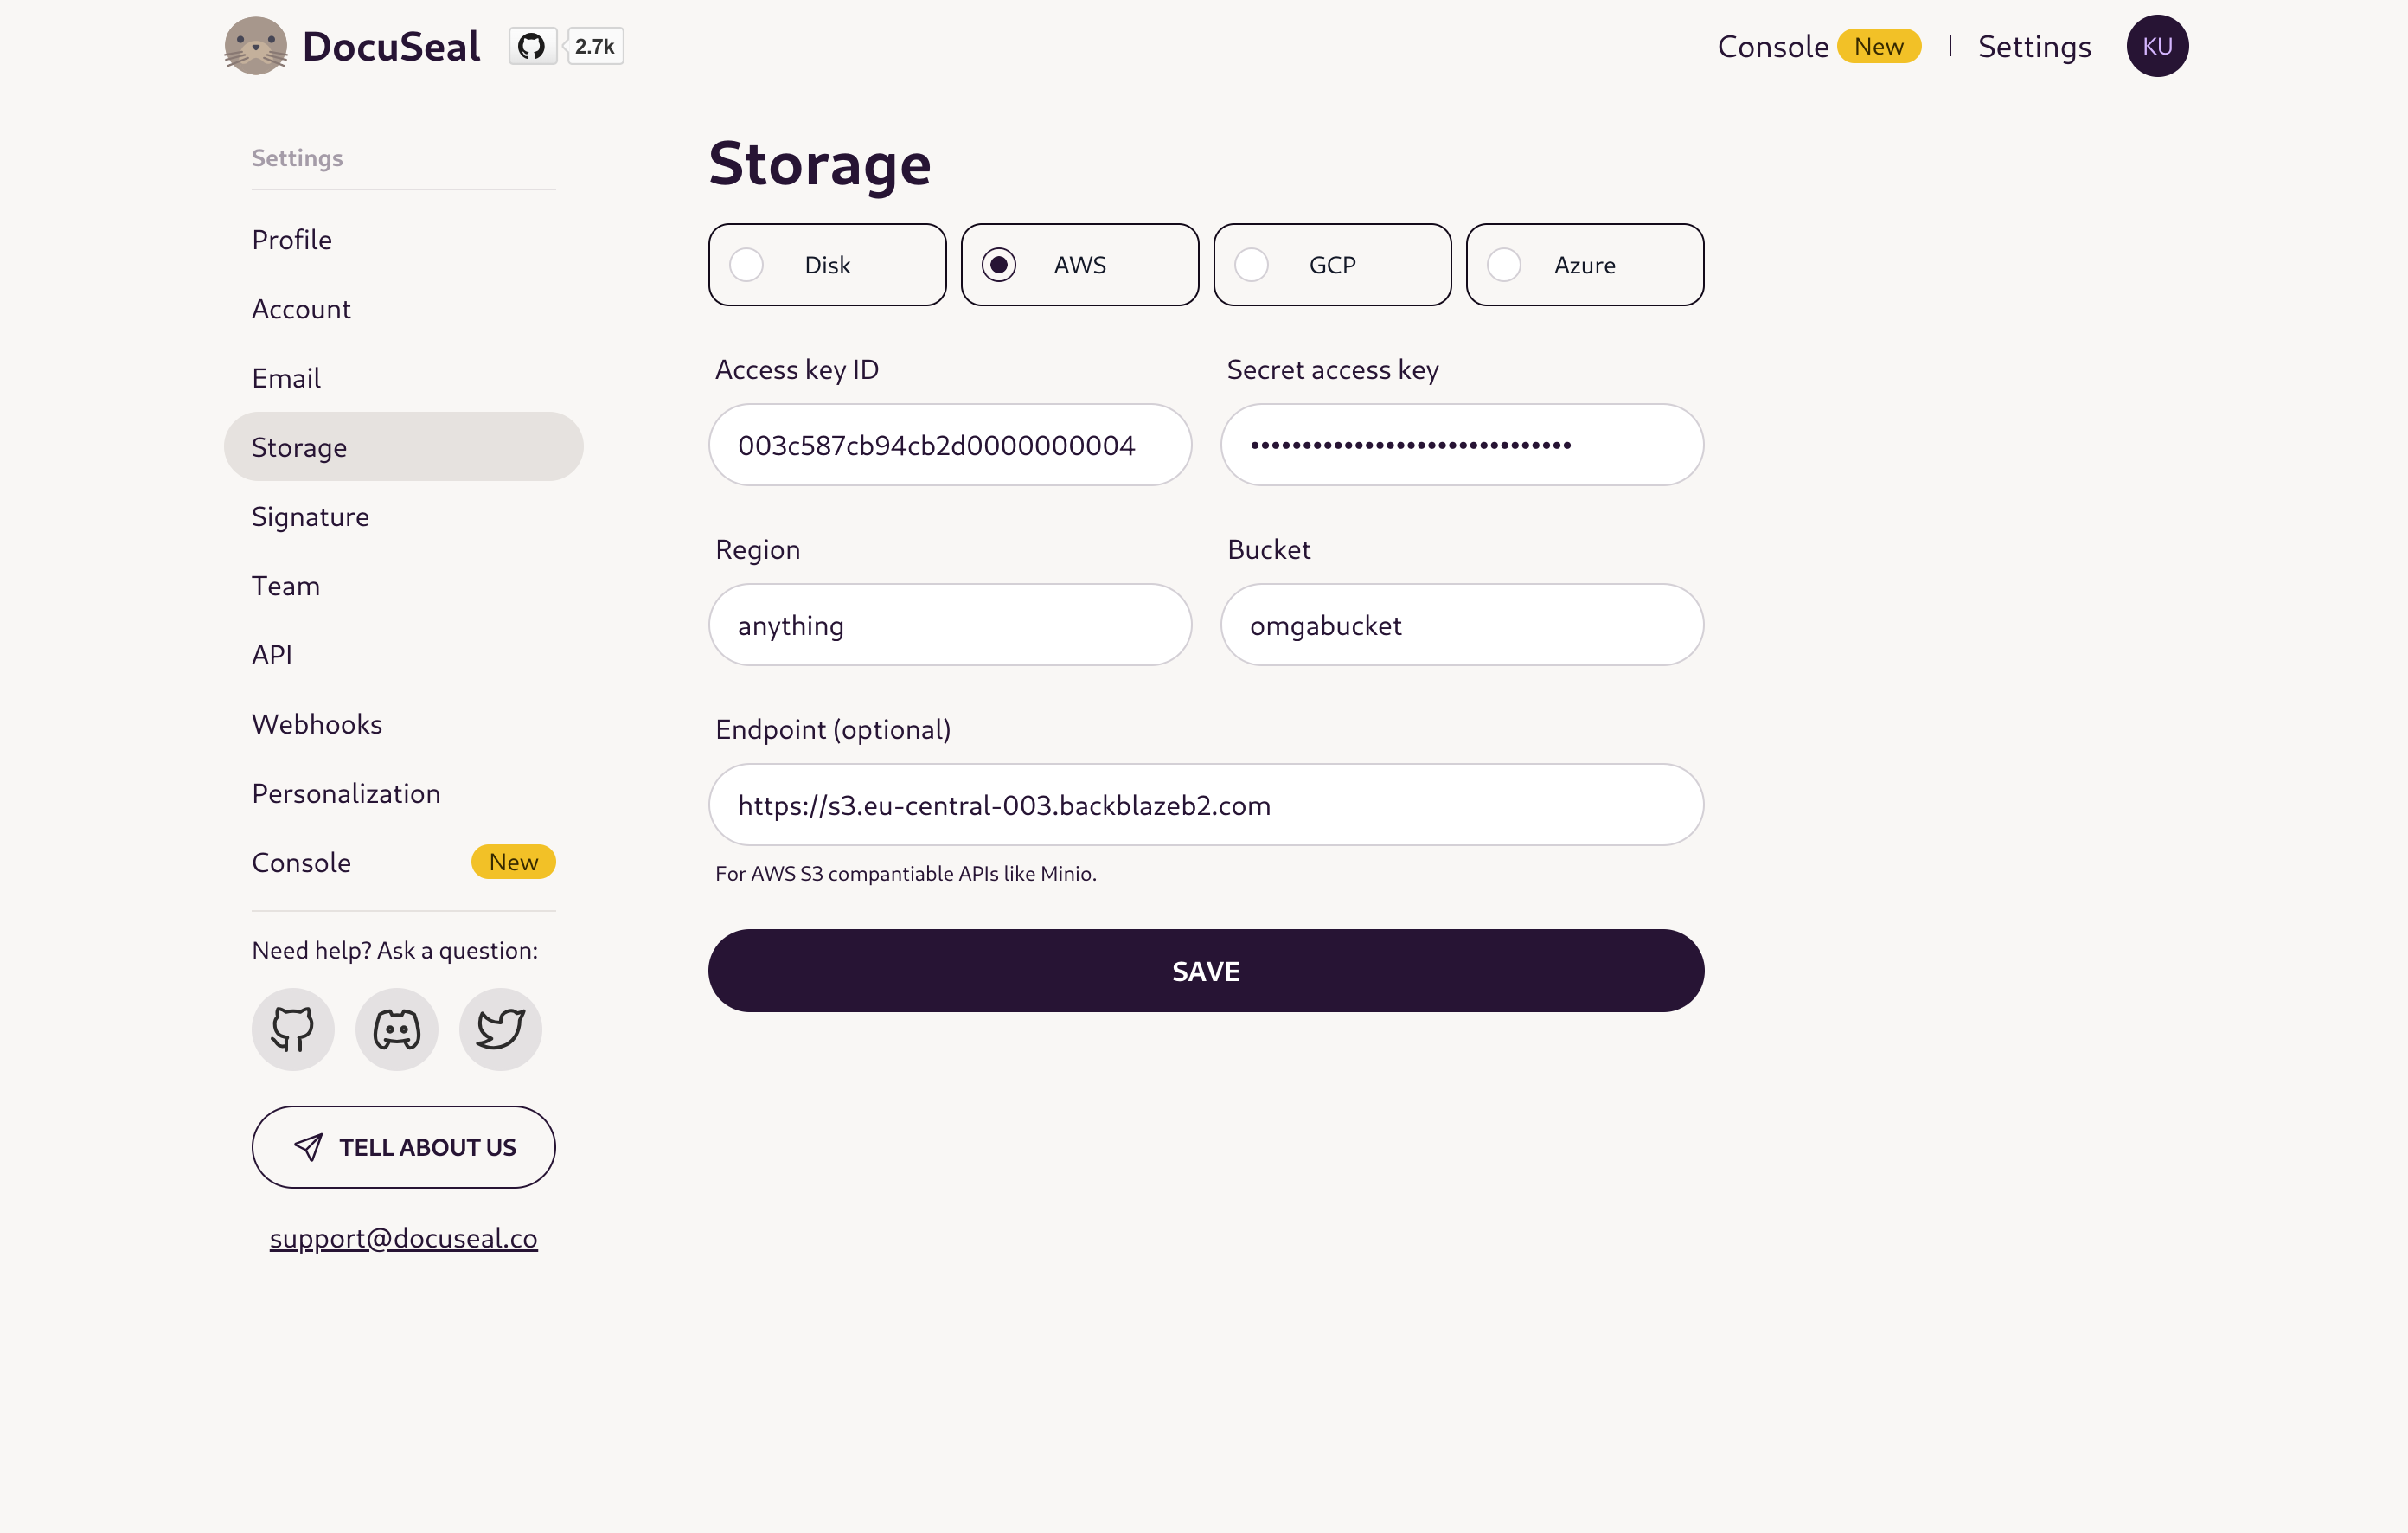
When you are finished entering the information about your Backblaze B2 bucket, click Save to continue.
Configure SMTP for email
Next, configure email by clicking the Email item in the left-hand menu.
Fill in the following information using the information from your Mailgun account:
| DocuSeal Email field | Mailgun SMTP info | Example |
|---|---|---|
| Host | SMTP hostname | smtp.mailgun.org |
| Port | 465 (587 does not work) | 465 |
| Username | Username | postmaster@sandboxbac59f0e6dac45cdab38e53aee4e1363.mailgun.org |
| Send from Email | Username | postmaster@sandboxbac59f0e6dac45cdab38e53aee4e1363.mailgun.org |
| Password | Password | e627704d99111f00c7aedf3805961383-262b123e-66b6979f |
Note 1: As mentioned earlier, Mailgun displays port 587 as the recommended port, but because of the authentication DocuSeal uses, we'll use the alternative port 465 when configuring the service instead.
Note 2: We are using a Mailgun sandbox domain for testing which can only send to authorized email addresses. At the time of writing, when the SMTP information is saved, DocuSeal will show the following message:
could not get 3xx (421: 421 Domain sandbox<SANDBOX_ID>.mailgun.org is not allowed to send:
Free accounts are for test purposes only. Please upgrade or add the address to authorized
recipients in Account Settings. )
While this indicates that something went wrong, test emails to the authorized account will still be sent successfully. You can safely ignore this message.
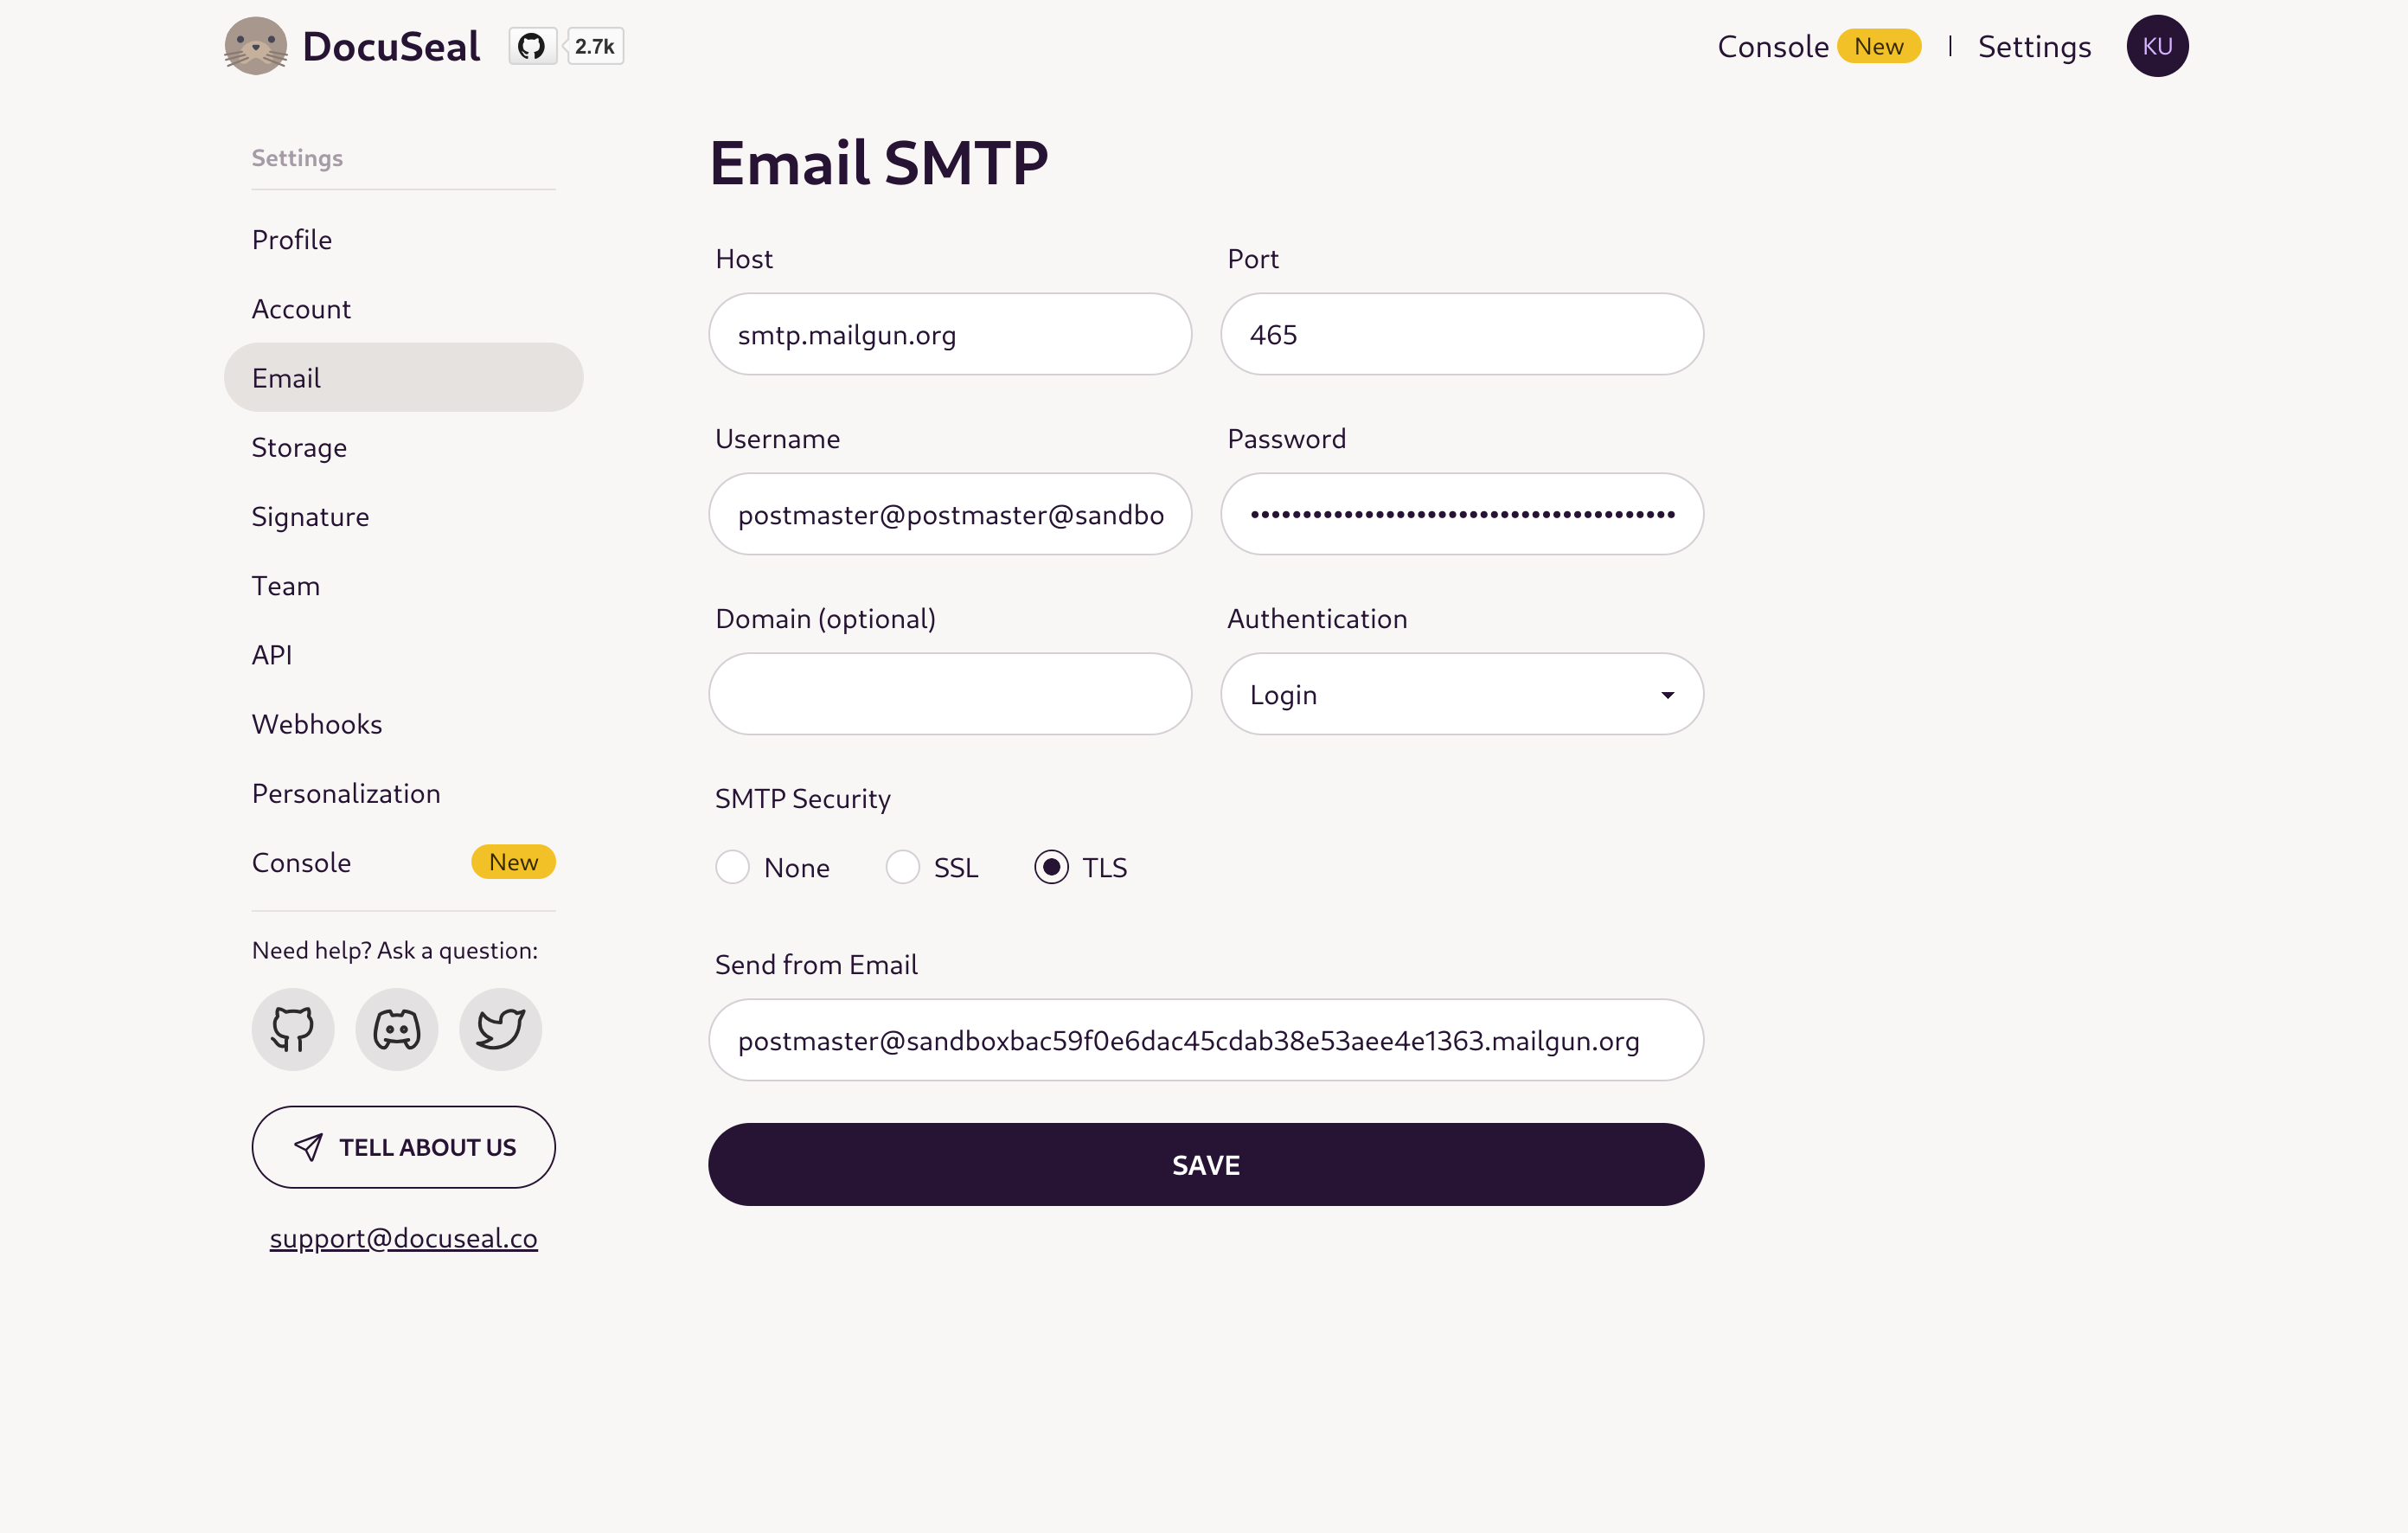
Click Save when you are finished.
Test the document management workflow
Now that DocuSeal is configured, we can begin to test the features and demonstrate the document workflow.
Click the main DocuSeal logo in the upper left corner to go to the main welcome page.
Click Create Template to begin configuring your first document template:
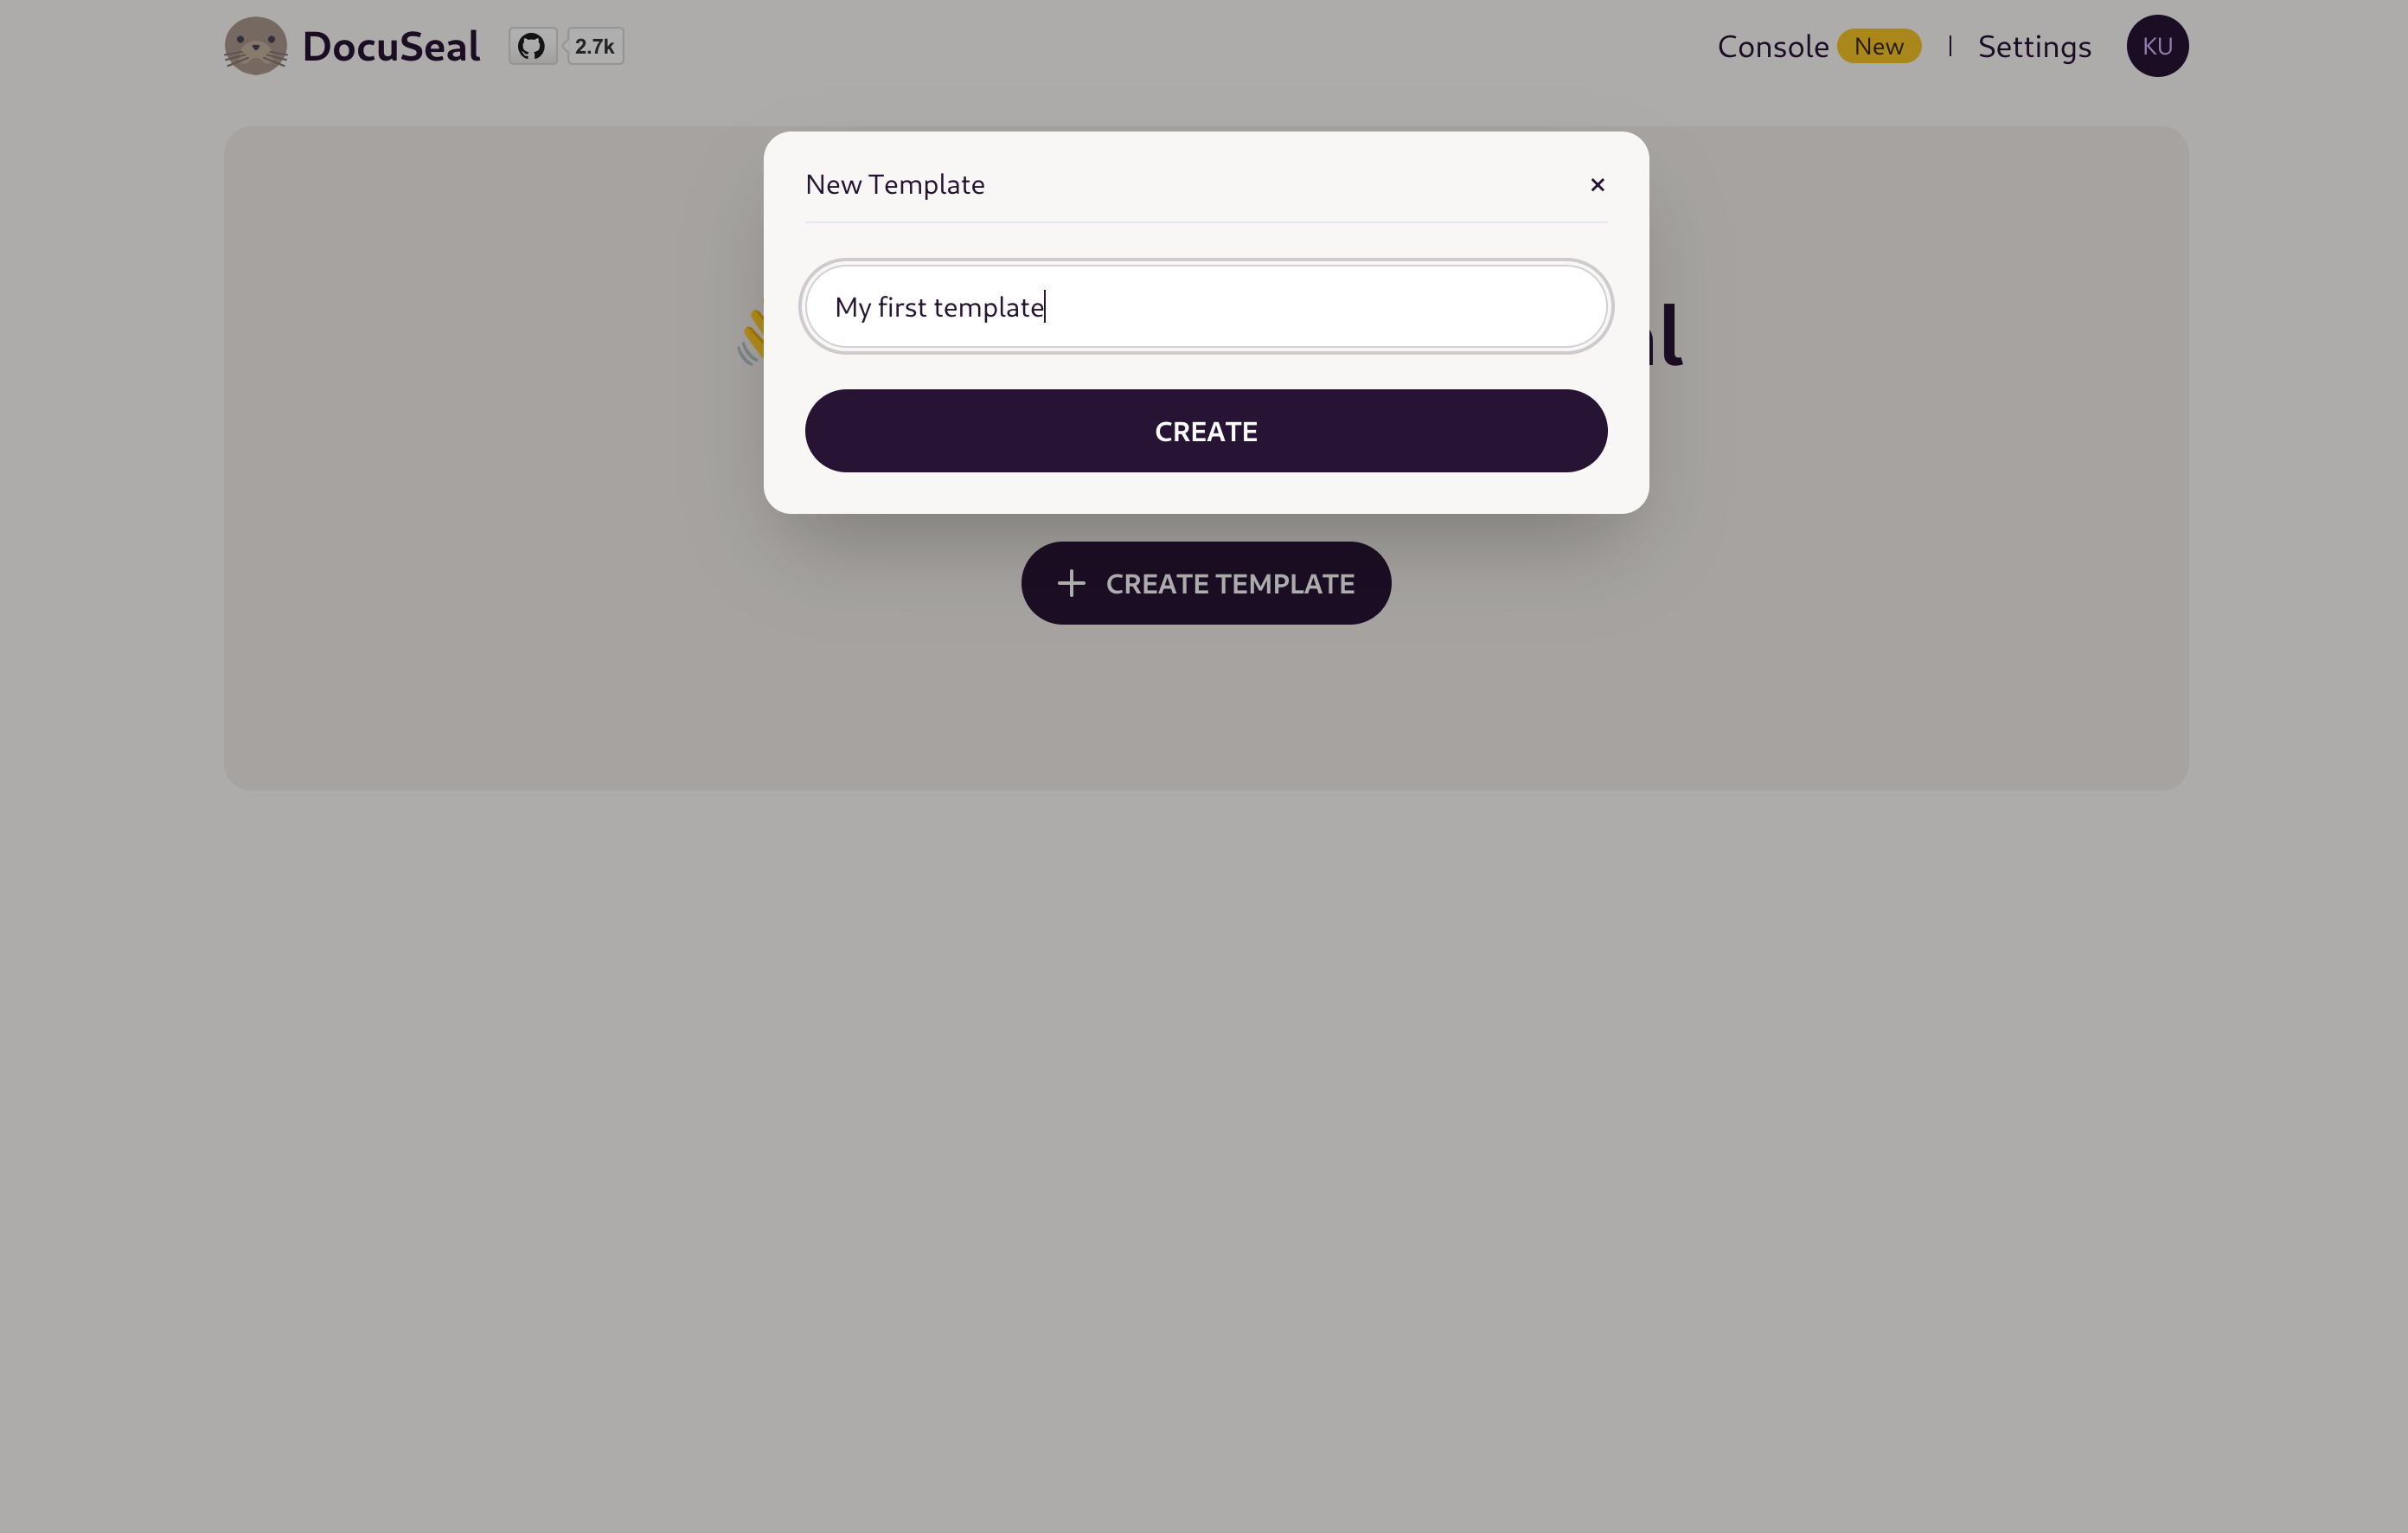
Choose a name for your template and click Create.
On the following page, you can begin to configure your first PDF template:
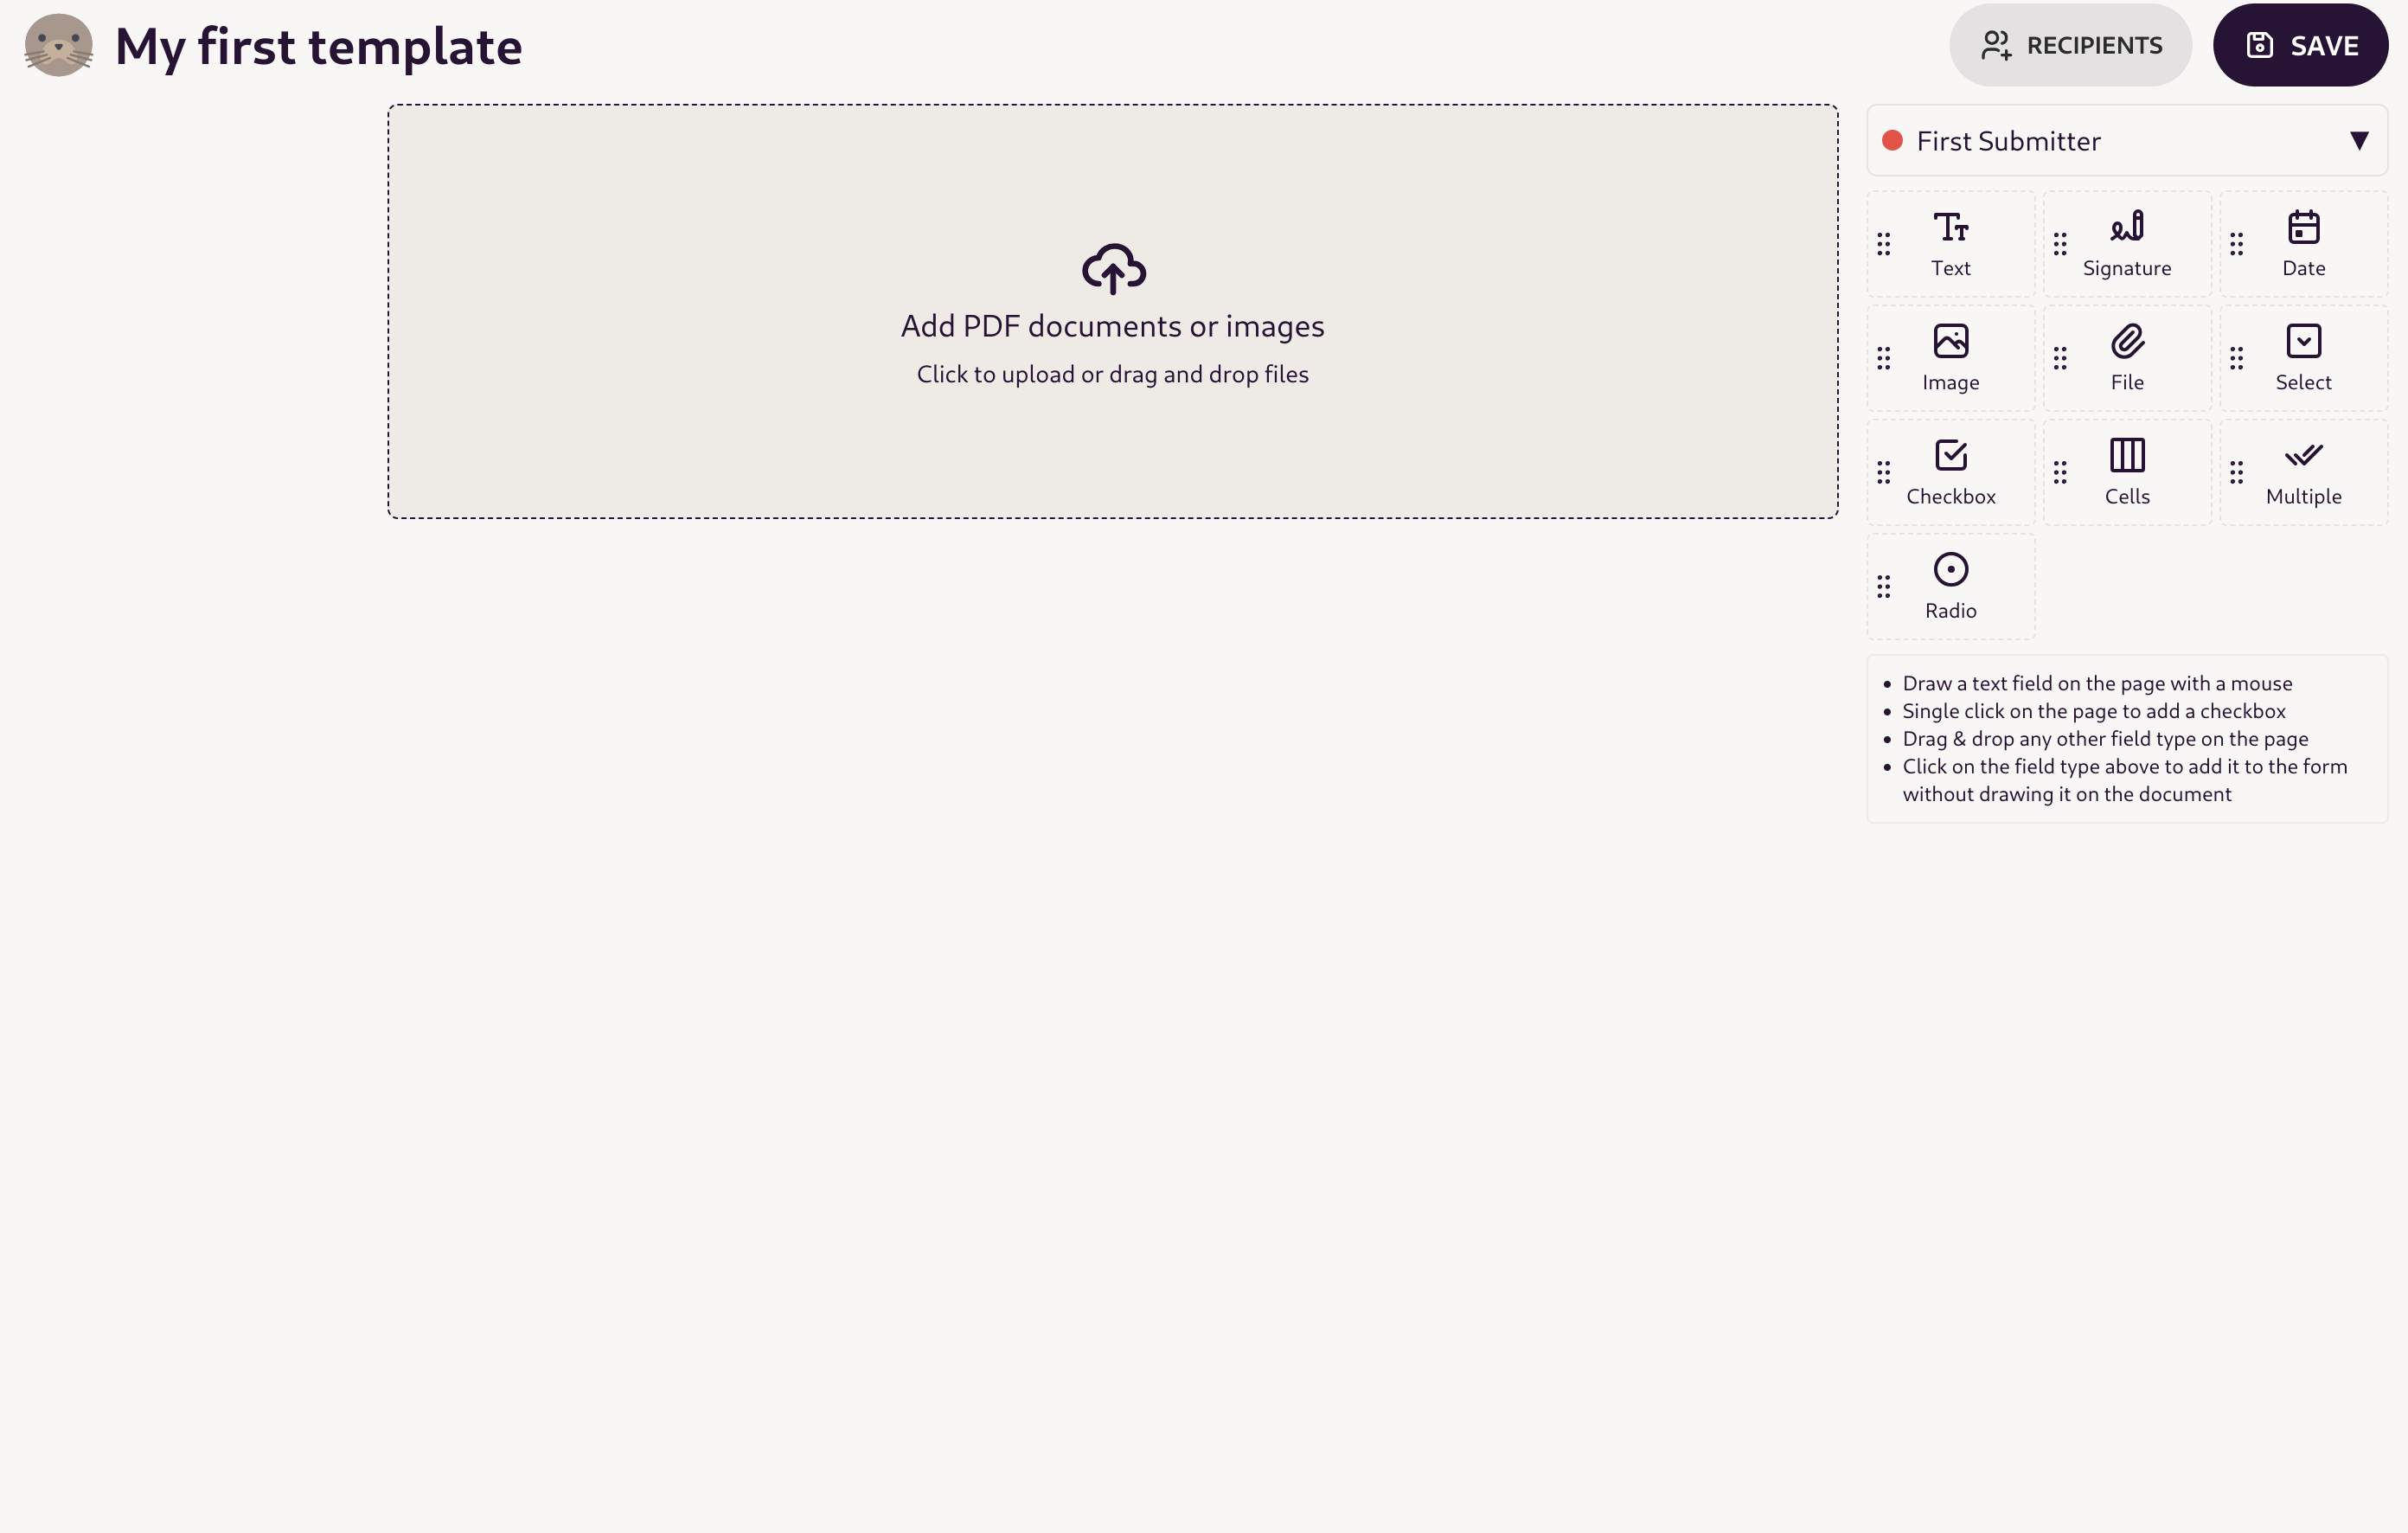
Click Add PDF documents or images to upload your first form. As an example, we'll use the US tax withholding certificate (form W-4) published by the IRS. Select the file with your browser's file selector and upload it to begin.
The form will be uploaded and rendered in the template configuration window:
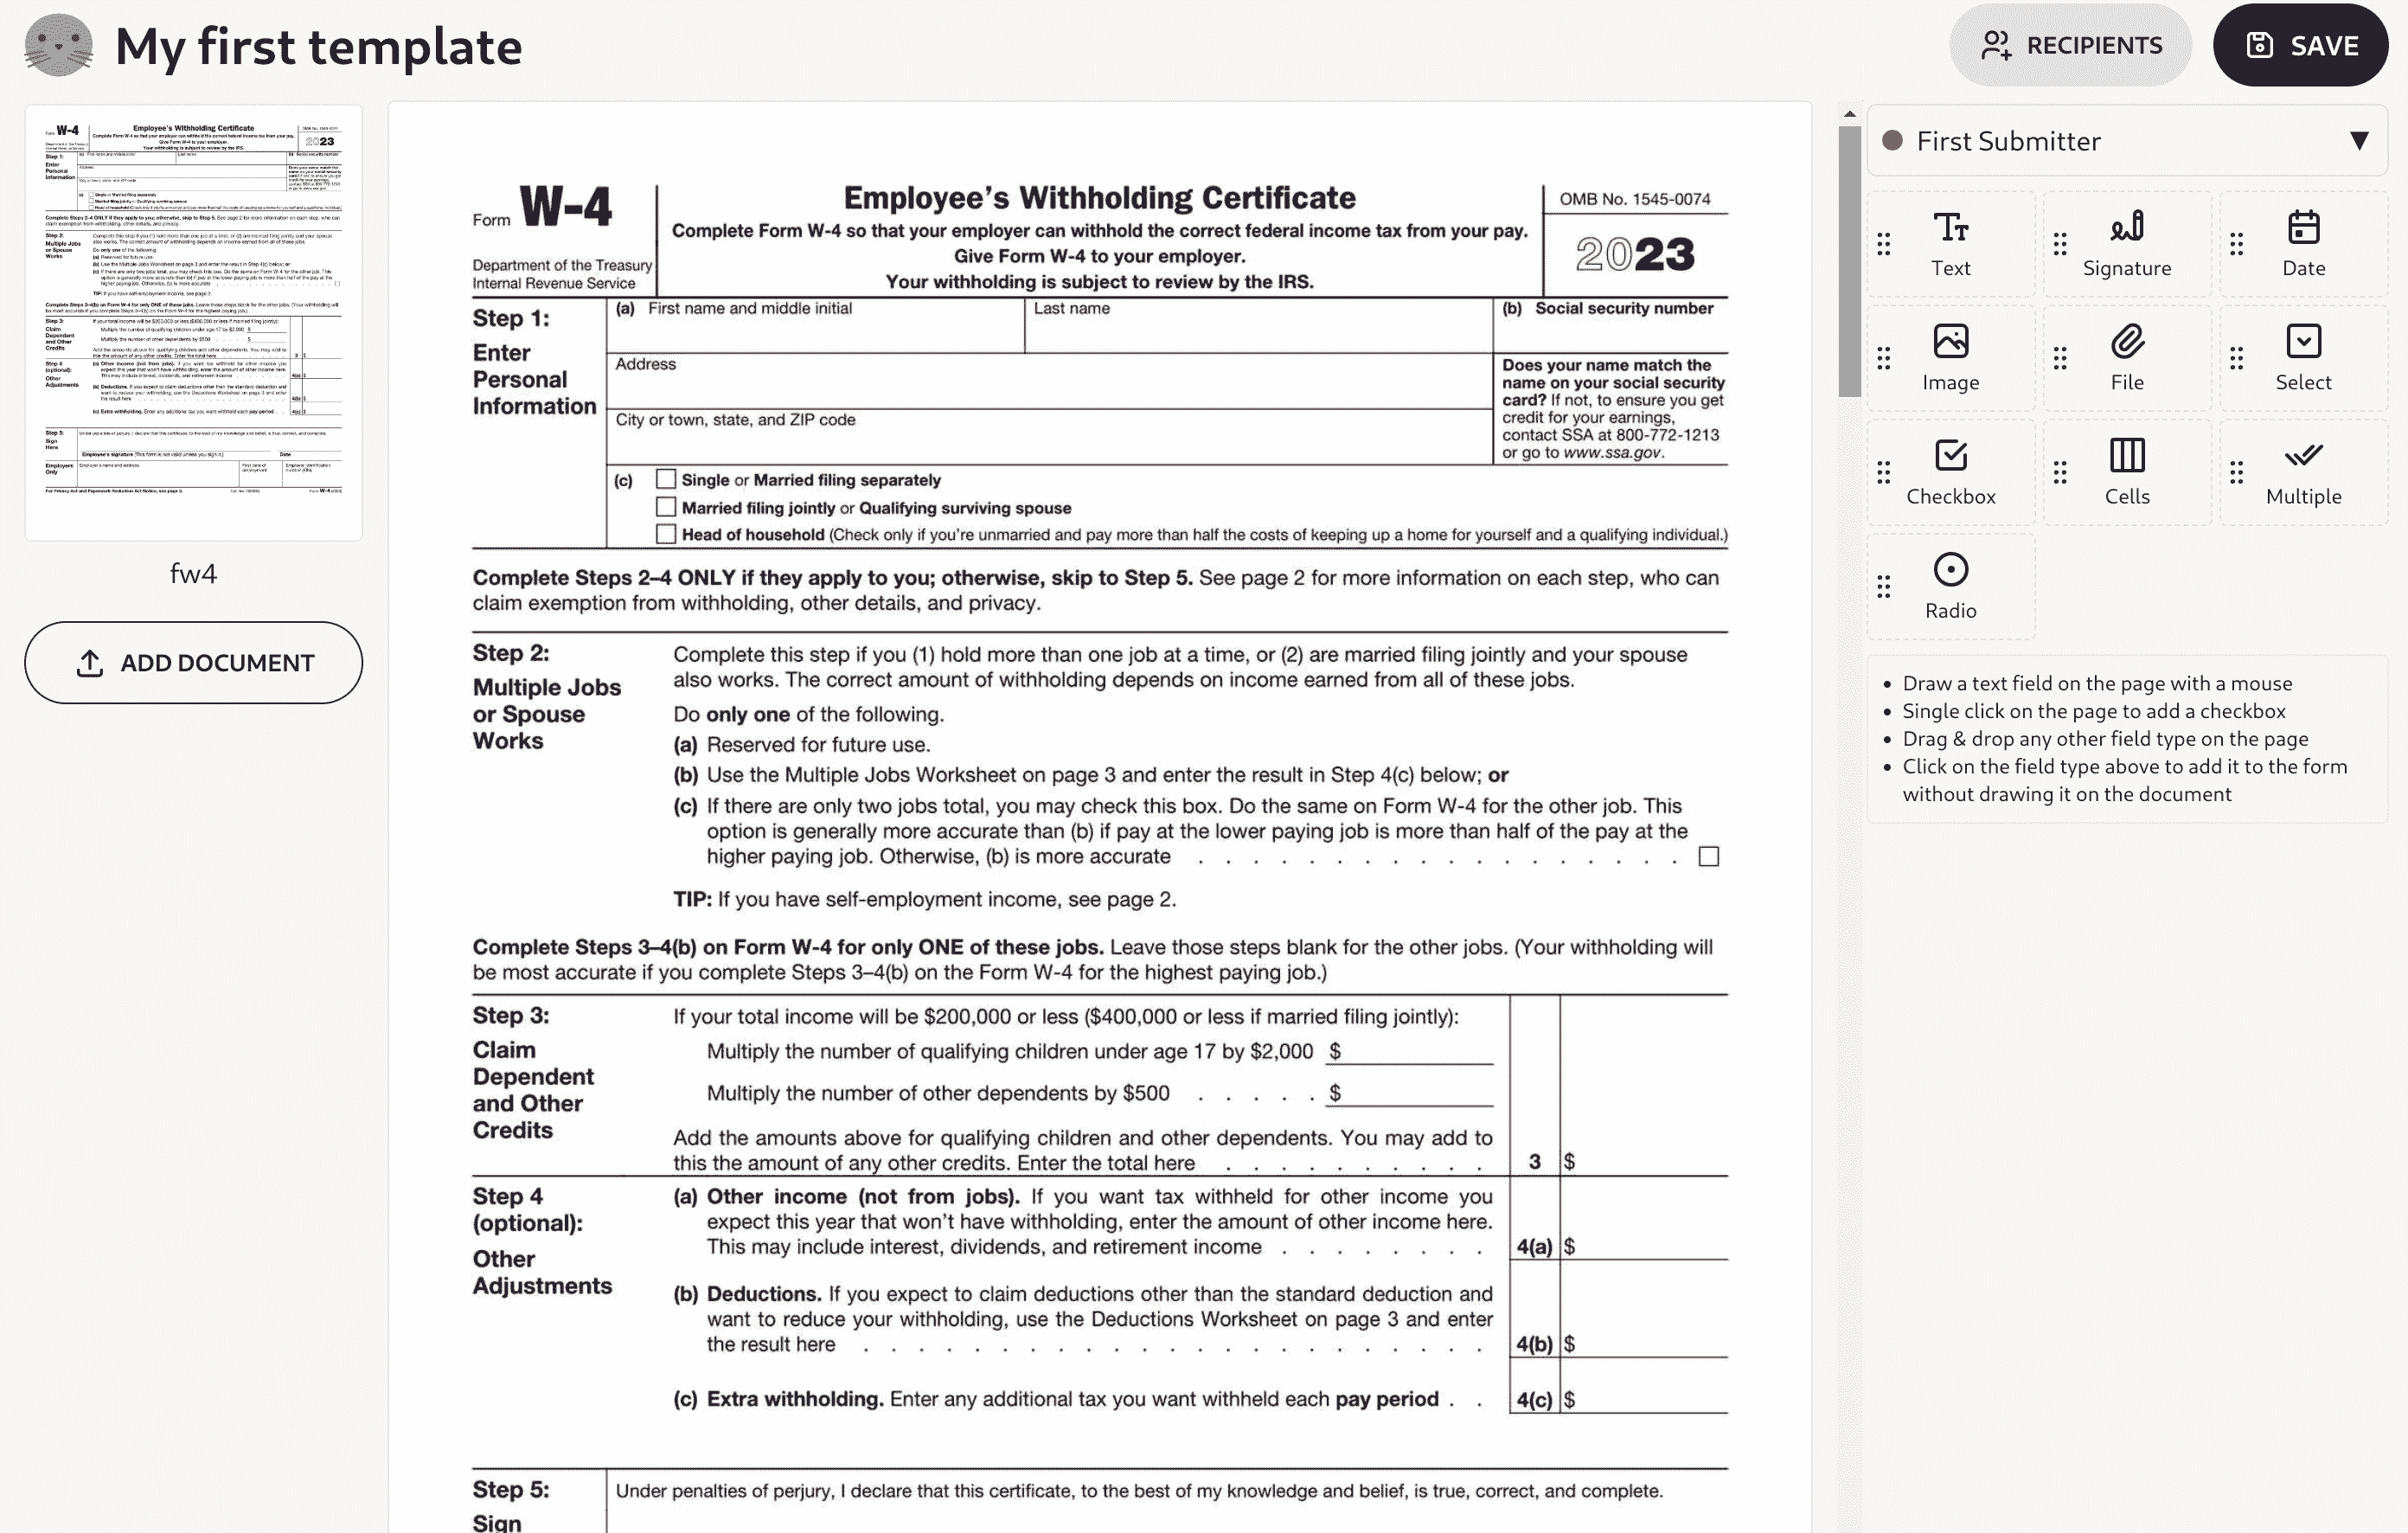
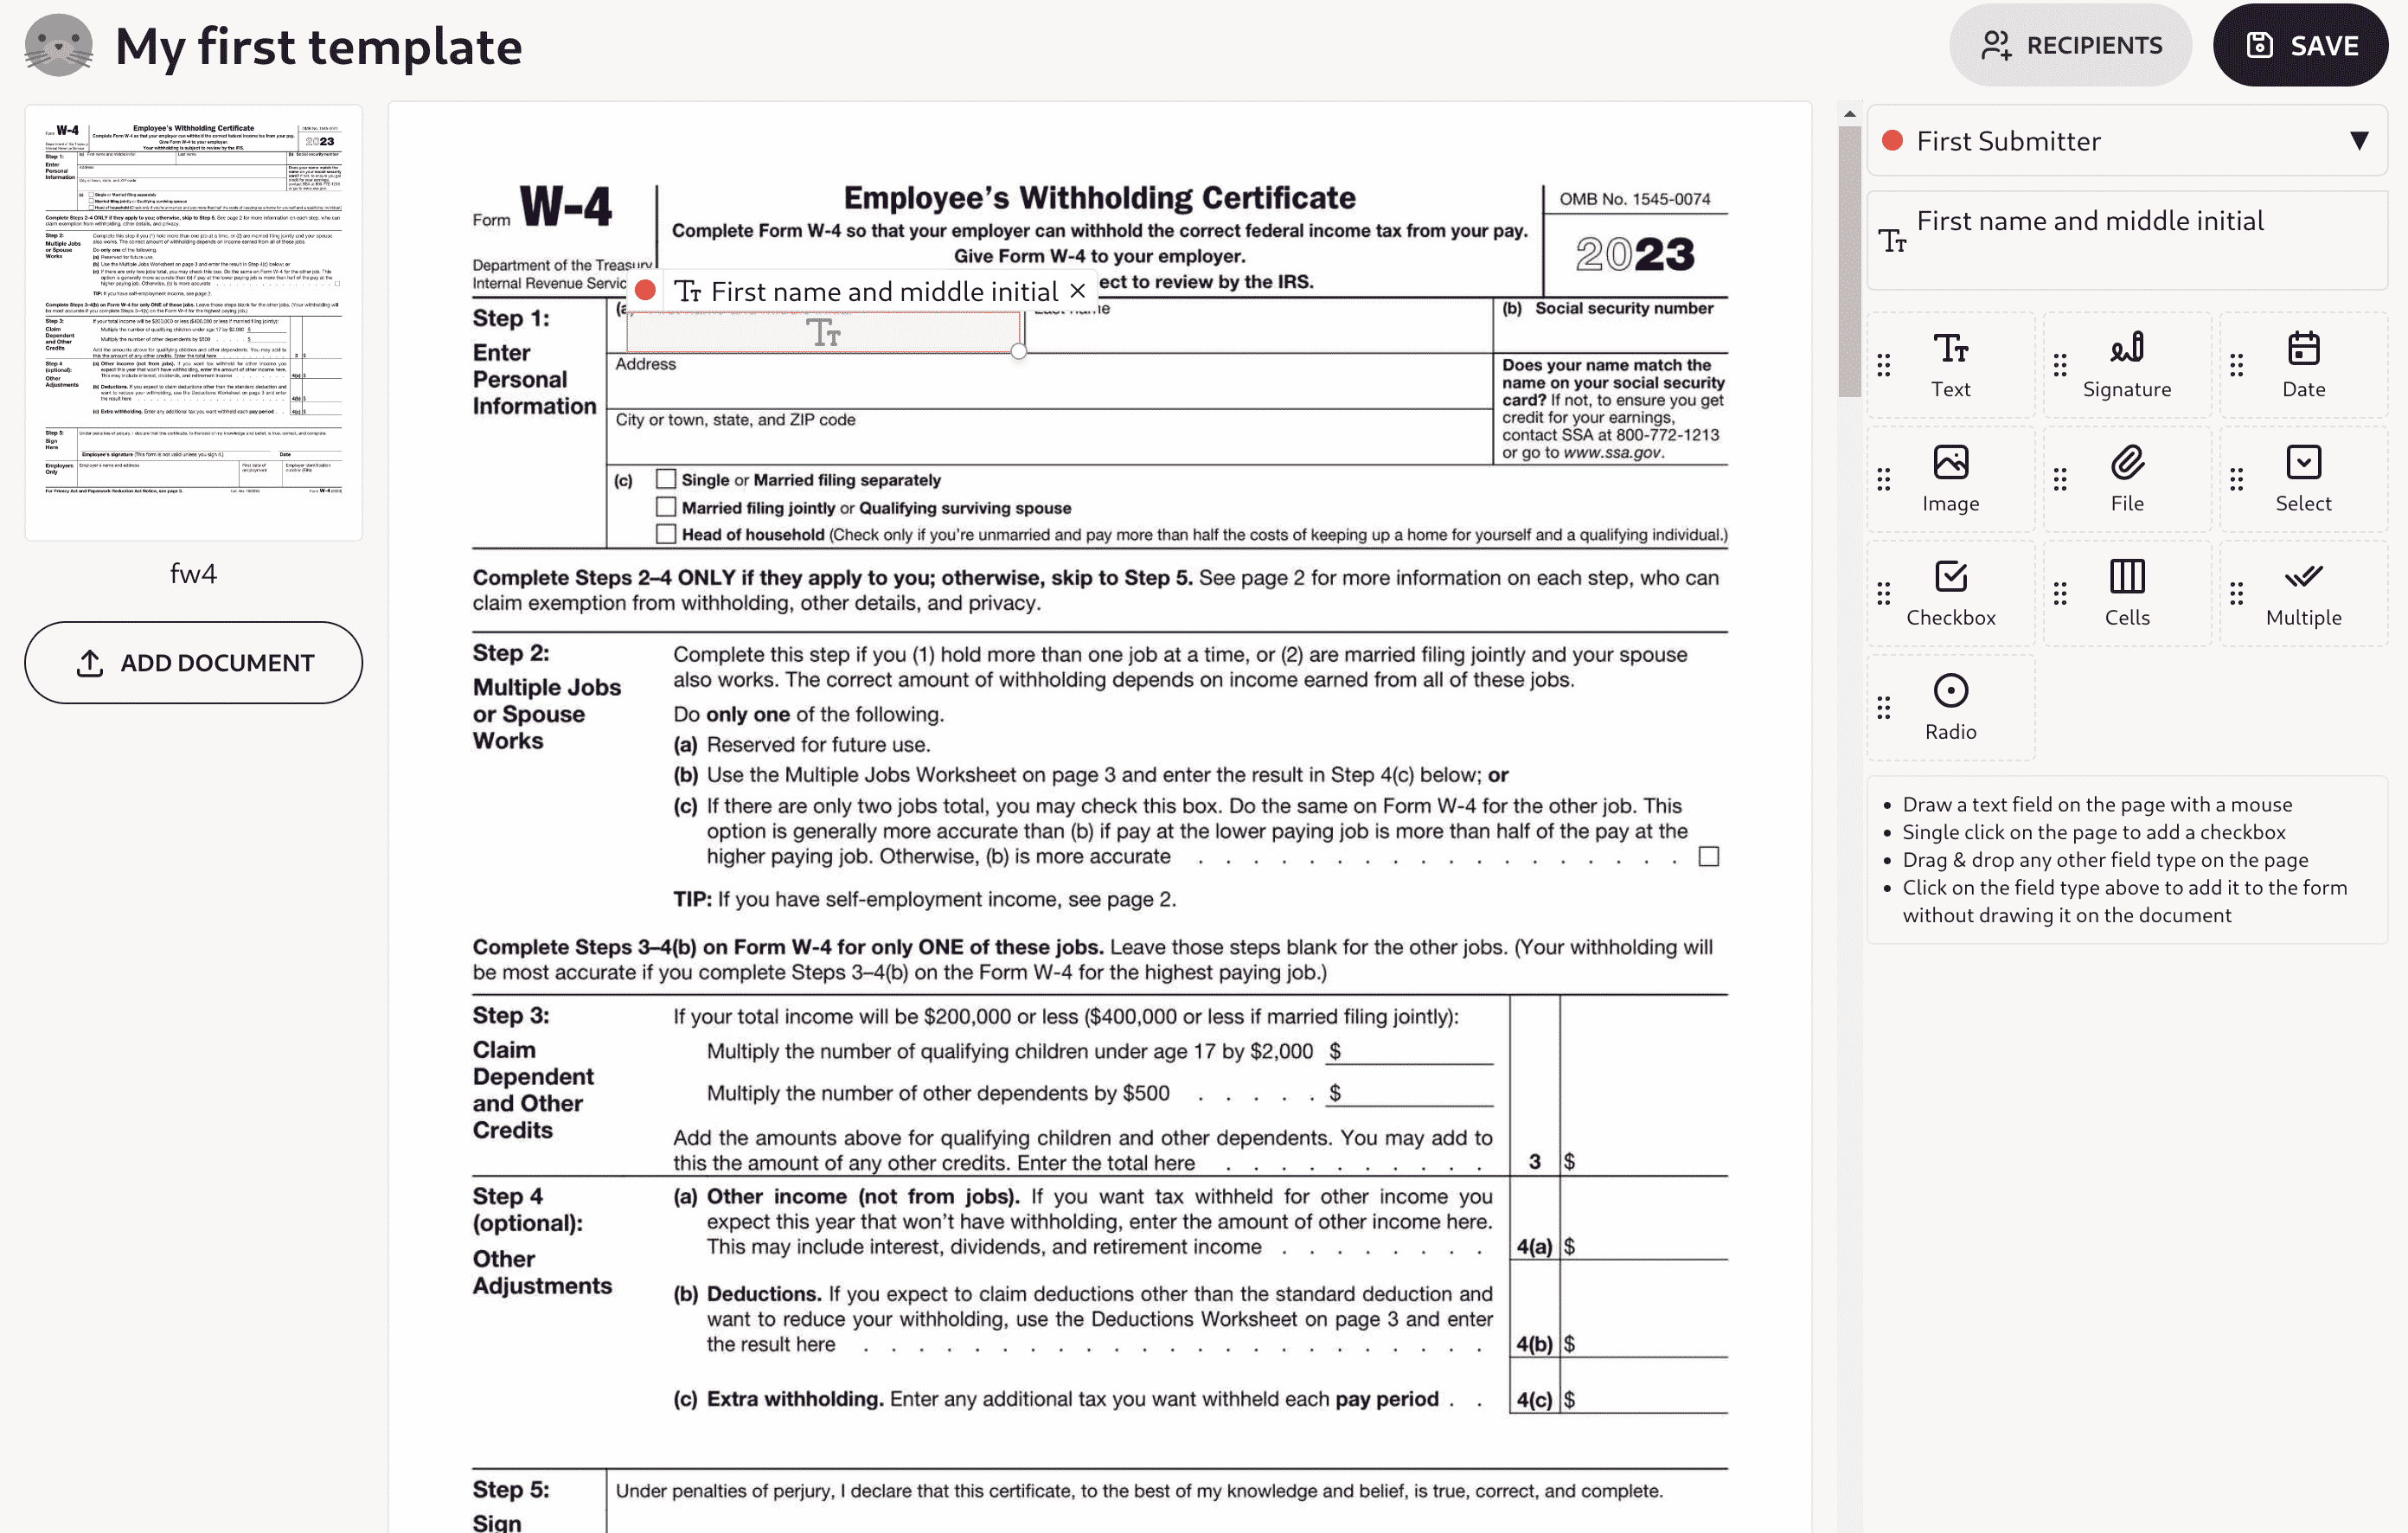
You can begin to define the fields that should be filled out by selecting the Text field type in the right-hand menu. A new field label will appear above the field types with the default label "Text Field 1".
Click the associated pencil icon to update the field label and then click the box icon to draw a box on the PDF that corresponds with the field content:
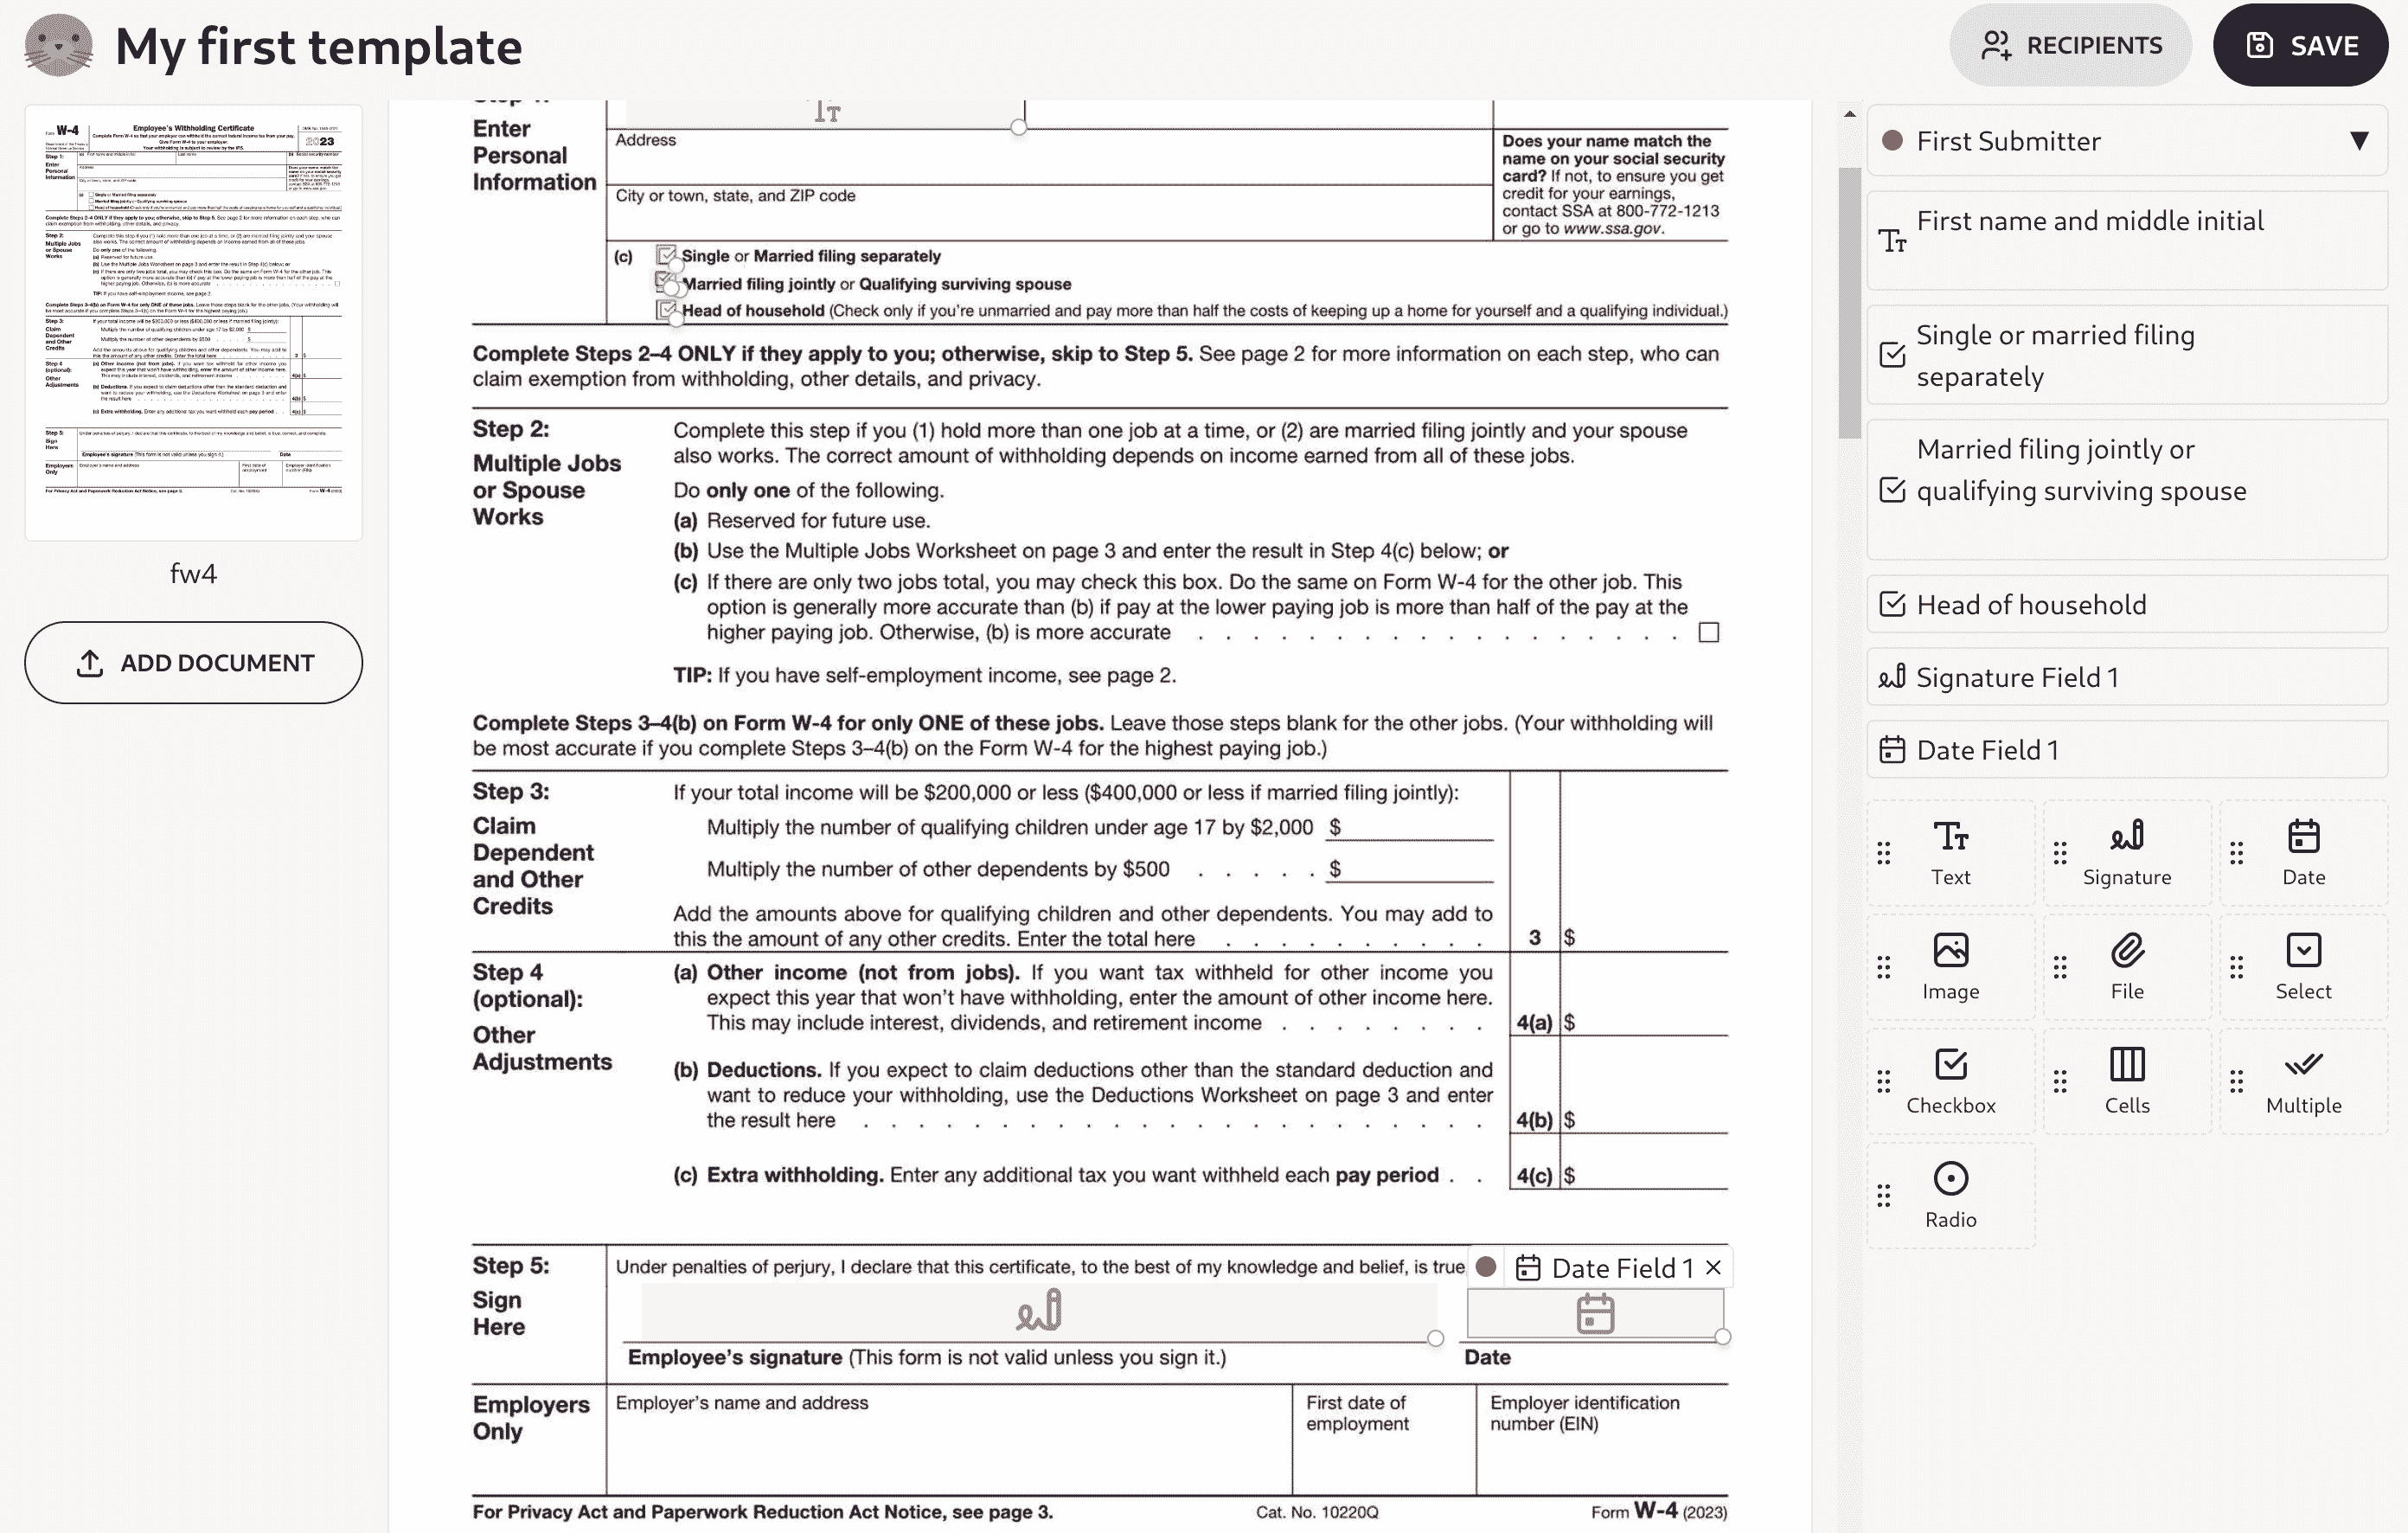
Try out another few form field types like the signature and date field:
Click Save when you are finished. You will be taken to the template management page for the PDF form you just configured. It will indicate that no one has filled out the form yet:
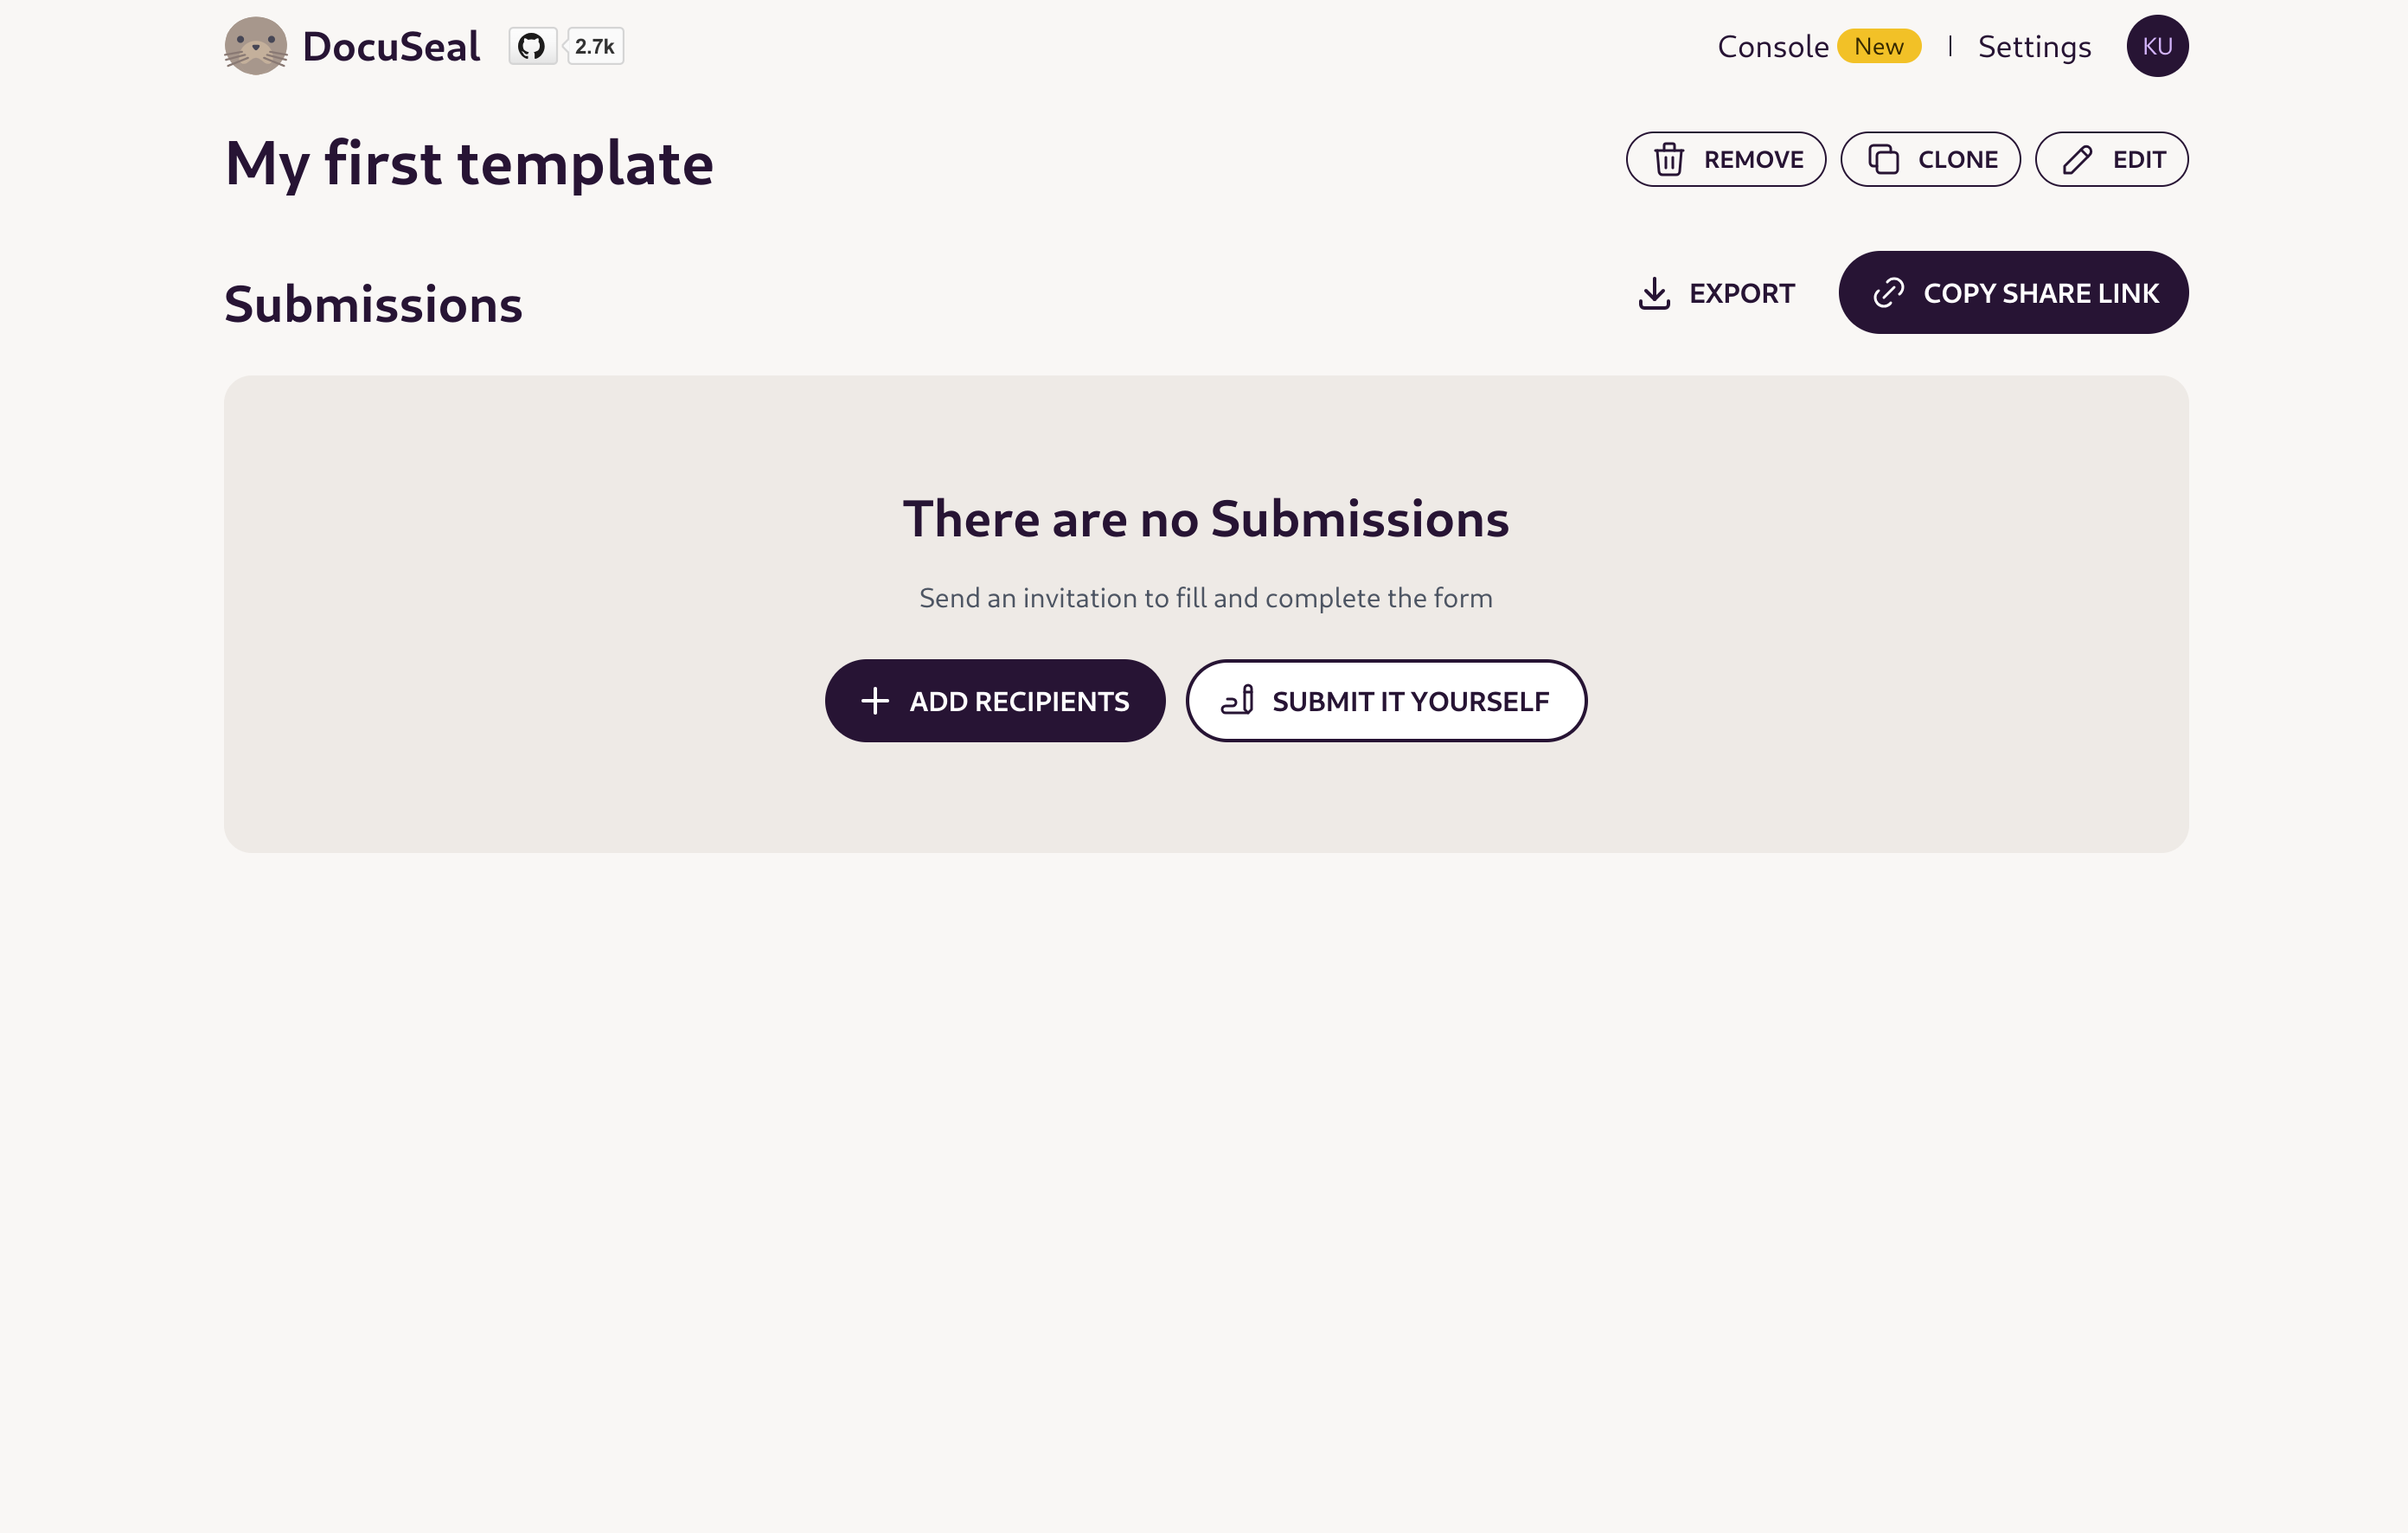
Click Submit it yourself to test your new form. On the next page, fill in the email address you authorized through Mailgun and click Start:
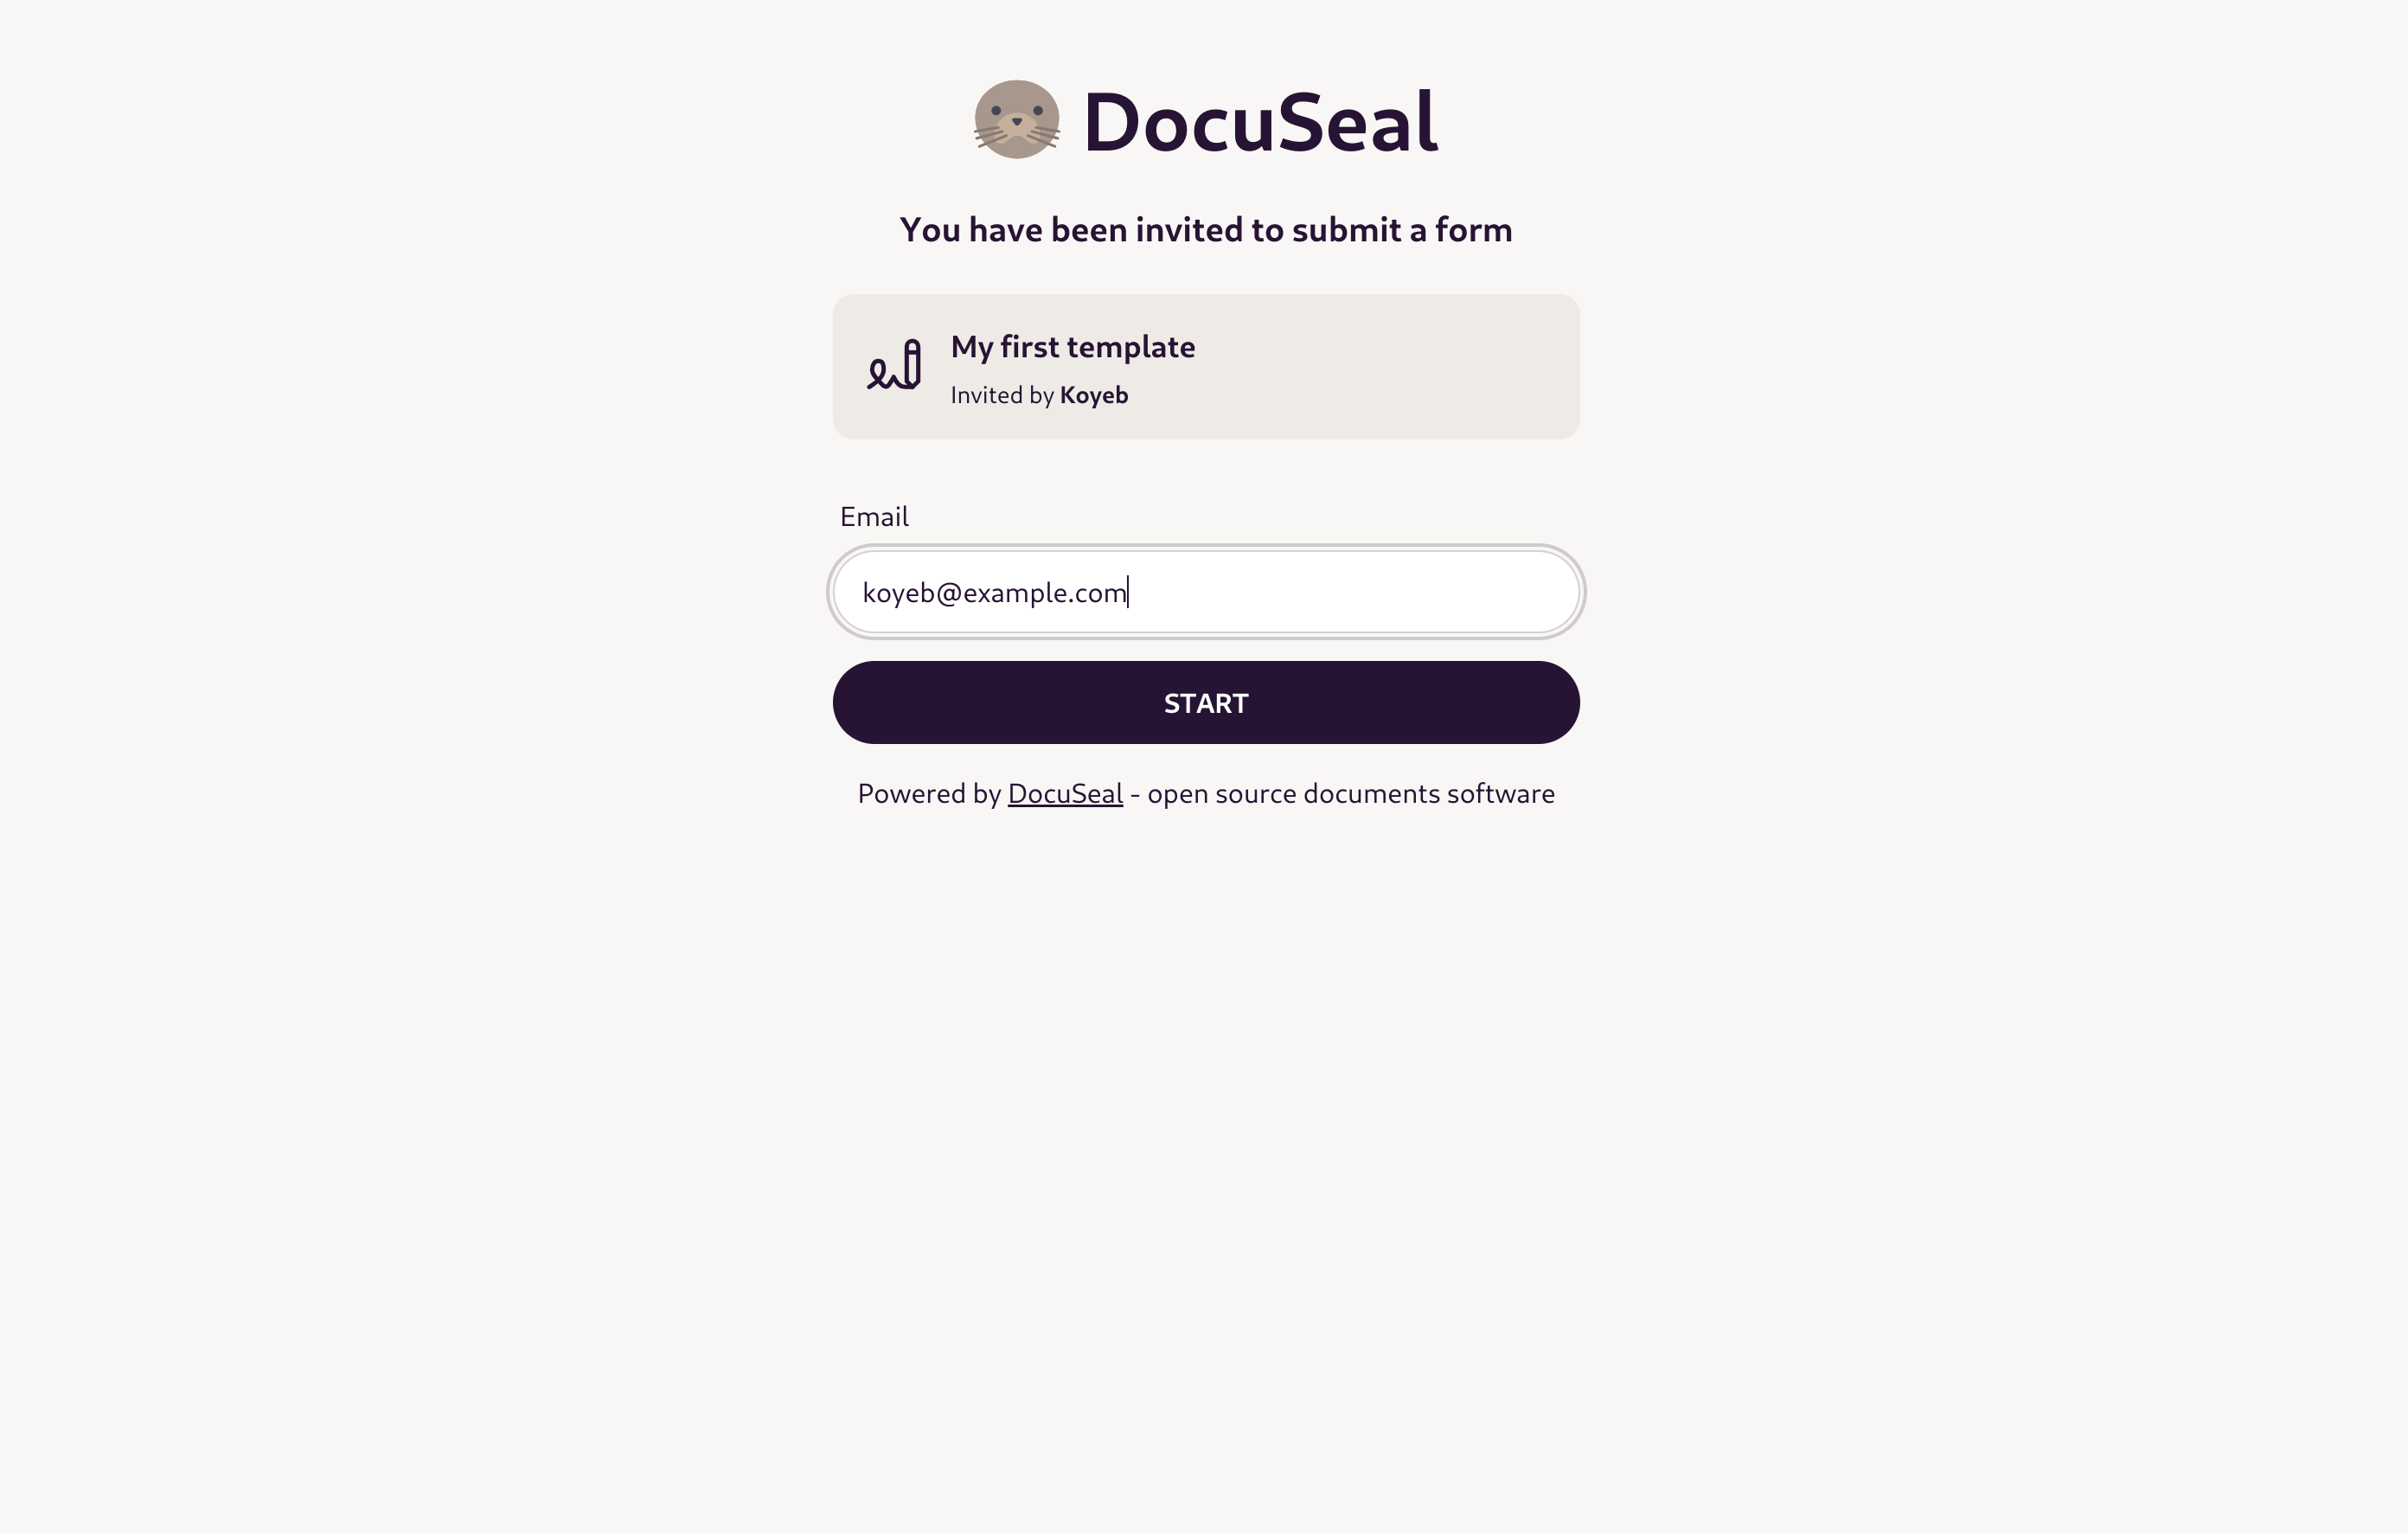
You will then be tasked with filling out the form that you just configured:
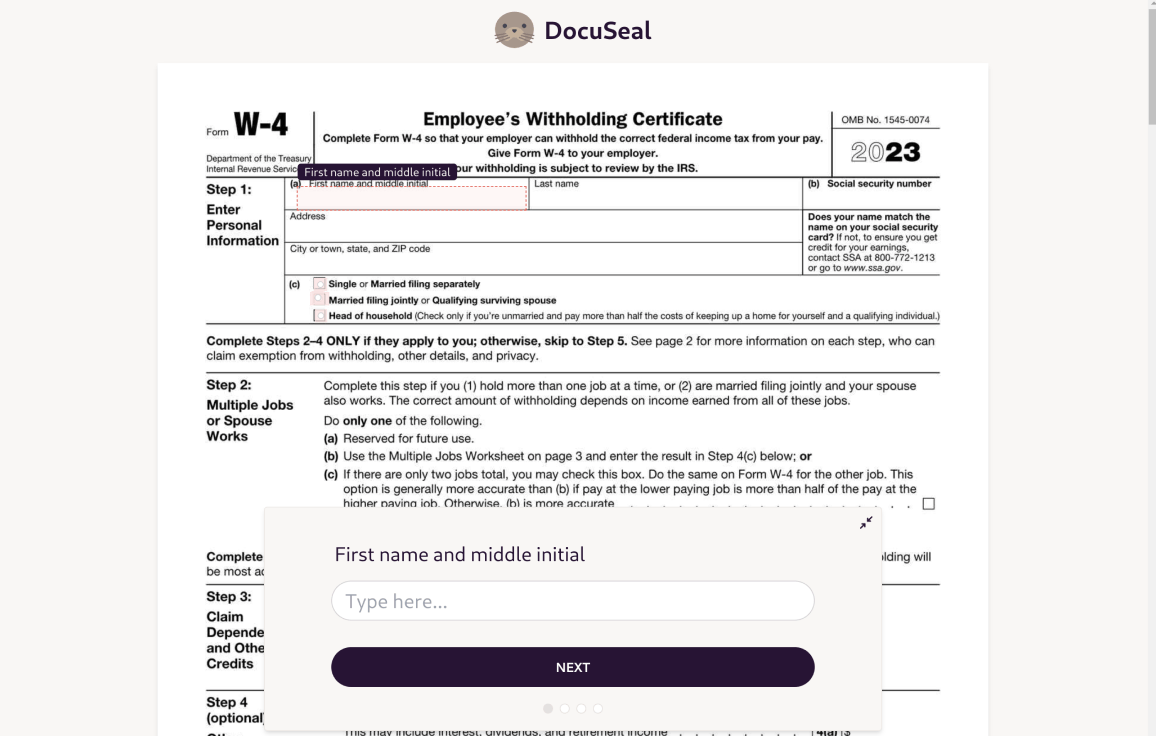
Fill in the fields using the helper window. If you selected the appropriate field types during creation, the fields will have helpful widgets like date selectors and signature upload forms when they are active.
When you are finished with the last field, click Submit to save your filled out form to DocuSeal.
You will have the option to download a copy of your form or send it to yourself in an email:
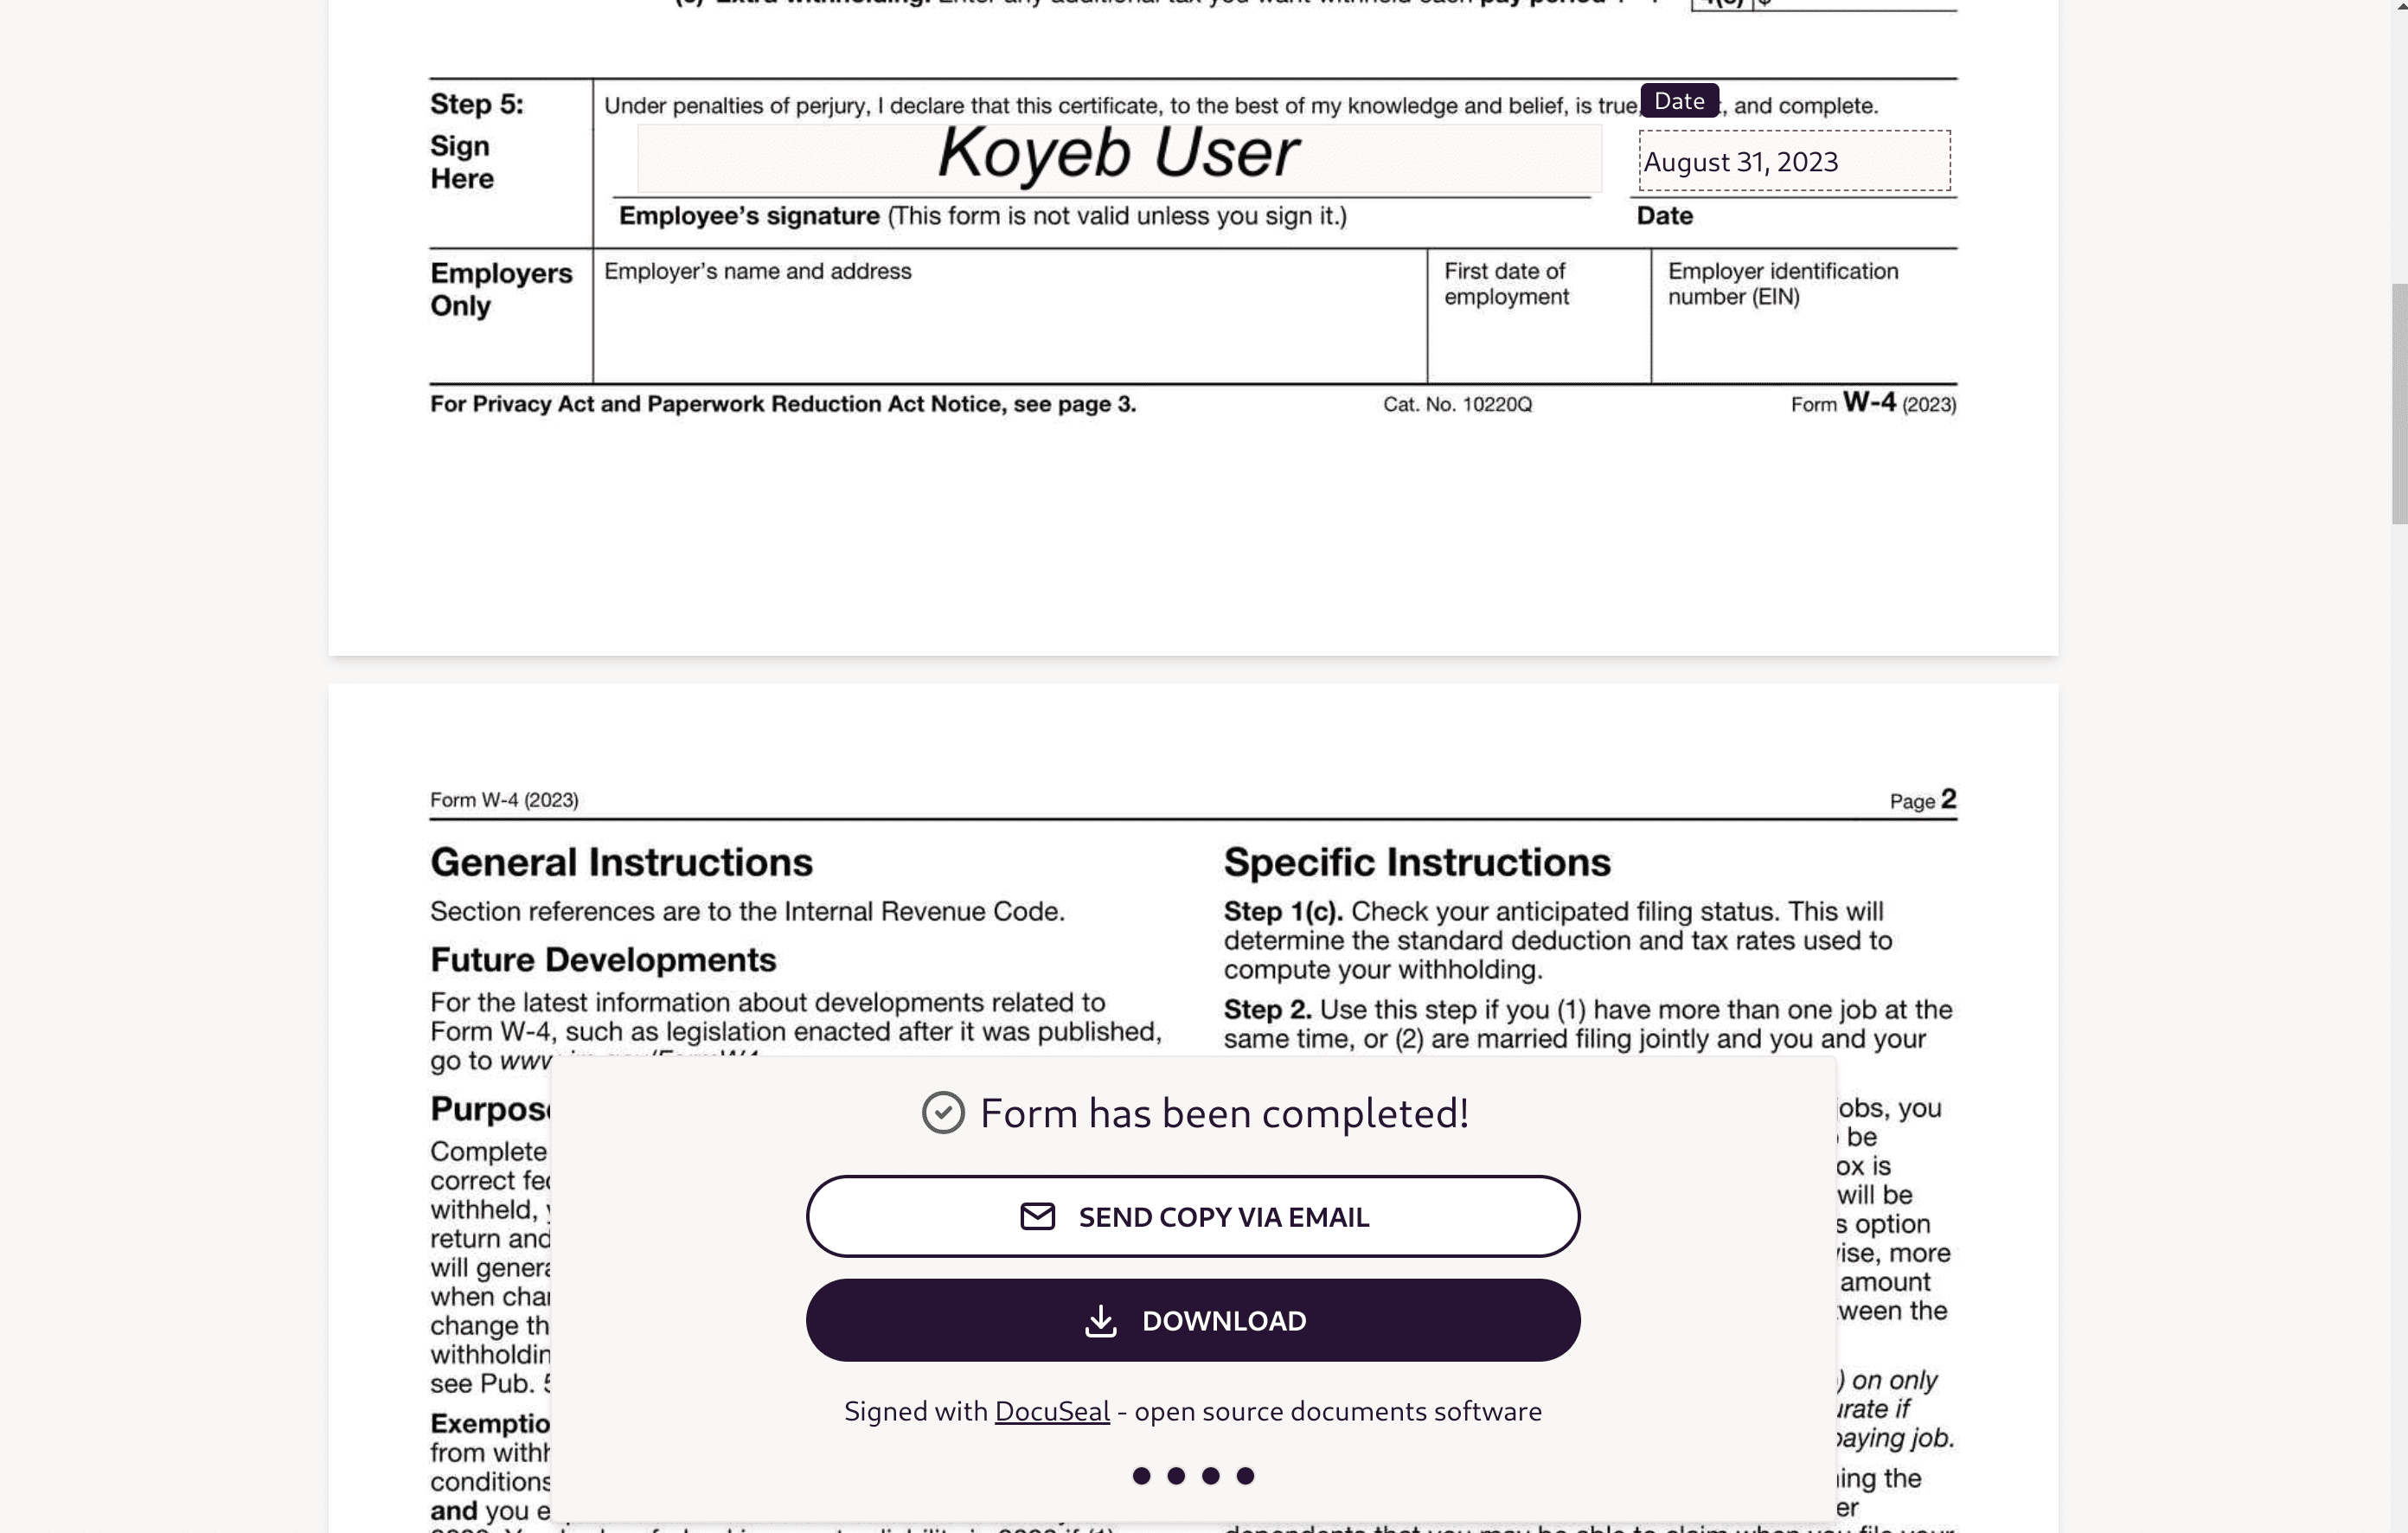
Click Send copy via email to test out DocuSeal's email functionality.
Check the account of the email address you sent to (including the spam folder since we're using a sandbox domain) to verify that the email was delivered successfully. You might also see an email from DocuSeal notifying you that someone filled out the form:
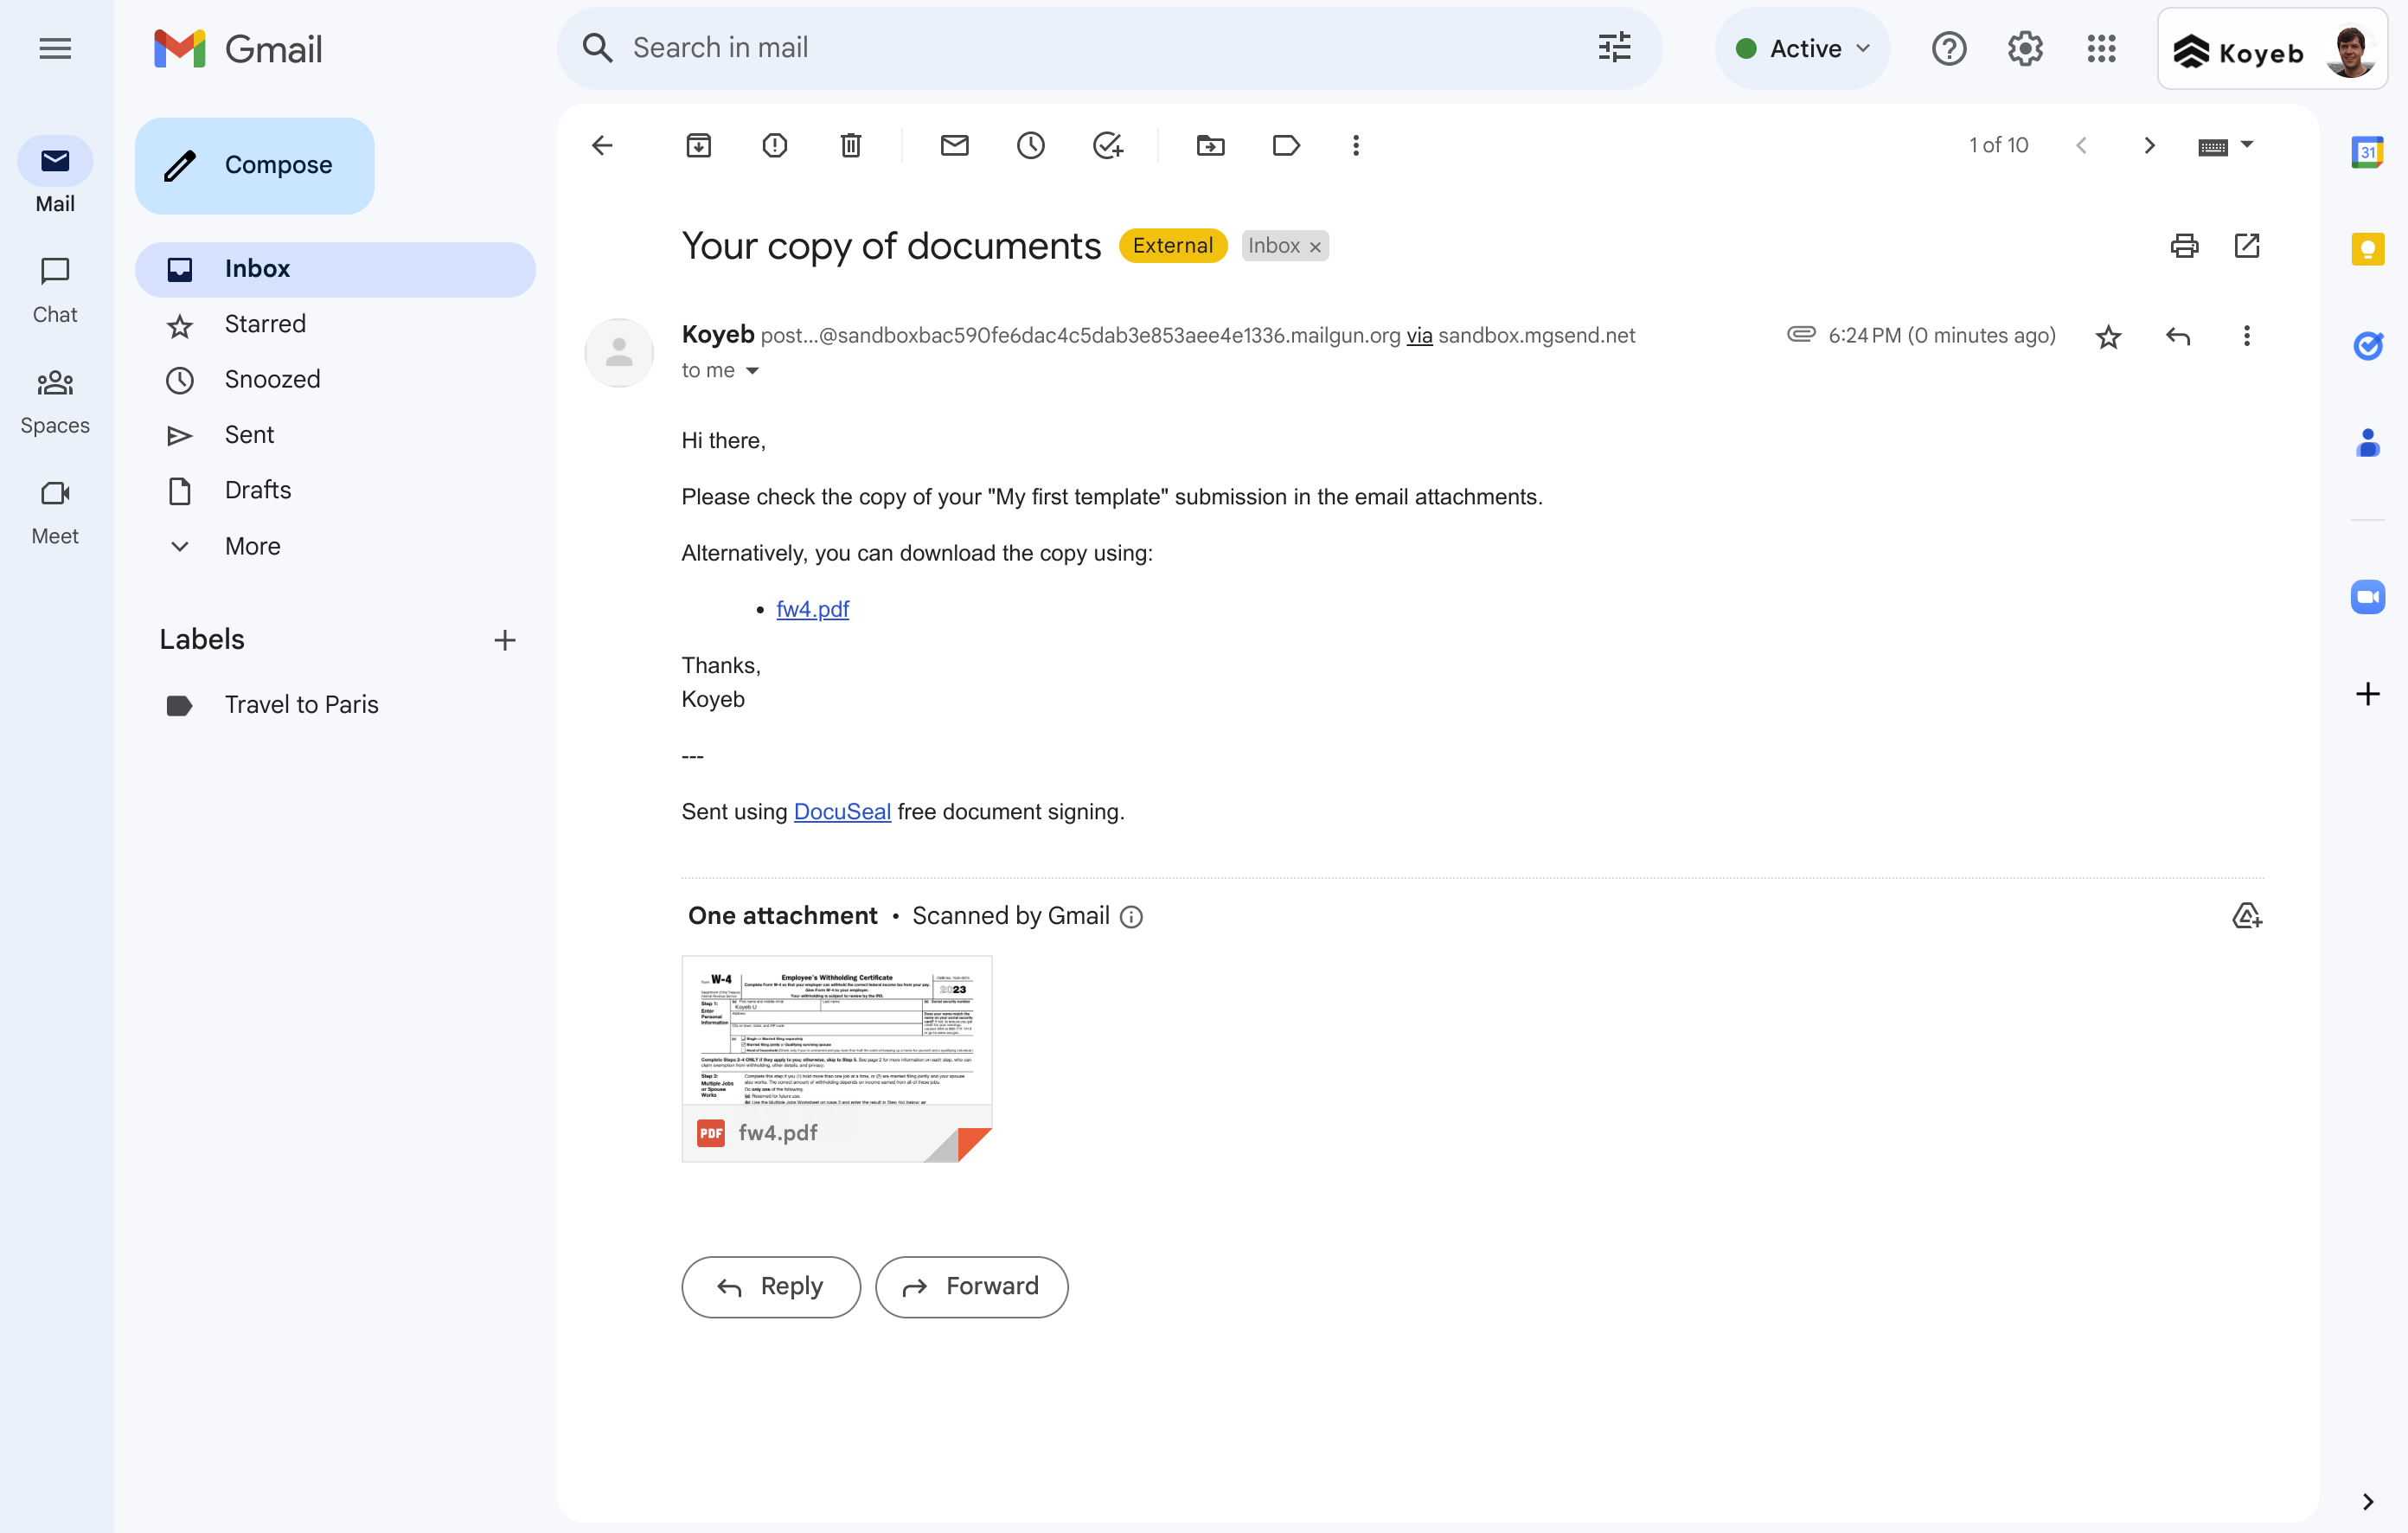
This tells us that the SMTP configuration is correct and that delivery is working as expected.
Conclusion
In this guide, we deployed a DocuSeal instance backed by a Neon PostgreSQL database to Koyeb. We configured DocuSeal to upload all documents and other files to a Backblaze B2 object storage bucket and configured SMTP email with a Mailgun account. Once the configuration was complete, we tested the file upload functionality, template creation mechanics, and mail delivery.
As you continue to test out your new DocuSeal environment, take some time to verify that the documents you're uploading are being uploaded into your bucket and that they are available if you redeploy your DocuSeal instance. By decoupling the data from the processing components, you're able to easily recover from failures and scale out your deployment without additional effort. Furthermore, since Koyeb fetches the container image directly from Docker Hub, upgrading your DocuSeal instance is only a redeploy away.