Deploy Cal.com on Koyeb to Manage Scheduling with Google Calendar
Introduction
Cal.com is a meeting and event scheduling platform designed to make it easy for people to schedule time with you. By integrating with your existing calendar systems, Cal.com allow people to see your availability and select a time slot that works well for both parties. Cal.com knows how to handle multiple calendars, can integrate with video conferencing software, offers configurable availability settings, and keep all participants in the loop through email when there are meeting changes.
This guide will cover how to launch and set up a Cal.com instance on Koyeb to facilitate meeting creation, invitation, and management for you and your team. We will deploy a PostgreSQL database backed by Neon to store user and configuration data. We will also use a Mailgun account to configure our instance to send transactional emails to both users and non-user attendees. To demonstrate the calendar integrations, we will connect Cal.com with a Google calendar so that it can provide availability information when scheduling.
You can deploy and configure Cal.com as configured in this guide using the Deploy to Koyeb button below:

Note: You will need to replace the values of most of the environment variables in the configuration with your own information. Scroll down to the associated parts of this guide for more details about what is expected. Additionally, be sure to select an image size of small or larger since the application struggles with fewer resources.
Requirements
To follow along with this guide, you will need to create accounts with the following services. You can use each service's entry-level plan to get started:
- Koyeb: We will use Koyeb to deploy, run, and scale the Cal.com instance.
- Neon: We will configure an external PostgreSQL database to persist our data between deploys.
- Mailgun: We will use a Mailgun account to send transactional emails to users and attendees.
- Google: We need a Google account to test and use the Google Calendar integration. This allows users to authenticate with their Google calendars to check time slot availability and to create new events.
Steps
This guide will cover how to deploy Cal.com to Koyeb with the following steps:
- Create a PostgreSQL database with Neon
- Set up the Mailgun SMTP service
- Generate Cal.com secrets
- Deploy Cal.com to Koyeb
- Set up the Cal.com admin account
- Enable two factor authentication
- Configure Google calendar integration
- Test the scheduling workflow
Create a PostgreSQL database with Neon
Cal.com stores user and configuration data in a PostgreSQL database.
By using an external database, we can be sure that all of our important data persists across deployments. This configuration also makes scaling the service much easier. We will use Neon as our database provider because they have a generous free tier that's more than enough for our purposes.
To create a new PostgreSQL database, log into your Neon account. In the Neon console, follow these steps:
- In the Projects section, click the Create a project link on the bottom of the page.
- Choose a name for your PostgreSQL database. We will use
calcomfor this guide. - Leave the version to the default selection (15 at the time of writing).
- Select the region to deploy your database. In this guide, we will select "Europe (Frankfurt)" to demonstrate deploying resources in Europe, but you should choose the region closest to your users.
- Click the Create project button to begin provisioning your new database.
The following screen will show the connection details for your new database. Click on the copy icon associated with the psql connection string to copy it and save it to a safe place for later reference. We will use this value when we configure Cal.com so that it can connect to and authenticate with the database.
Set up the Mailgun SMTP service
Next, you need to copy the SMTP information for your Mailgun account. Cal.com uses email to send transactional emails for both users and meeting attendees that your users may schedule with.
To begin, log into your Mailgun account. In the side navigation pane, open the Sending menu. Next, click the Overview sub-menu item.
Mailgun offers sandbox domains to test its functionality. These are useful, but restricted to sending emails only to previously authorised email addresses. We can use this to test the mail delivery for Cal.com for free. On the right sidebar of the Overview page, enter the email address you want to send test emails to in email address input field of the Authorized Recipients section and click the Save Recipient button.
Mailgun will send a verification email to the provided address. In the verification email, click the I Agree button to complete the authorisation process. If you refresh the page in Mailgun, you see that the target email address is now marked as verified.
From this same page, click the Select box associated with "SMTP" to see the information you need to send email using your Mailgun account. The information related to using SMTP with your Mailgun account will be displayed. Copy and save the following information:
| Mailgun SMTP info | Cal.com environment variable | Example |
|---|---|---|
| SMTP hostname | EMAIL_SERVER_HOST | smtp.mailgun.org |
| Port | EMAIL_SERVER_PORT | 587 |
| Username | EMAIL_SERVER_USER | postmaster@sandboxbac59f0e6dac45cdab38e53aee4e1363.mailgun.org |
| Password | EMAIL_SERVER_PASSWORD | e627704d99111f00c7aedf3805961383-262b123e-66b6979f |
Generate Cal.com secrets
Before we can deploy the Cal.com instance, we need to generate some secret values that the application will use:
NEXTAUTH_SECRET: Used to encrypt JavaScript Web Tokens (JWT) and to hash email verification tokens.CALENDSO_ENCRYPTION_KEY: A 32 byte application key for symmetric encryption and decryption.
You can create both of these secrets with the openssl rand command. The required variables and a command to recommend the recommended format for each is included here:
| Cal.com environment variable | Command to generate value | Example |
|---|---|---|
NEXTAUTH_SECRET | openssl rand -base64 32 | cCwmv+sppk1I54aLYGQGojG7sofkkS2IFQ/KVf30XC0= |
CALENDSO_ENCRYPTION_KEY | openssl rand -base64 24 | X+OY8WUBaaQnALON+QTVMfHN4i826Twb |
Save the generated values and use them when configuring Cal.com in the next step.
Deploy Cal.com to Koyeb
Now that you have the necessary pieces of information about your services and secrets, you can deploy a Cal.com instance to Koyeb.
Start by logging into your Koyeb account. Follow these steps to deploy the default Cal.com container image to the platform:
- On the Overview tab of the Koyeb console, click Create Web Service.
- Select Docker as the deployment method.
- Set the Docker image to
docker.io/calcom/cal.com. Optionally, append an image tag if you'd like to deploy a specific version. - In the Instance section, select size Small or larger. The application does not run well when given fewer resources.
- Towards the bottom, and set the App and Service name. Your App's fully qualified domain name will have the following format:
<YOUR_APP_NAME>-<KOYEB_ORG_NAME>.koyeb.app. - In the Environment variables and files section, click the Bulk Edit button and replace the contents with the following:
Set the variable values to reference your own information as follows:
NEXT_PUBLIC_WEBAPP_URL= DATABASE_URL= NEXTAUTH_SECRET= CALENDSO_ENCRYPTION_KEY= EMAIL_SERVER_HOST=smtp.mailgun.org EMAIL_SERVER_PORT=587 EMAIL_SERVER_USER= EMAIL_SERVER_PASSWORD= EMAIL_FROM= CALCOM_TELEMETRY_DISABLED=1NEXT_PUBLIC_WEBAPP_URL: Set tohttps://followed by the fully qualified app name. It will have the following format:https://<YOUR_APP_NAME>-<KOYEB_ORG_NAME>.koyeb.app. Make sure that the URL does not end with a trailing slash.DATABASE_URL: Set to the connection URI you copied from Neon.NEXTAUTH_SECRET: Set to the random string you generated withopenssl rand -base64 32.CALENDSO_ENCRYPTION_KEY: Set to the random string you generated withopenssl rand -base64 24.EMAIL_SERVER_HOST: Set the Mailgun SMTP hostname (smtp.mailgun.org).EMAIL_SERVER_PORT: Set to the Mailgun SMTP port (587)EMAIL_SERVER_USER: Set to the Mailgun username you copied from the SMTP settings page (will have the format of an email address).EMAIL_SERVER_PASSWORD: Set to the Mailgun password you copied from the SMTP settings page.EMAIL_FROM: Set to an email address to address emails from. Usually this is something likenotifcations@followed by the fully qualified app name you copied from the bottom of the page.CALCOM_TELEMETRY_DISABLED: (Optional) Set to1to optionally disable sending Cal.com anonymous usage data.
- Click the Deploy button.
Koyeb will pull the Cal.com container image from Docker Hub and use it to provision a new container. The Cal.com application will start up and perform its initialization procedure. When it is finished it will begin listening on the port specified in the configuration.
Once the Cal.com instance is up and running, you can visit your Koyeb Service's subdomain (you can find this on your Service's page) to connect. It will have the following format:
https://<YOUR_APP_NAME>-<KOYEB_ORG_NAME>.koyeb.app
Set up the Cal.com admin account
When you visit Cal.com's URL, you will be redirected to an account creation page for the administrative account:

Fill out the form with your own information. When you are finished, click Next Step.
The next page allows you to choose the license you wish to use:
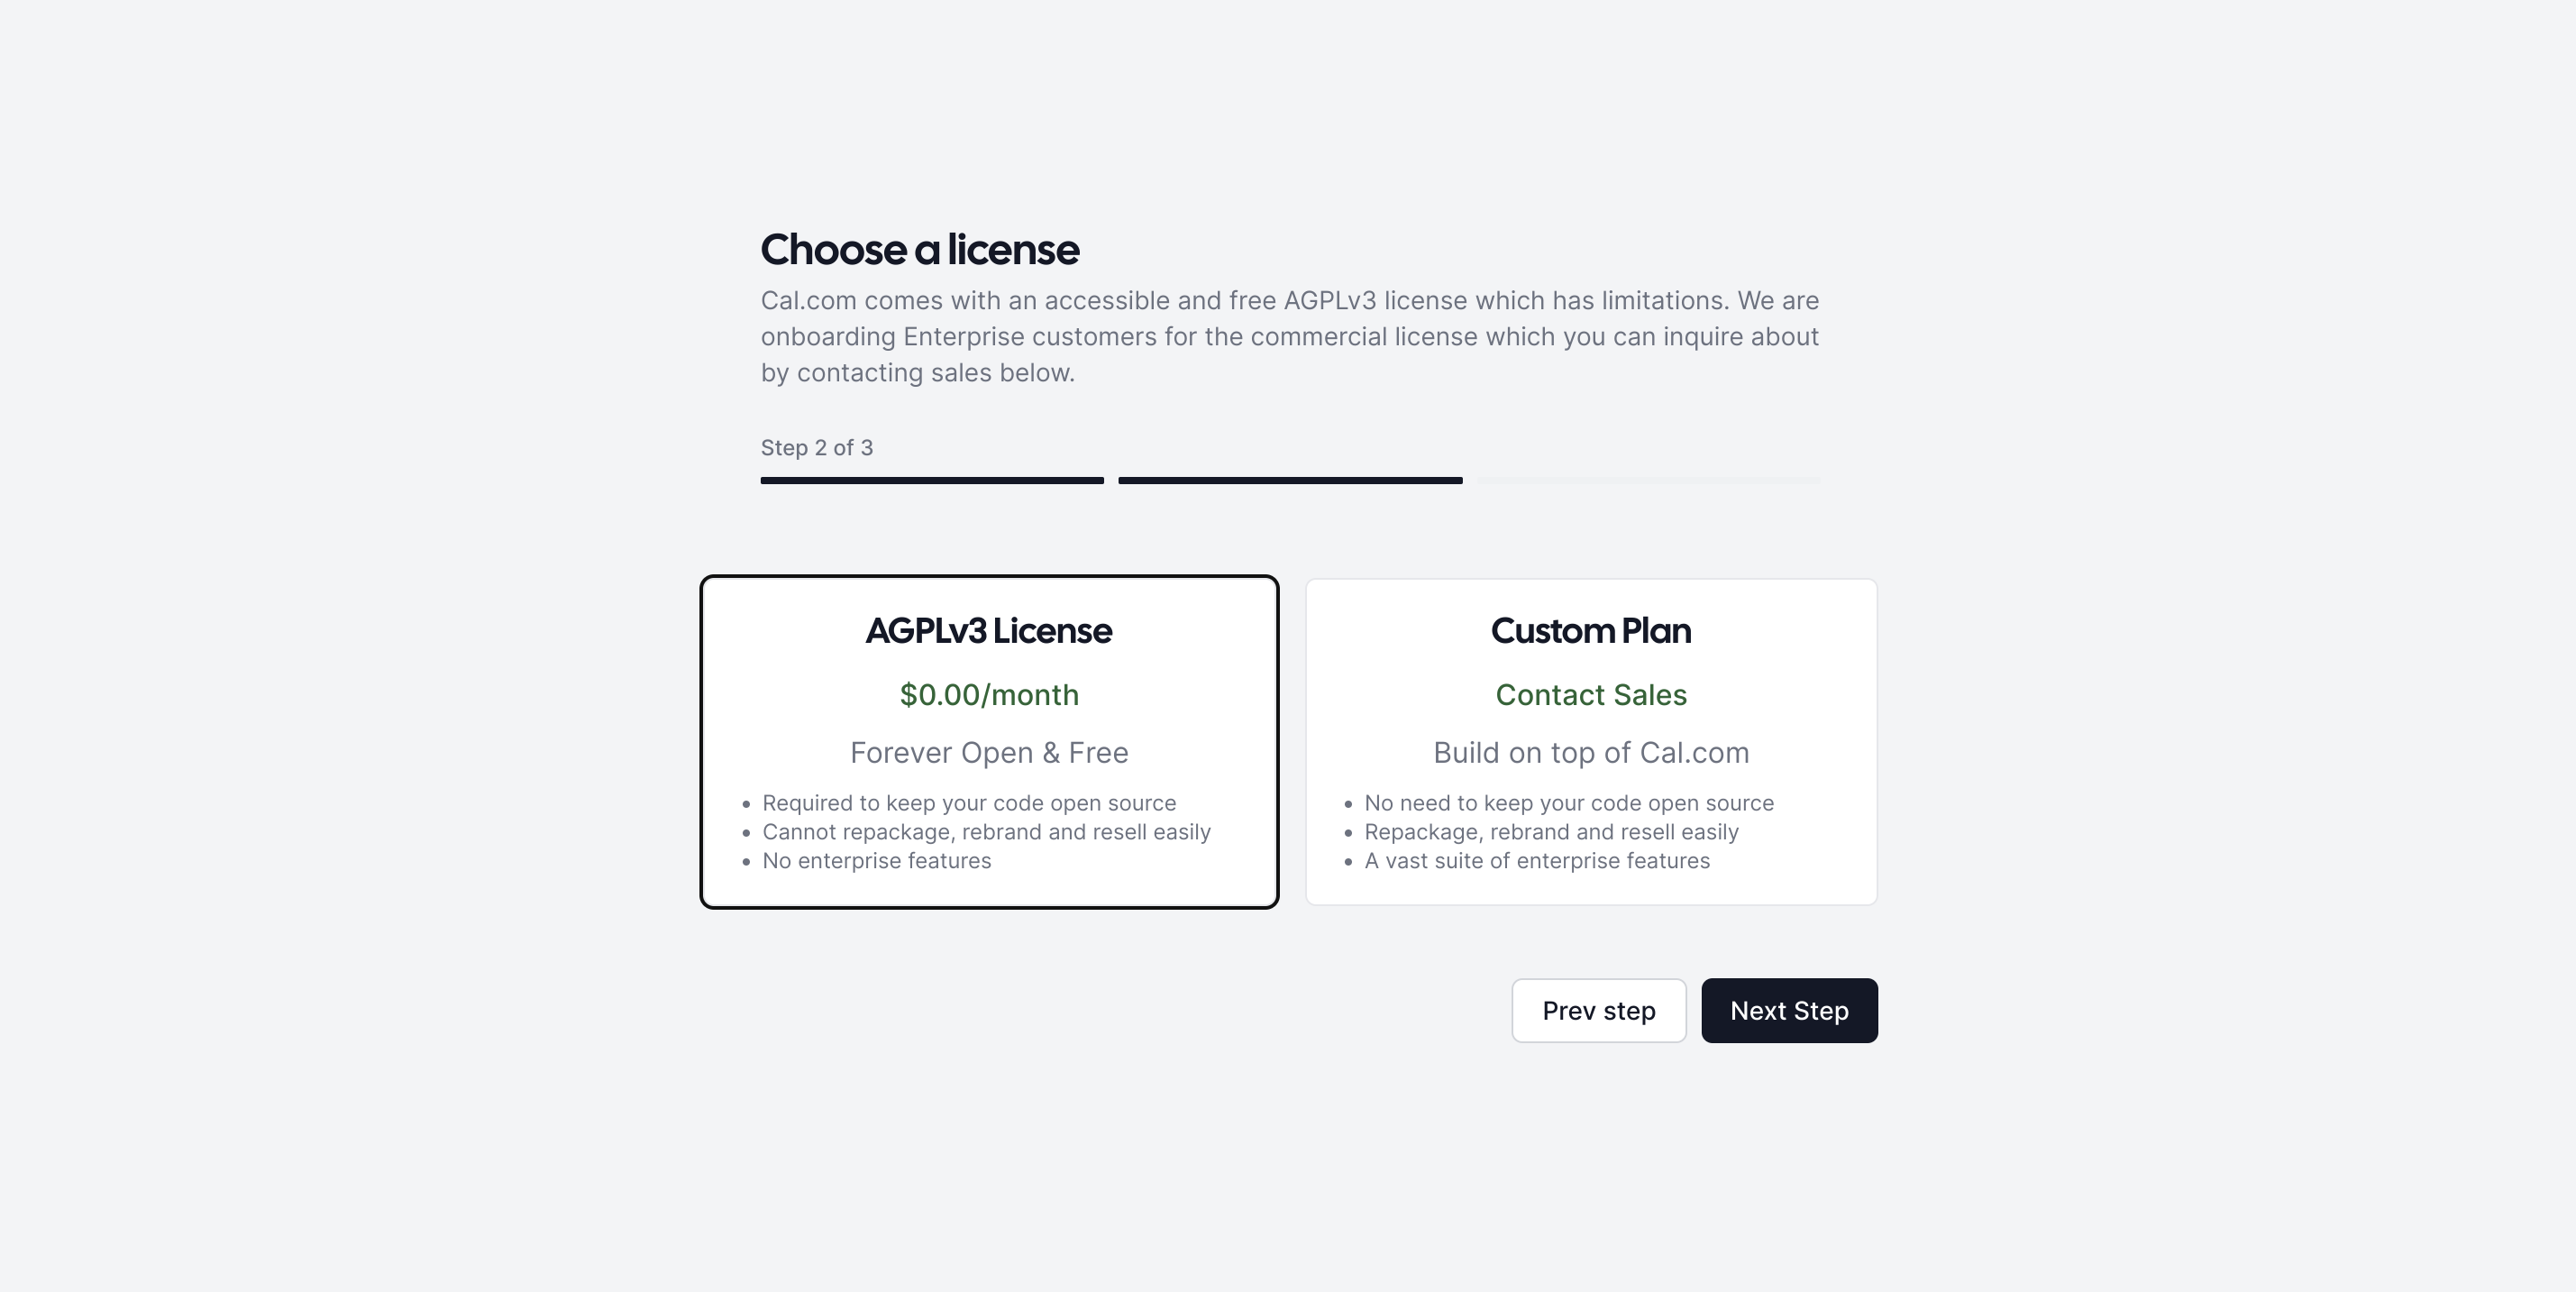
Since we are not using a license key, select AGPLv3 License and click Nest Step to continue.
The next page allows you to choose the Apps you want to enable:

All of the apps are selected by default, but you can choose to disable them here if you'd like. You can also modify this later through the administrative interface.
When you are done, click Finish to complete the initial instance setup.
Next, you'll be redirected to the rest of the user creation flow for the administrative account. Since you already provided some of the details during the instance configuration, some of the form fields will be pre-populated with your initial responses:
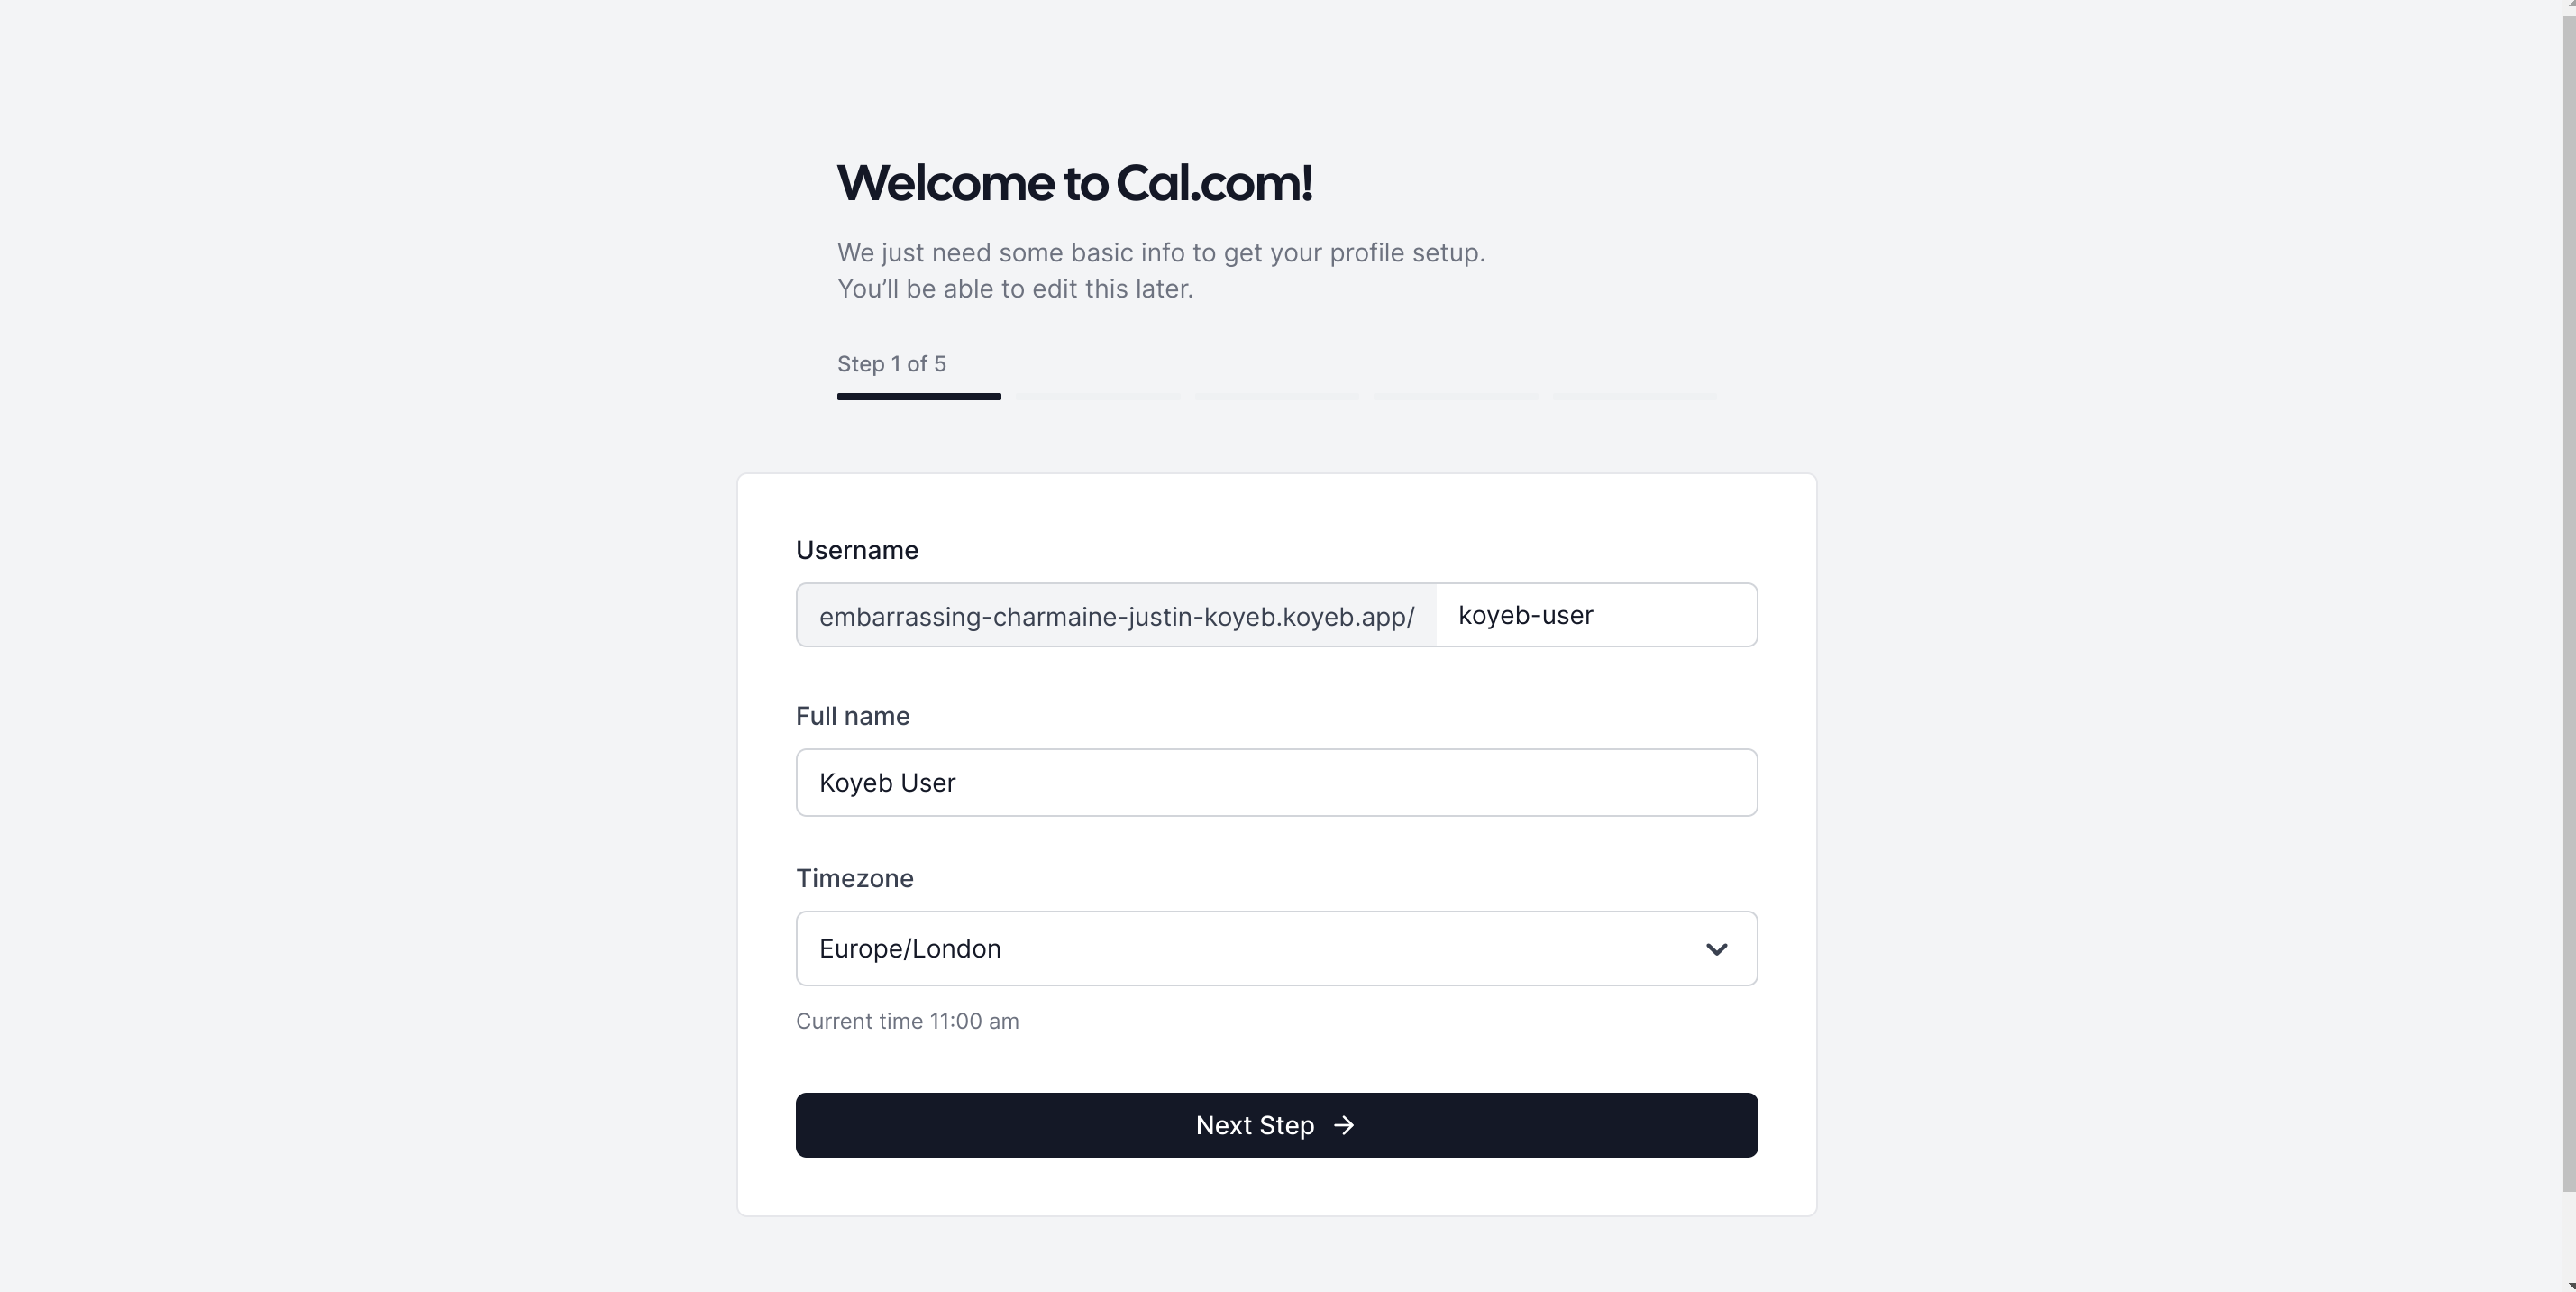
Change the timezone if desired and click Next Step to continue.
Next, you'll be asked to connect your calendar:
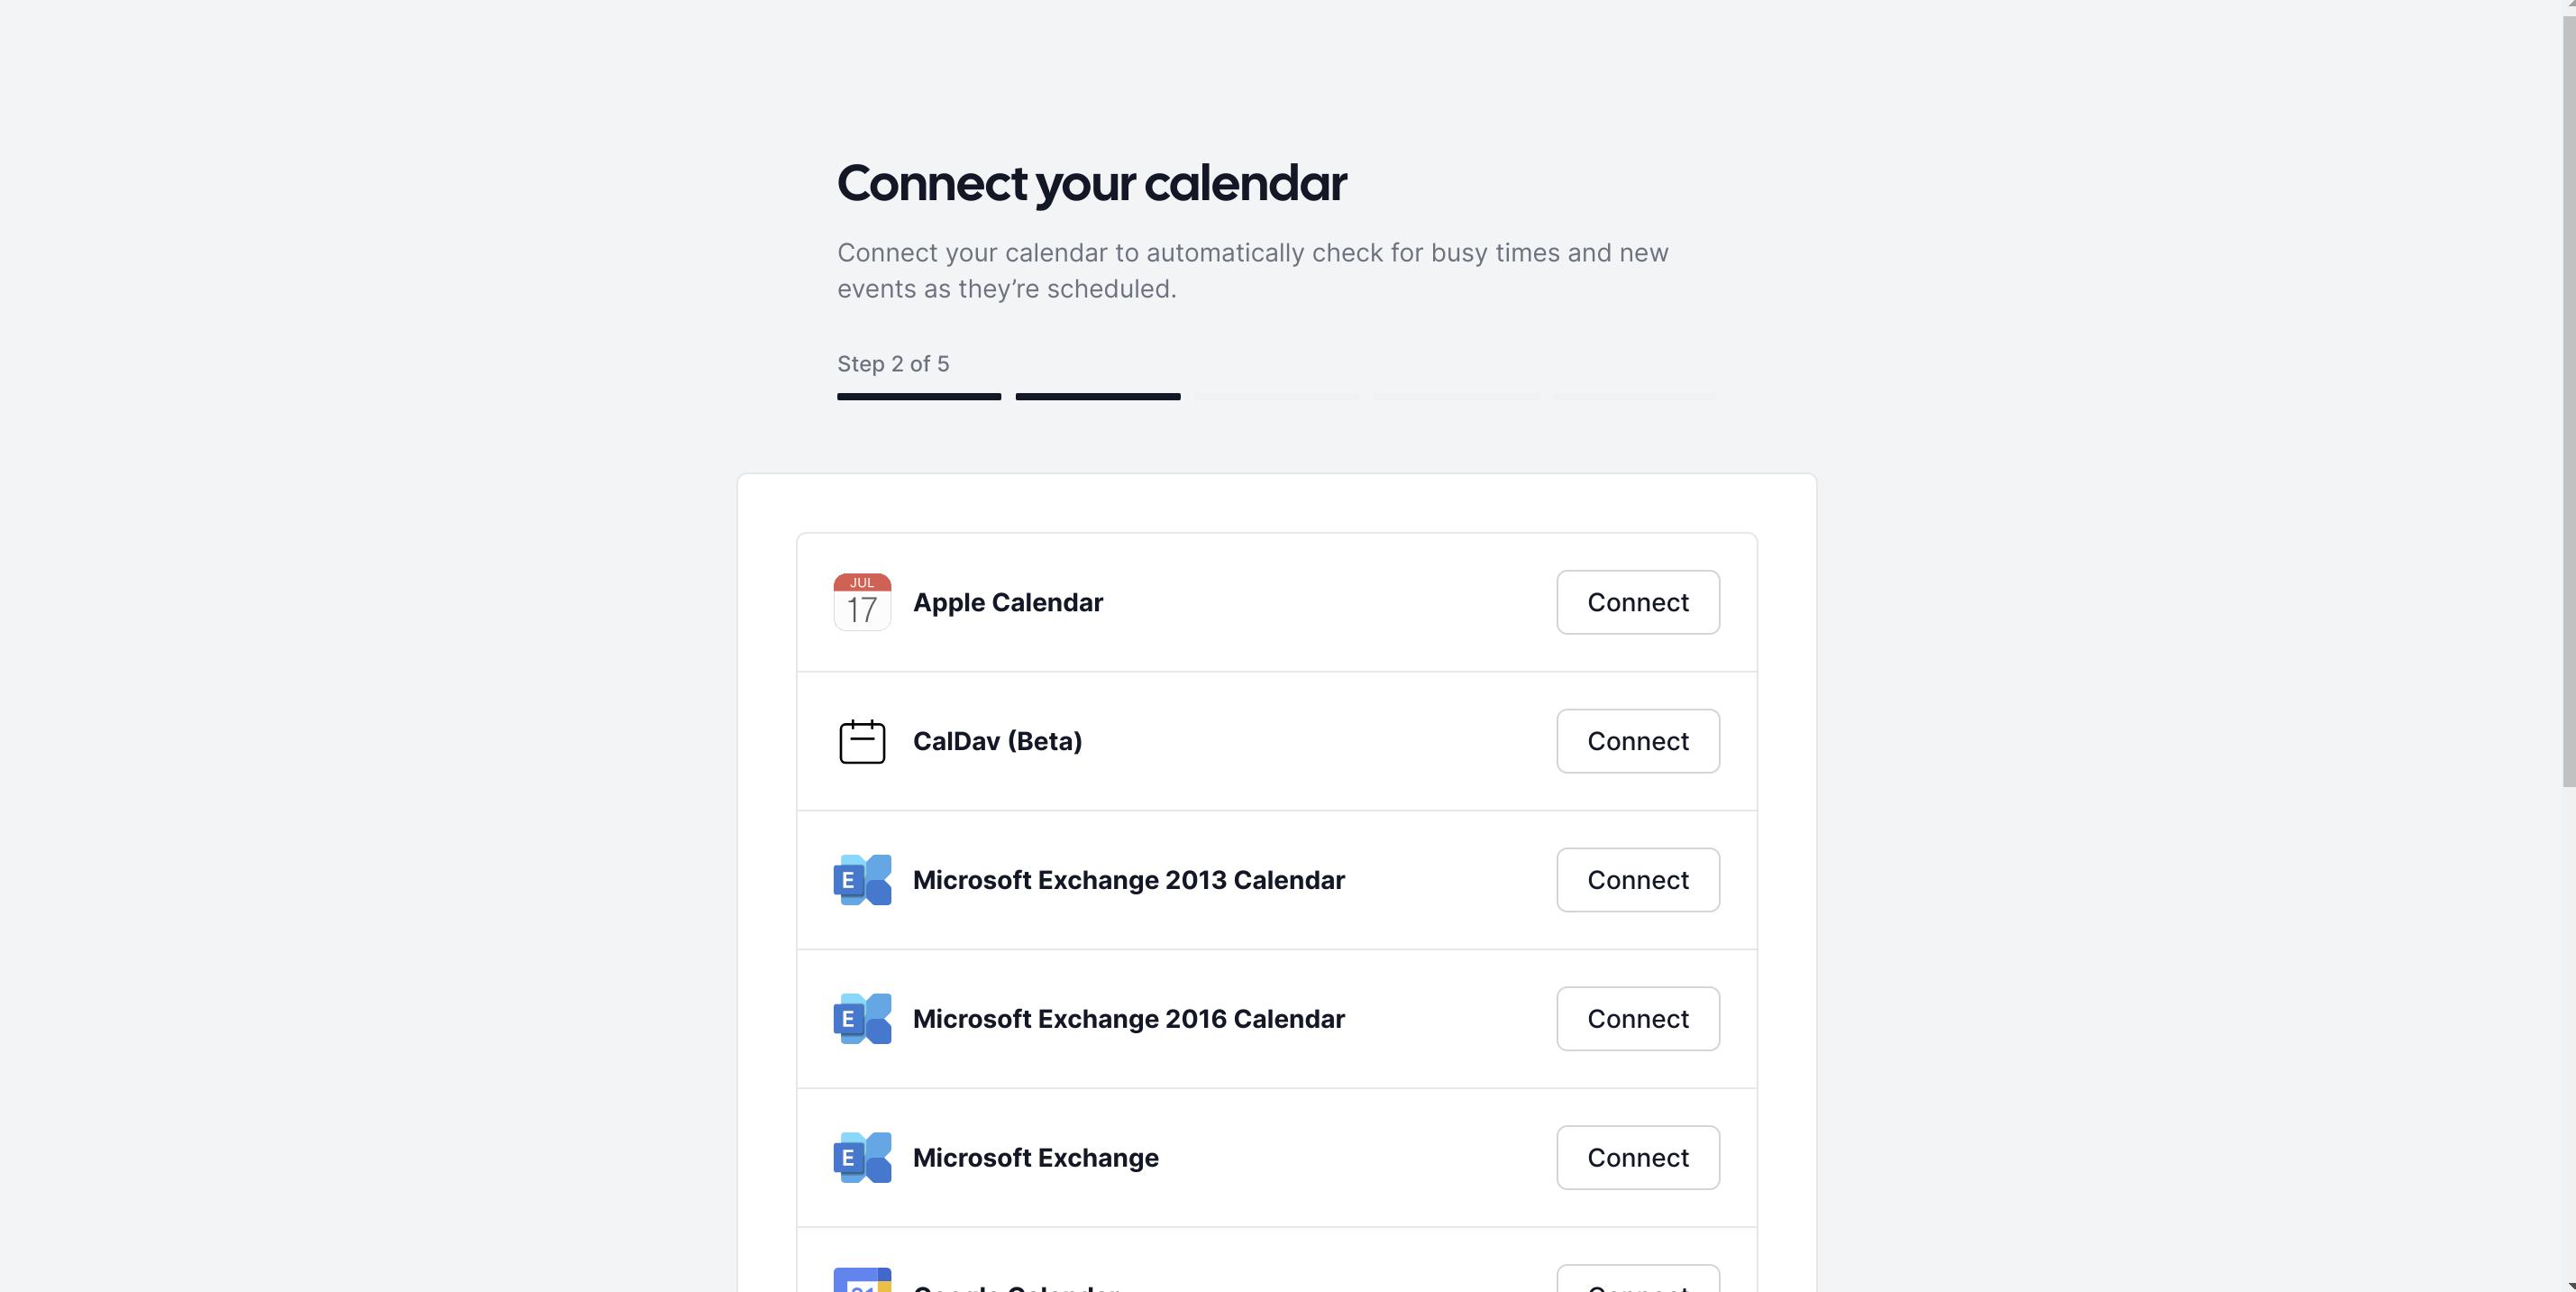
We have not yet configured the calendar integrations, so click I'll connect my calendar later at the bottom of the page to continue.
The following page will ask about configuring video apps:

Click Set up later at the bottom of the page to continue.
Next, you'll be asked to set the days and times you'd like Cal.com to schedule within:
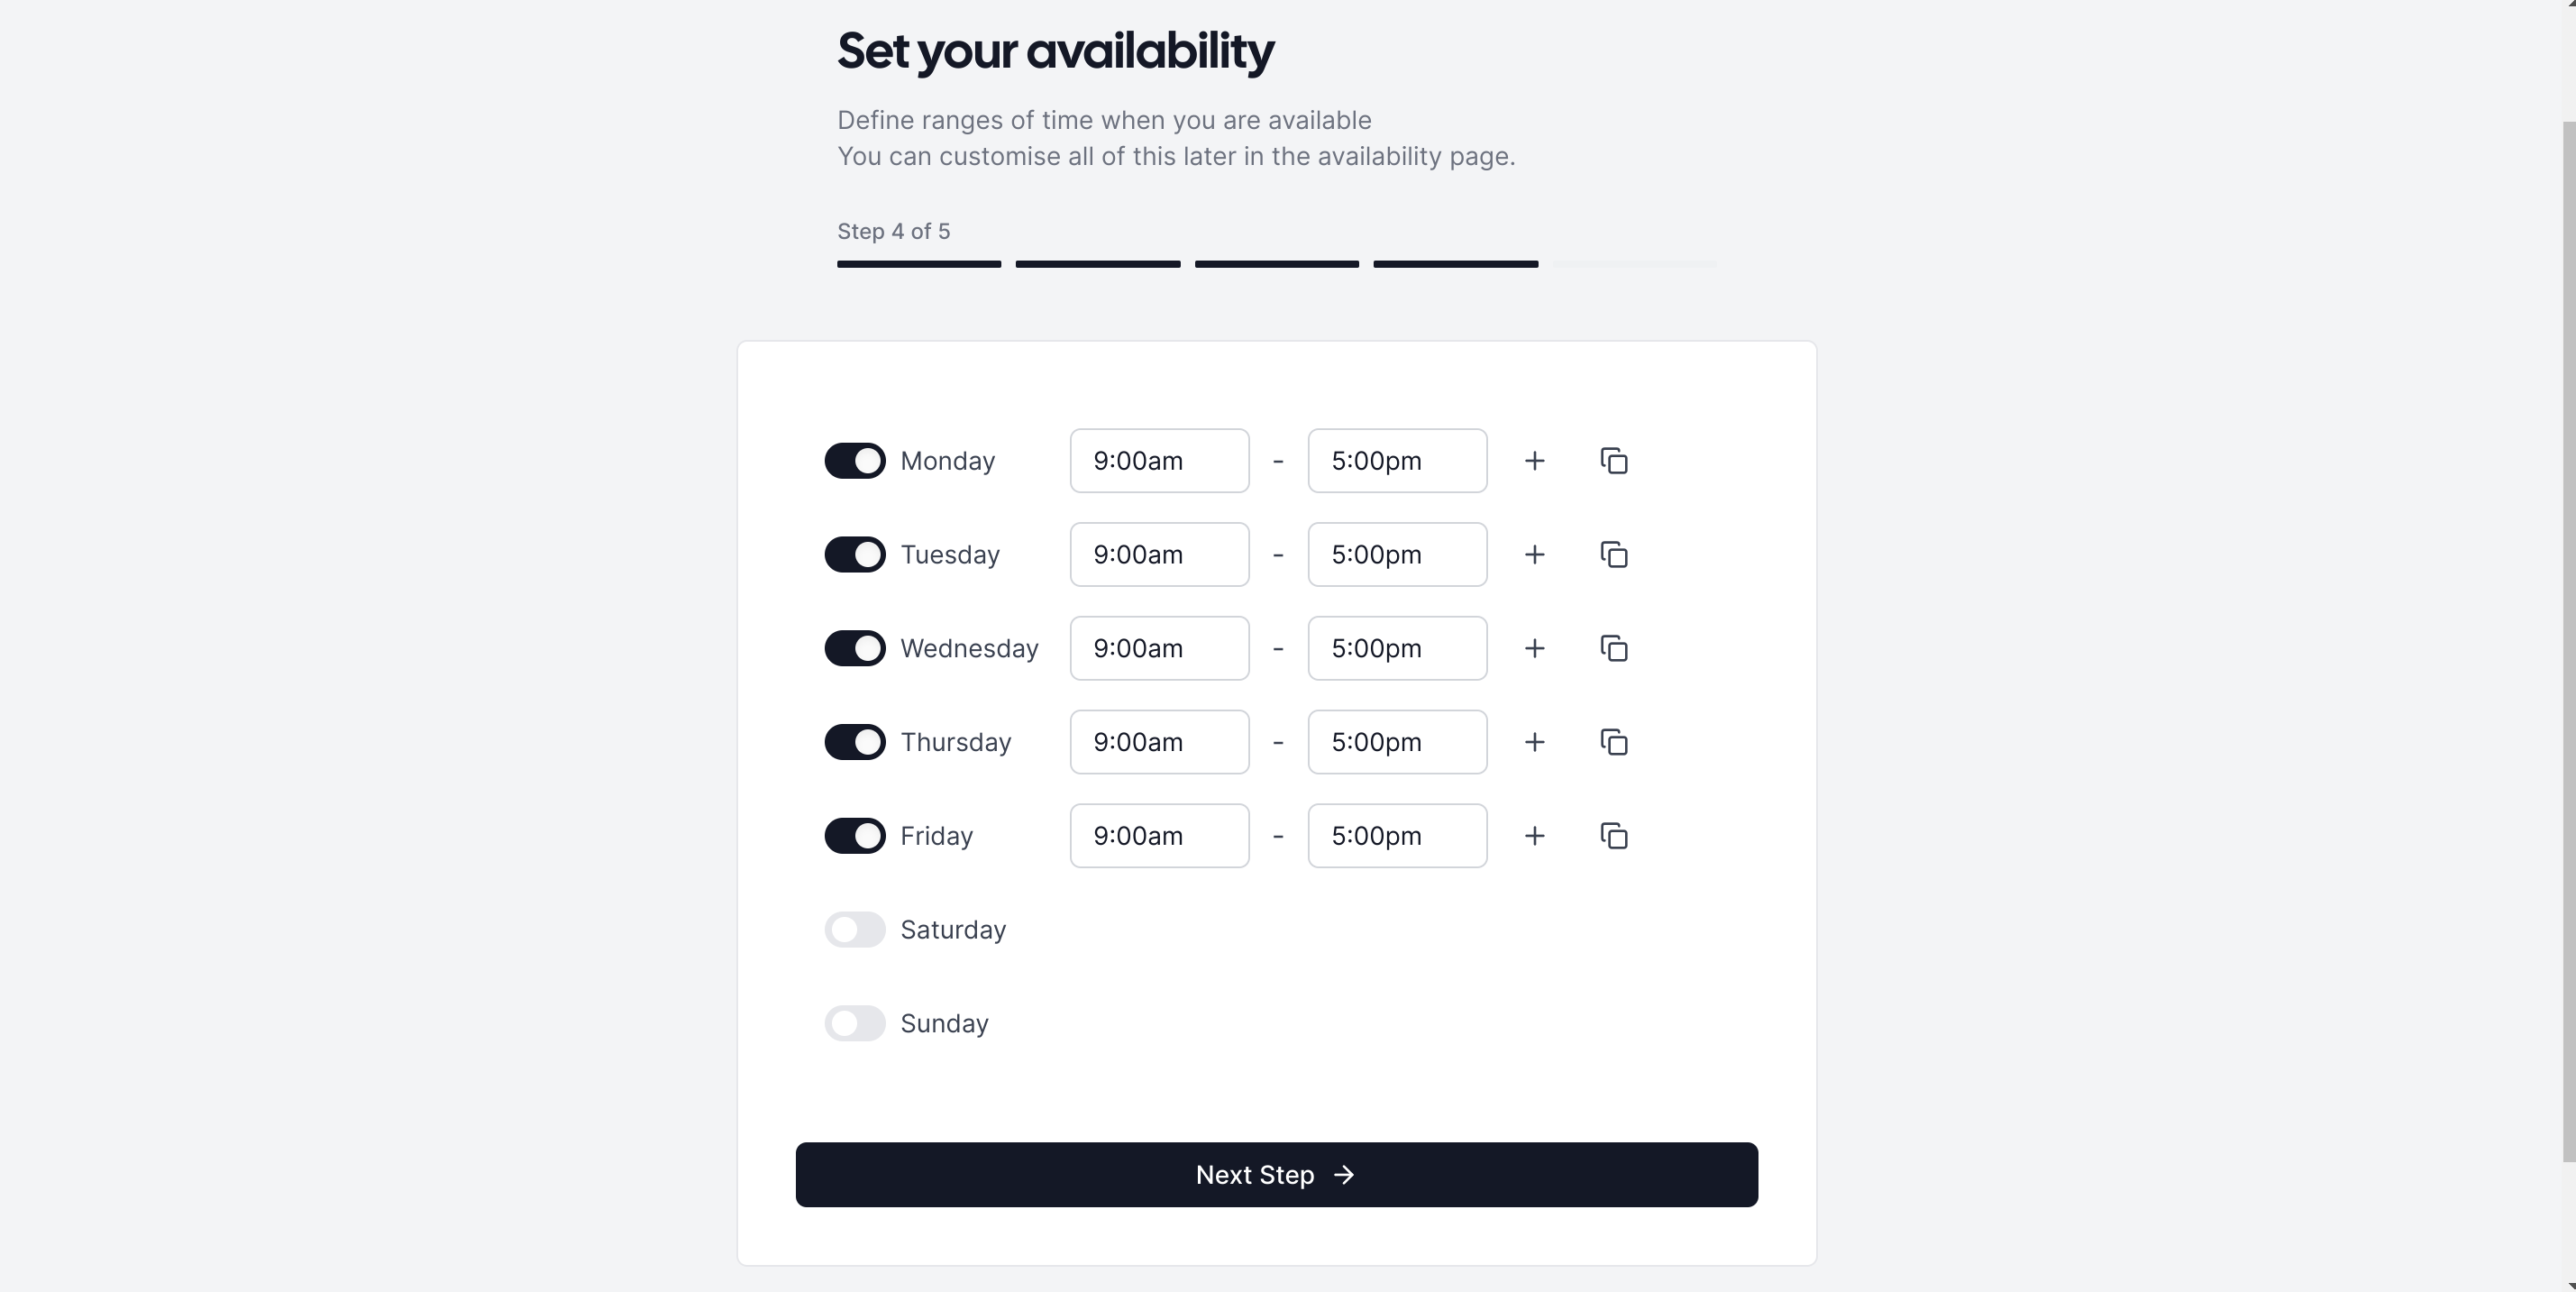
Modify the time windows to suit your needs. If you change your mind, you can change this at any time through the web interface. Click Next Step when you are finished.
Finally, you can enter profile information about yourself to give context to people scheduling with you:
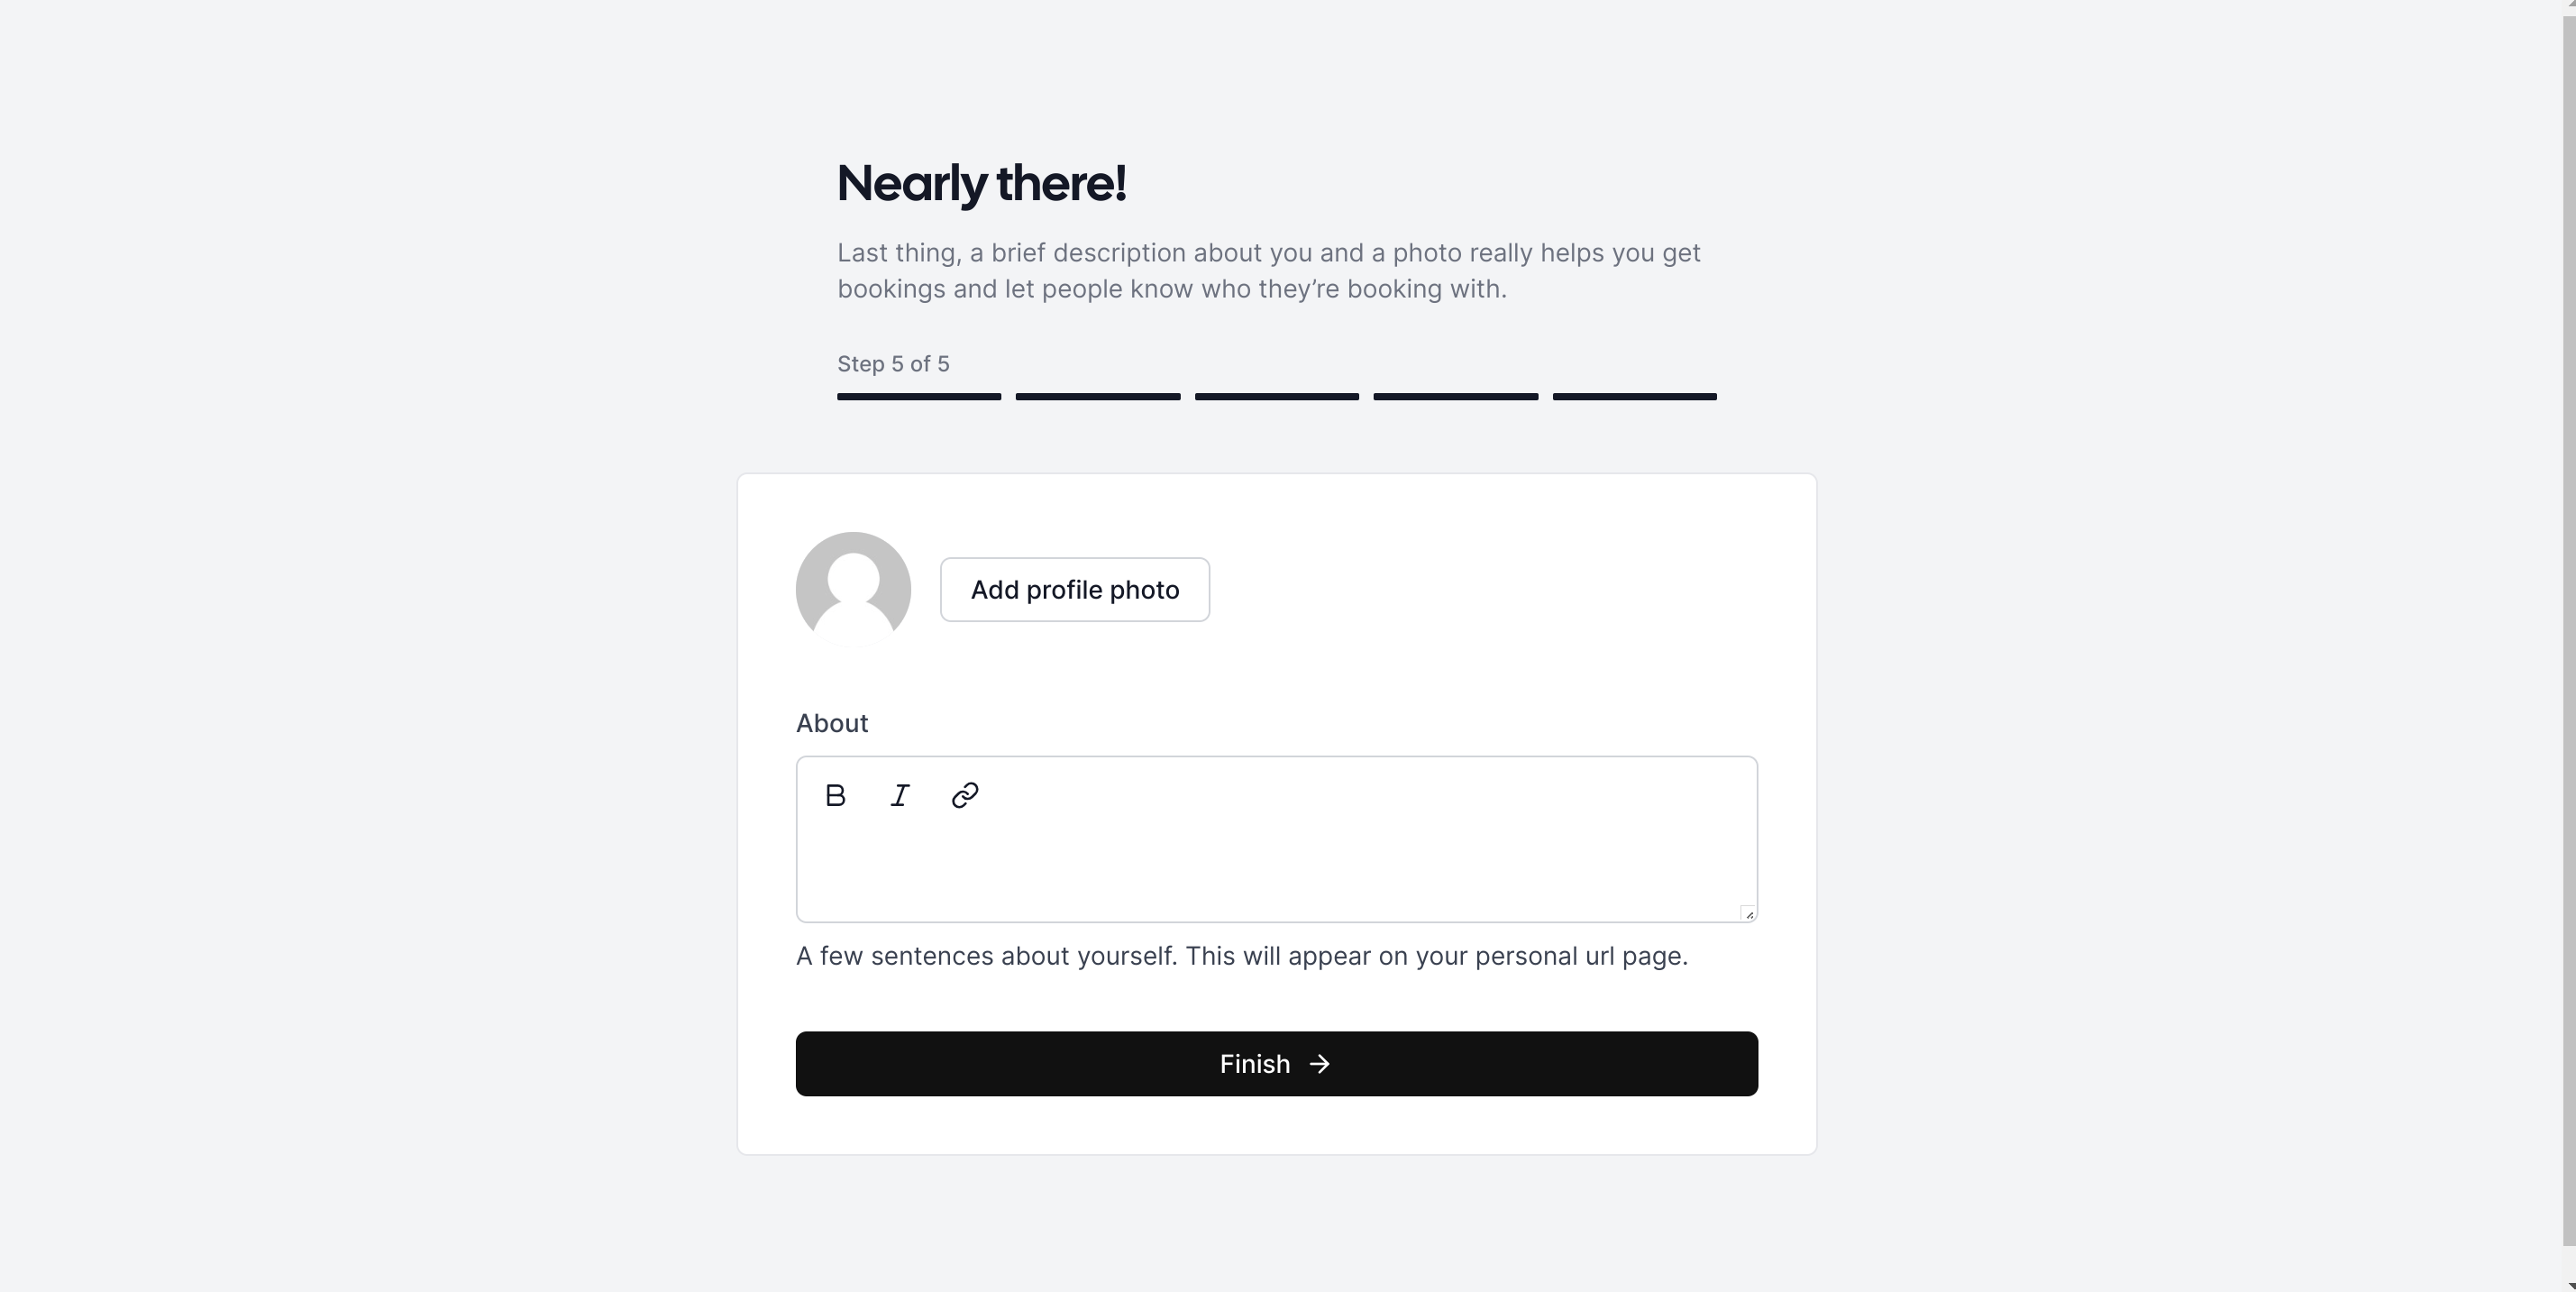
Fill out as much information as you'd like and click Finish to continue.
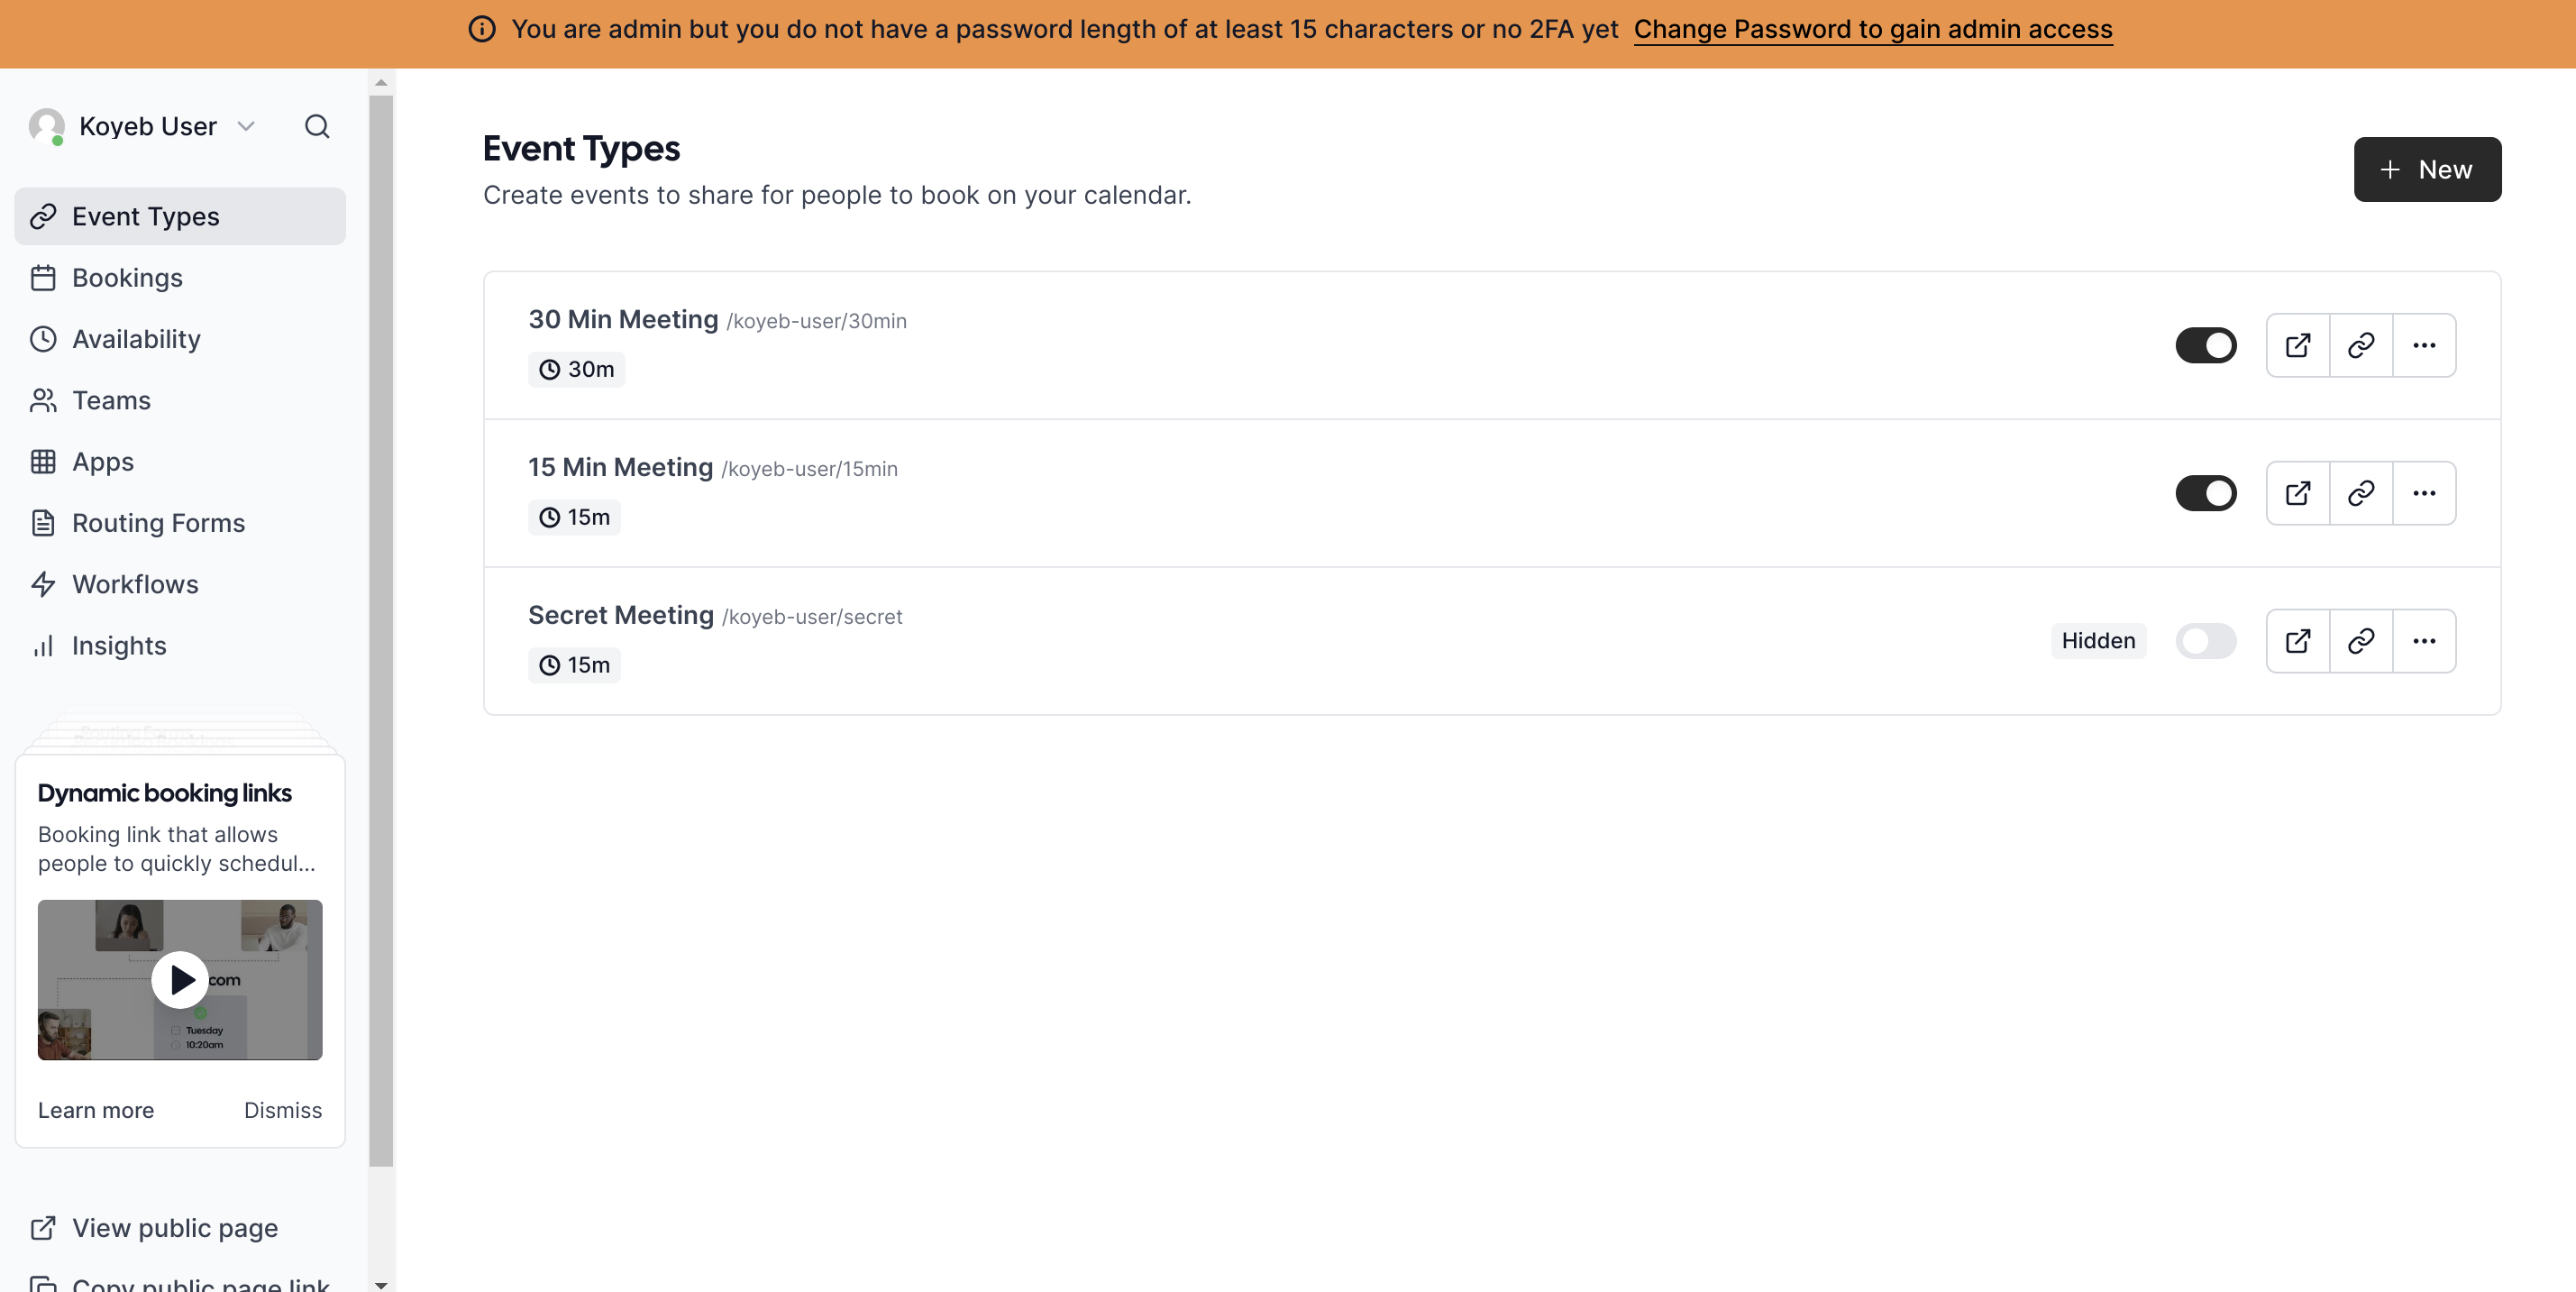
You will be taken to Cal.com dashboard for your account:
Enable two factor authentication
As the note at the top of the screen suggests, the administrative features will be disabled until you configure two factor authentication.
To configure two factor authentication, click Settings at the bottom of the left side menu and then click Two factor auth under the Security section of the settings menu:
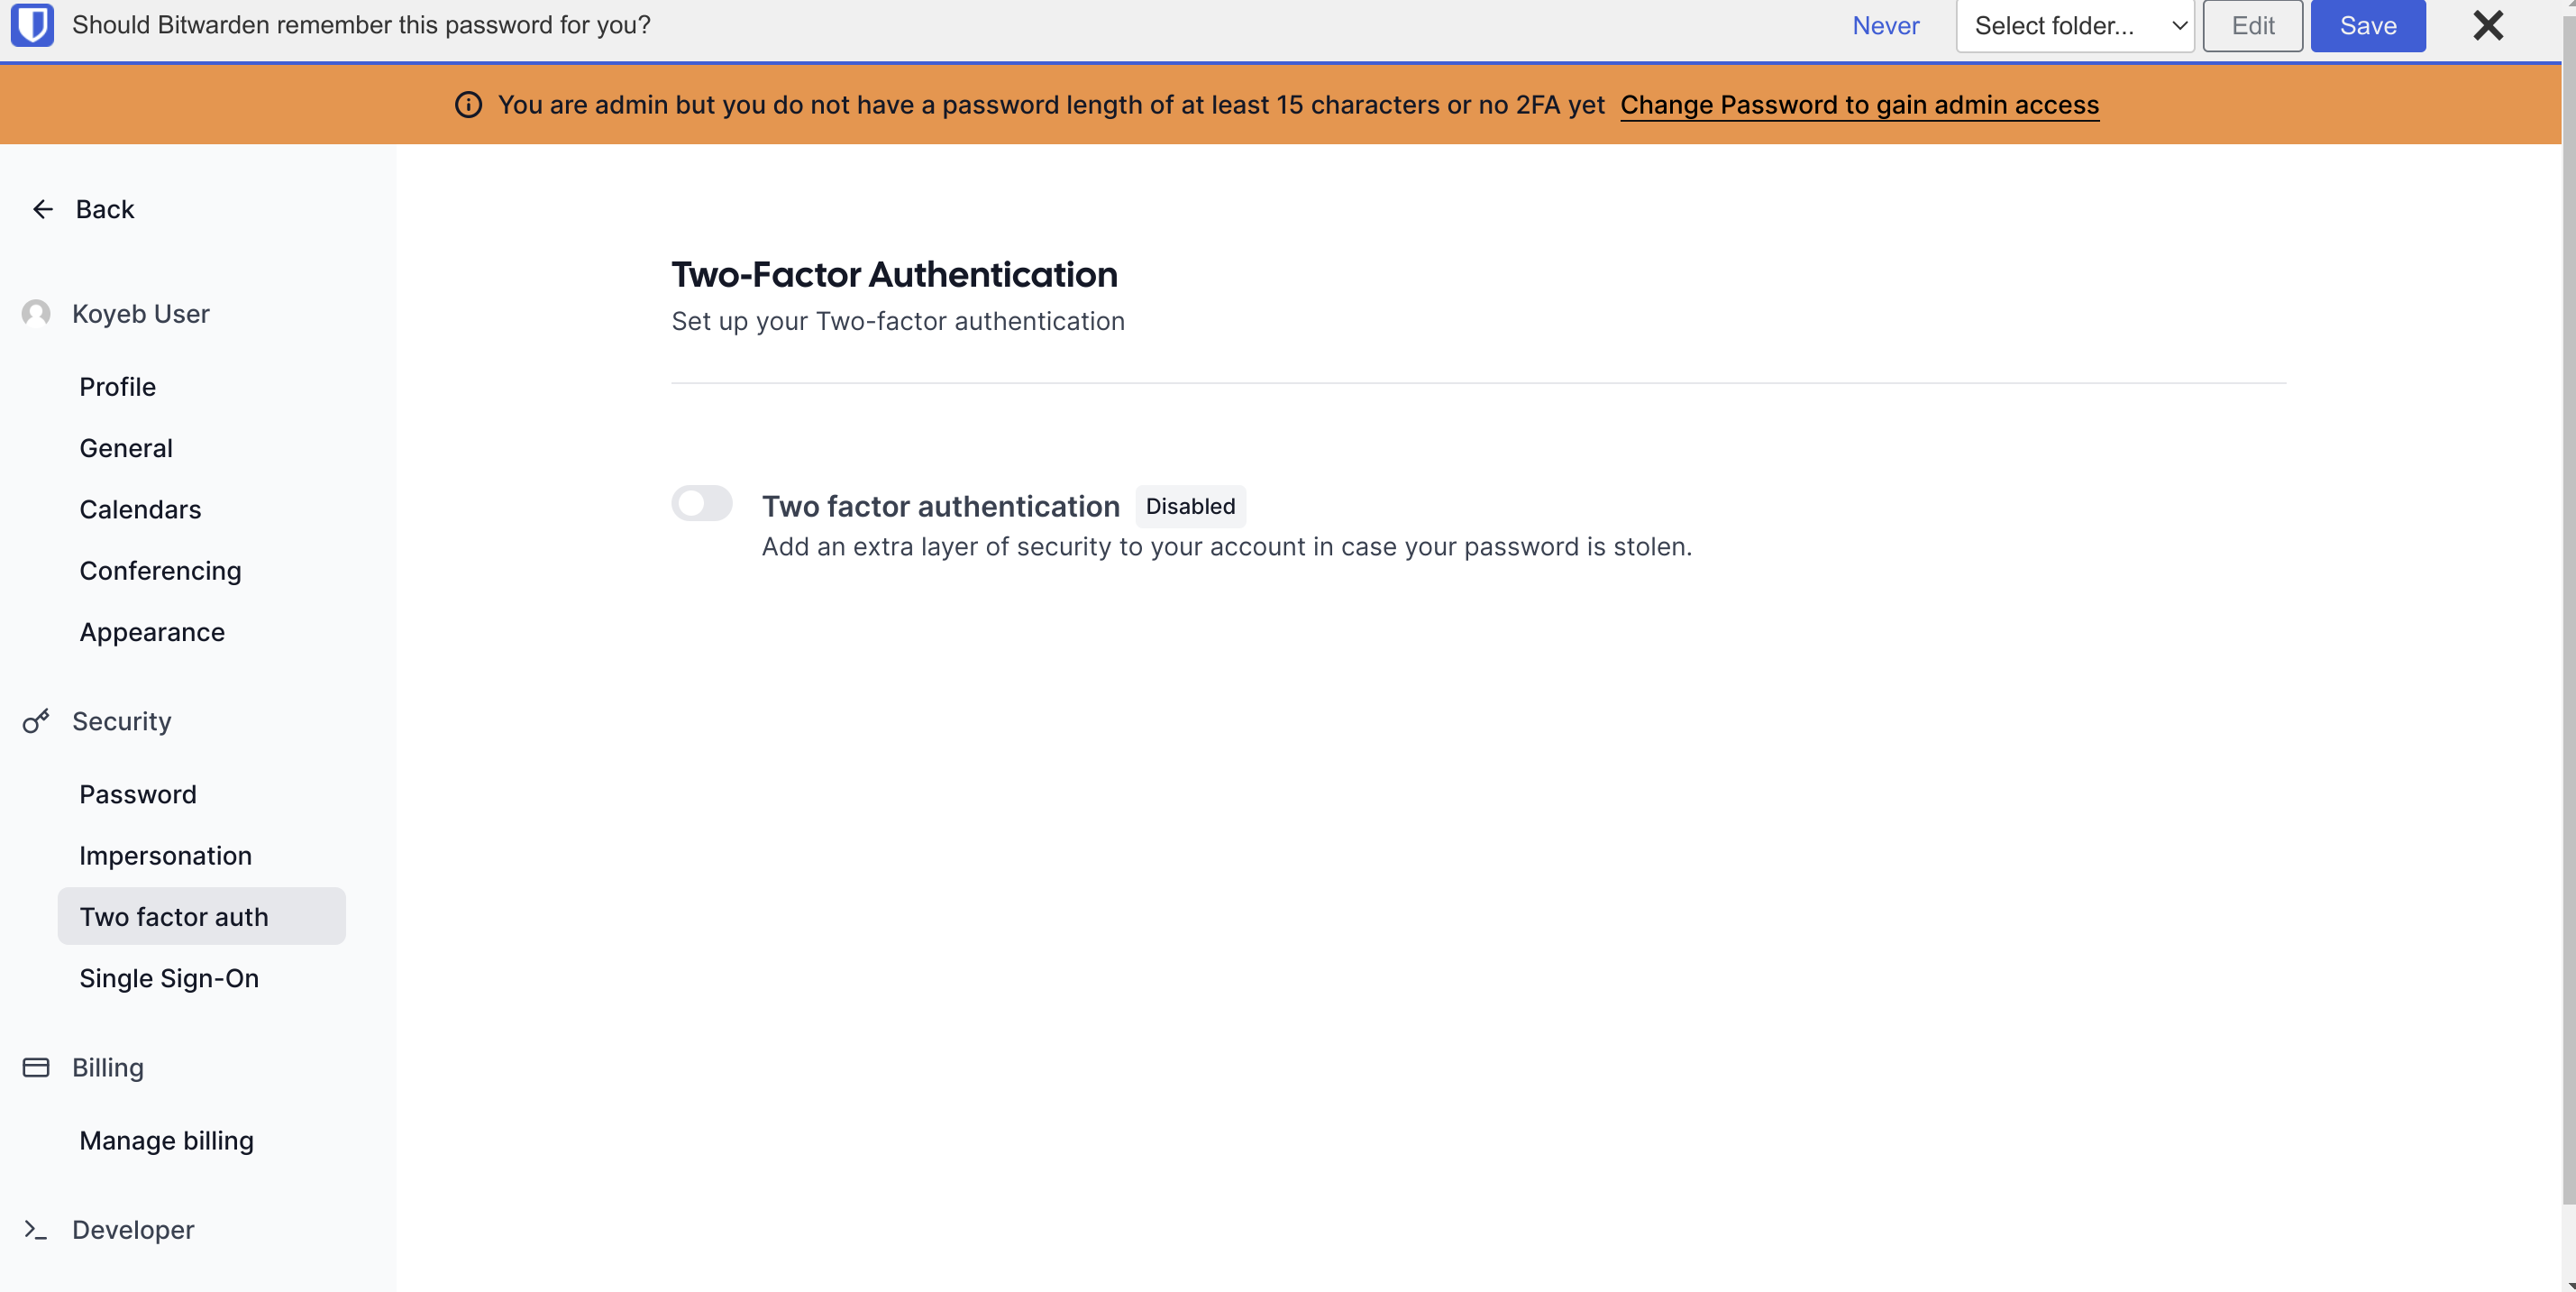
Toggle the slider for two factor authentication to begin configuring additional authentication.
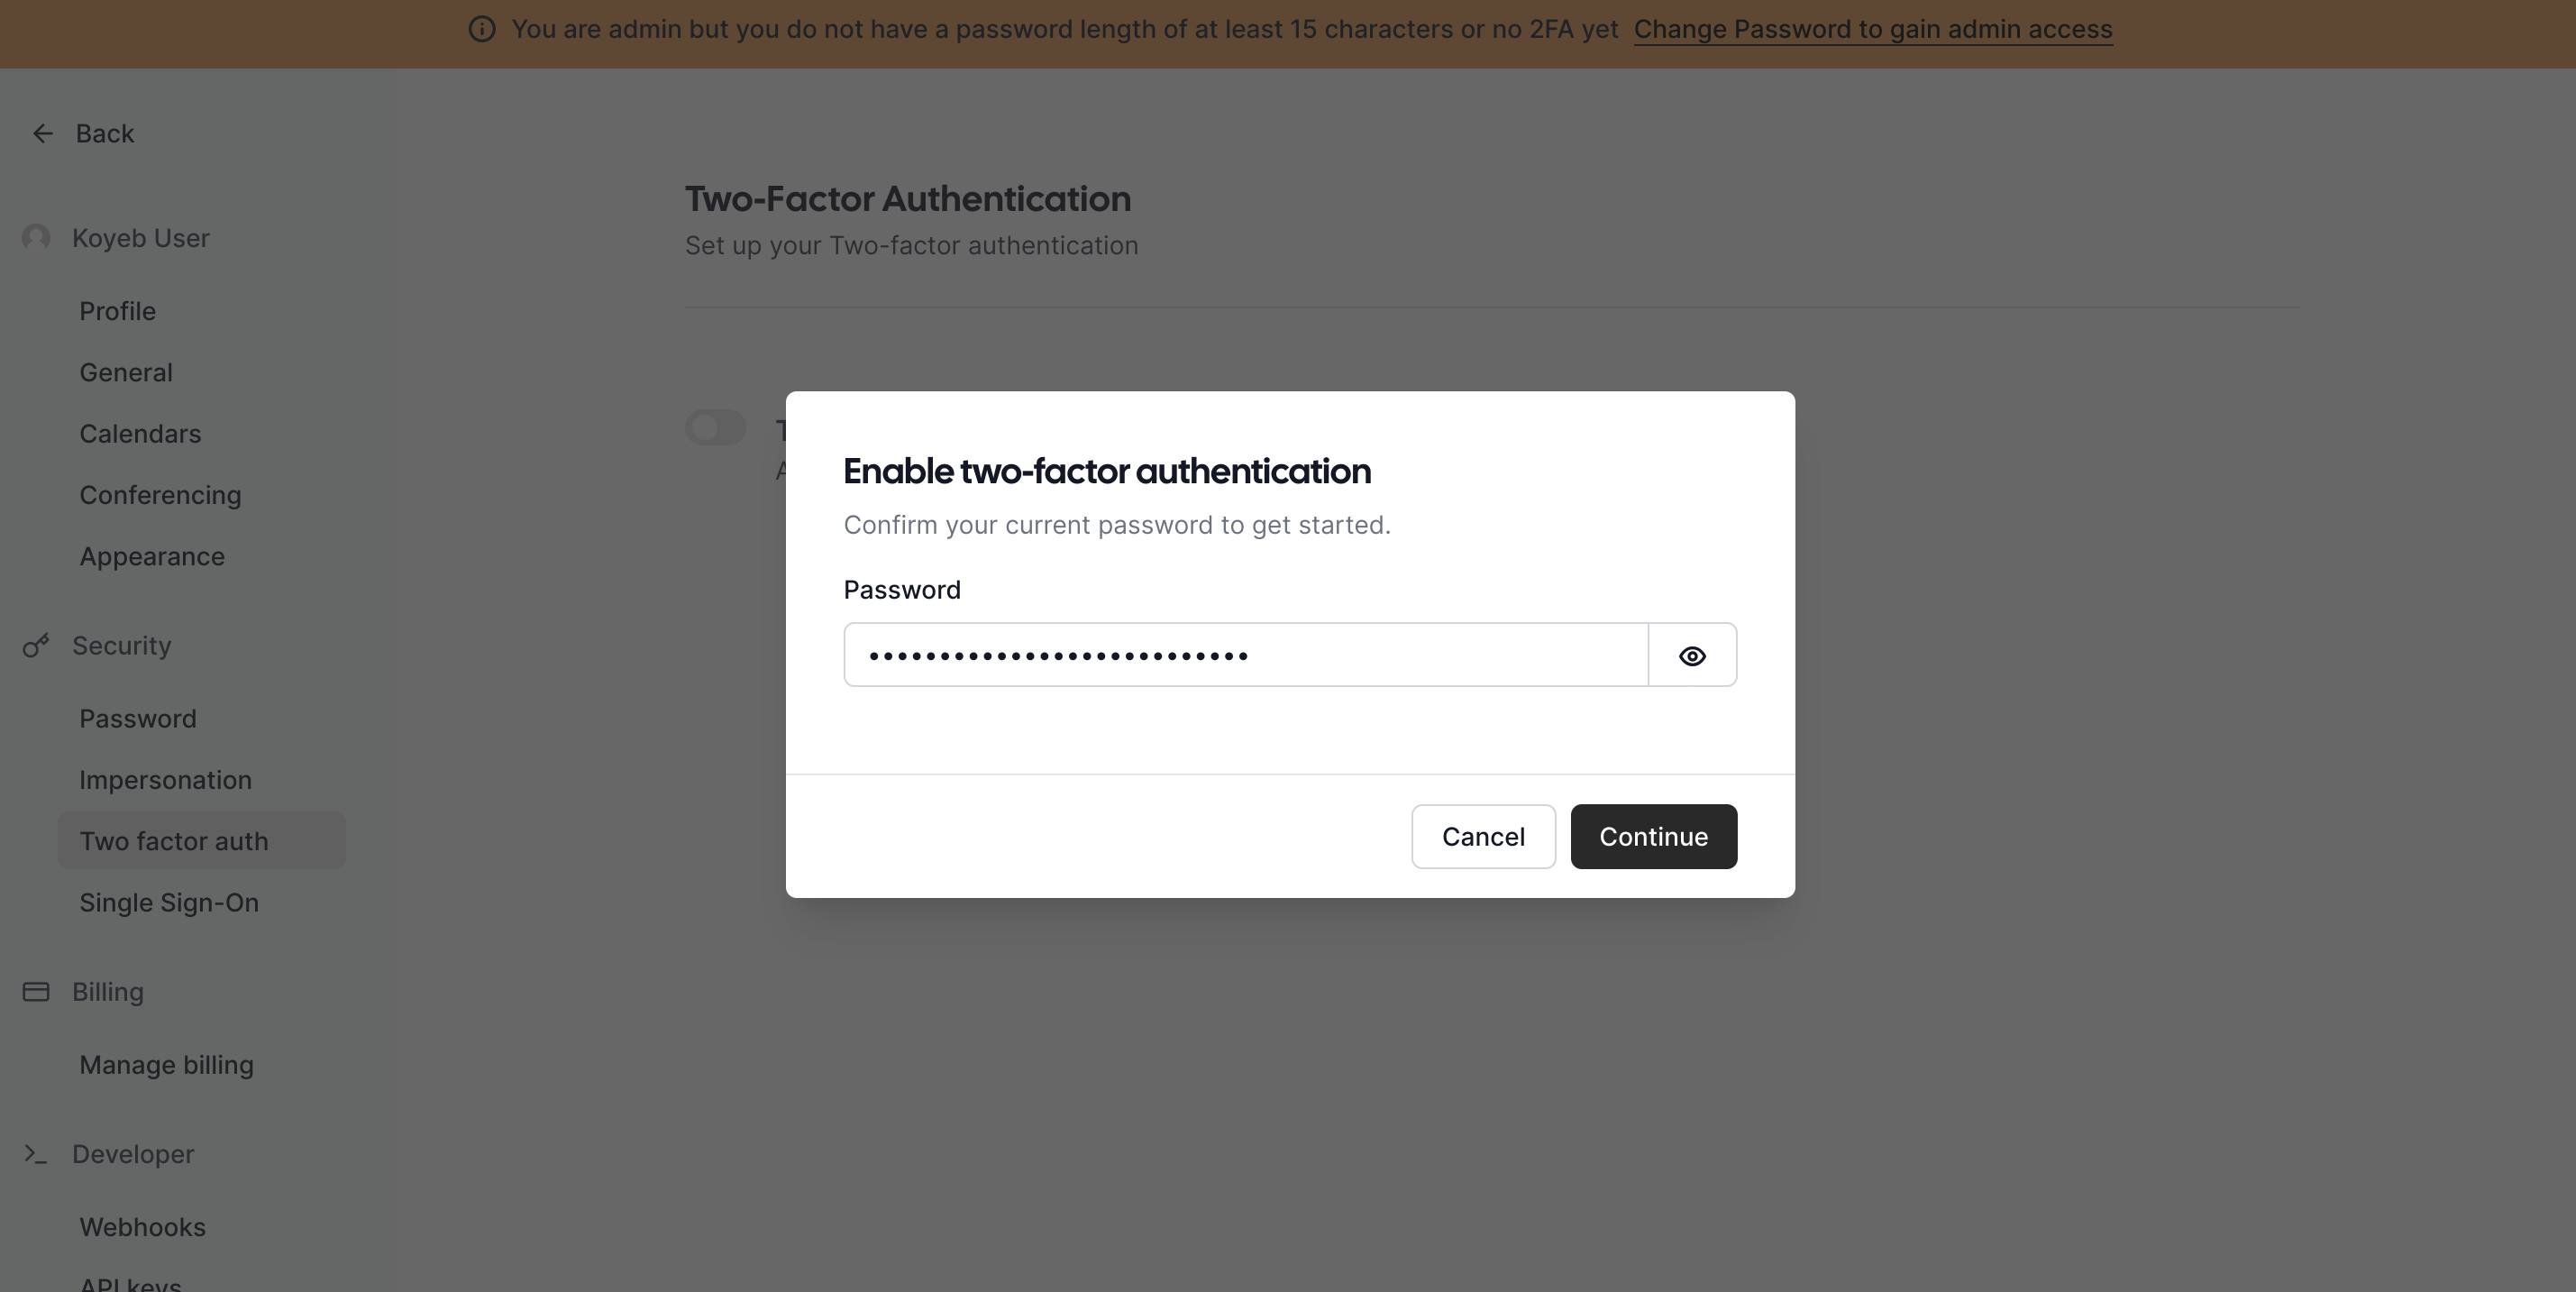
Enter your password again at the next prompt:
Next, you will be given a QR code to set up a second factor for authentication:
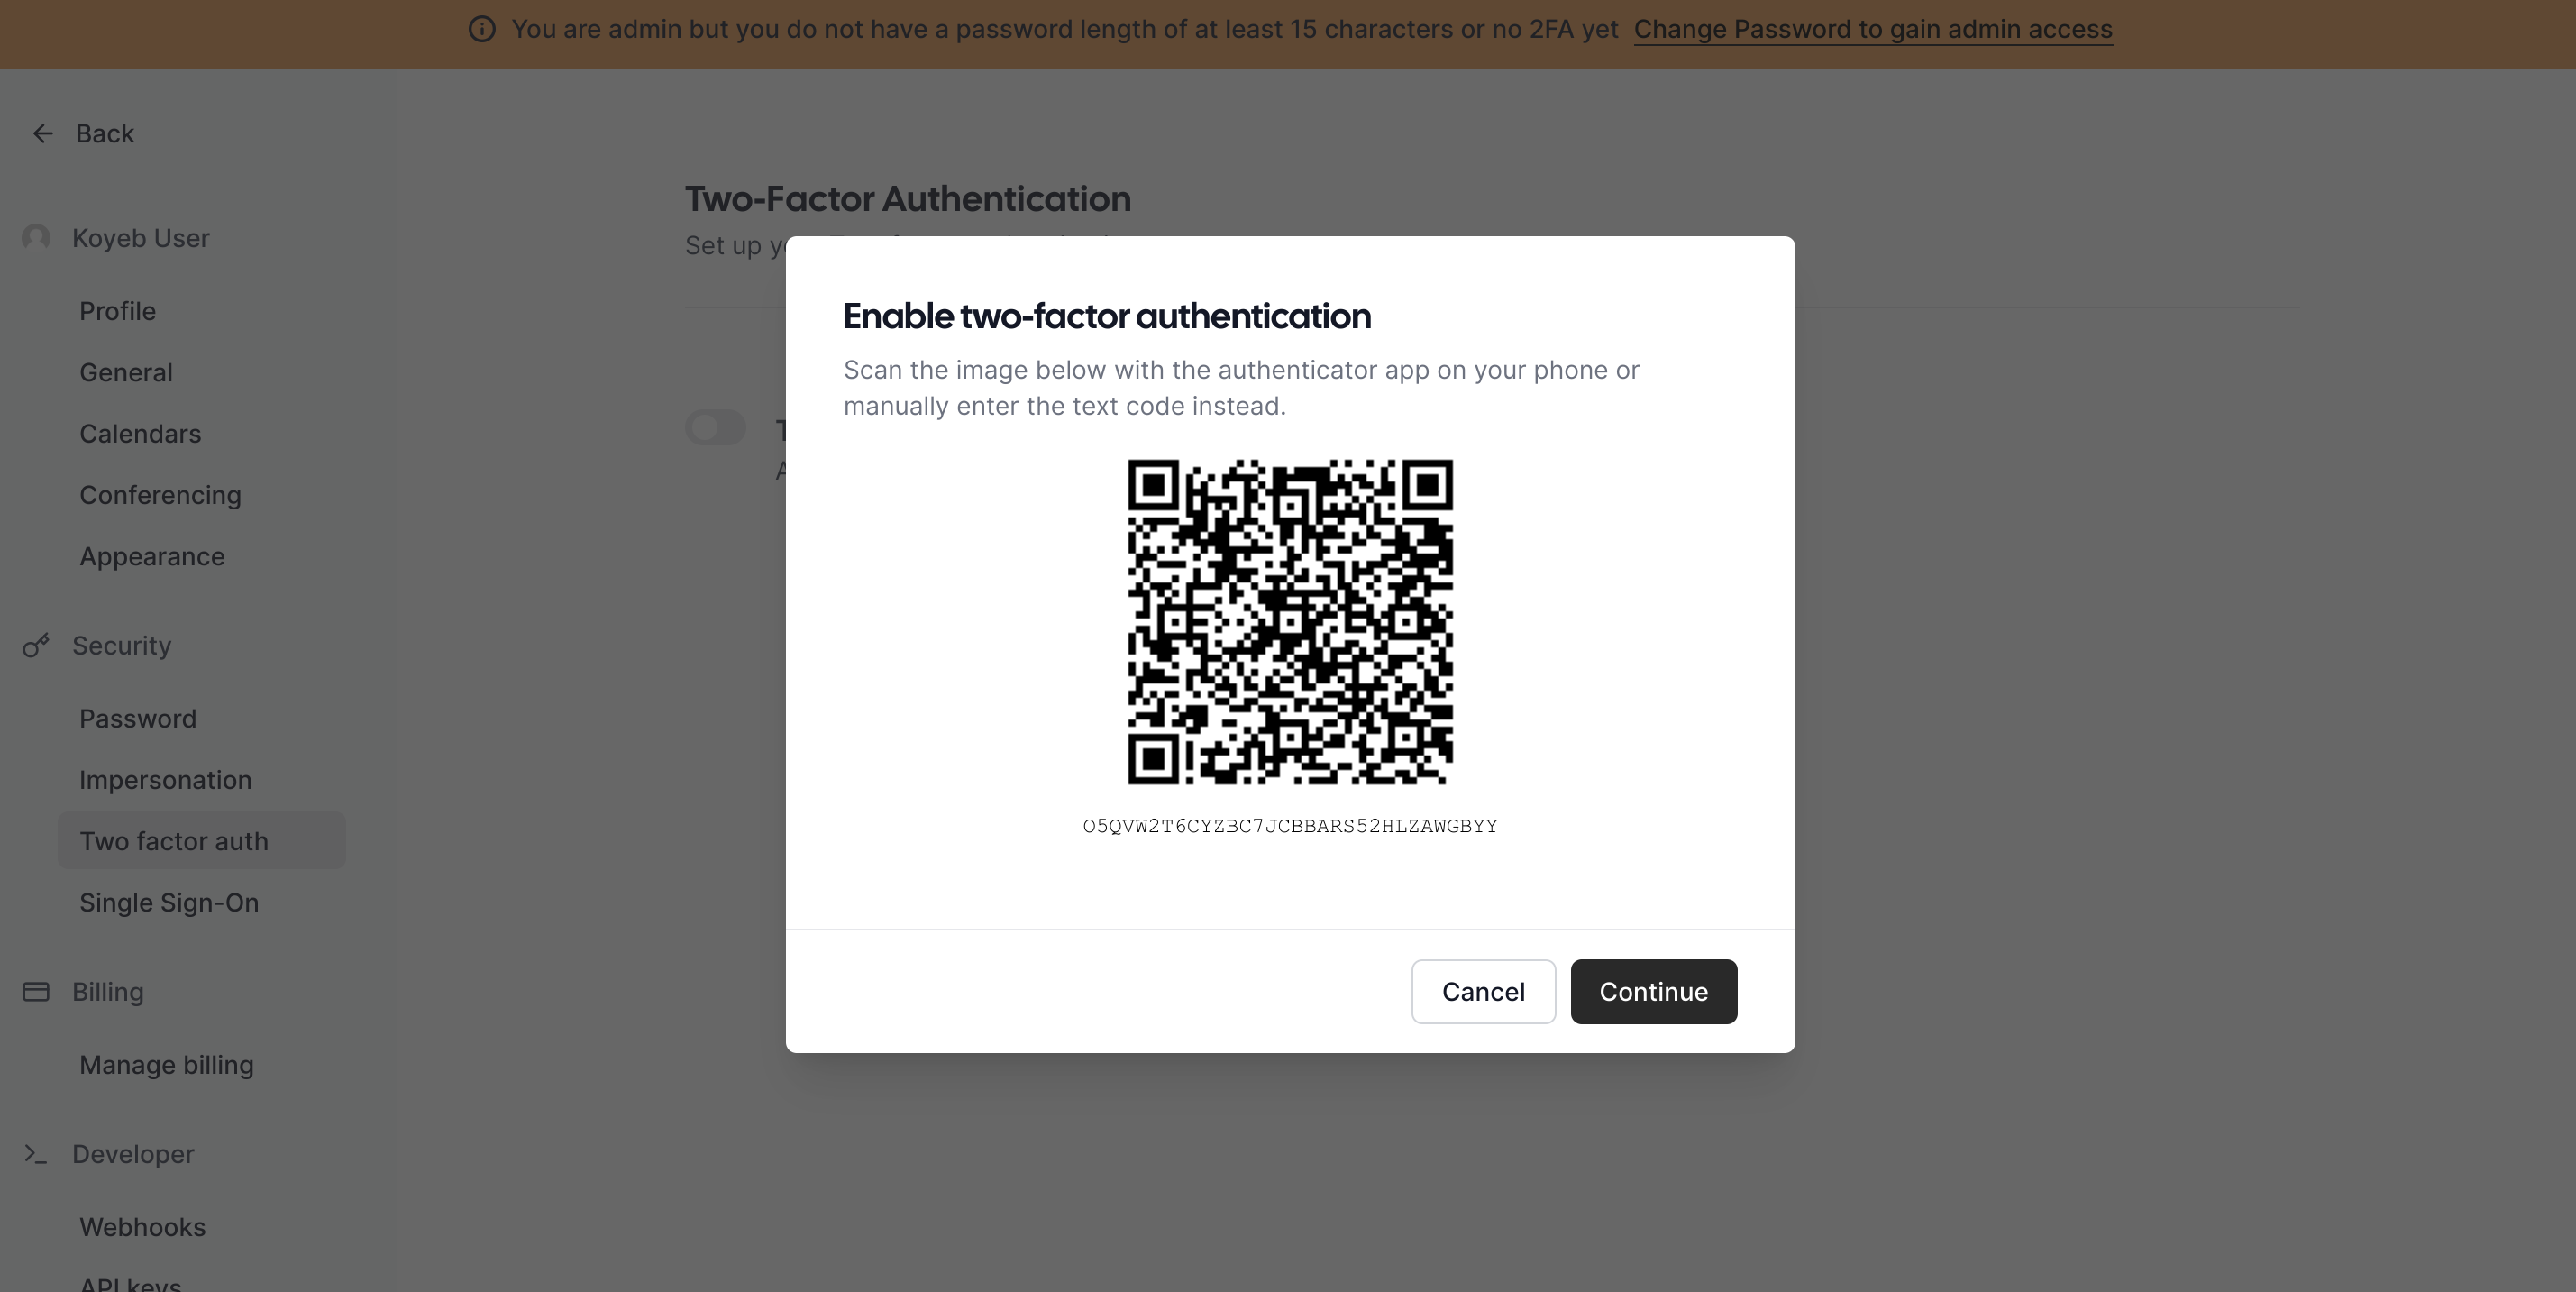
Scan the QR code with your phone's authentication app and the click Continue.
The next screen will show an authentication challenge:
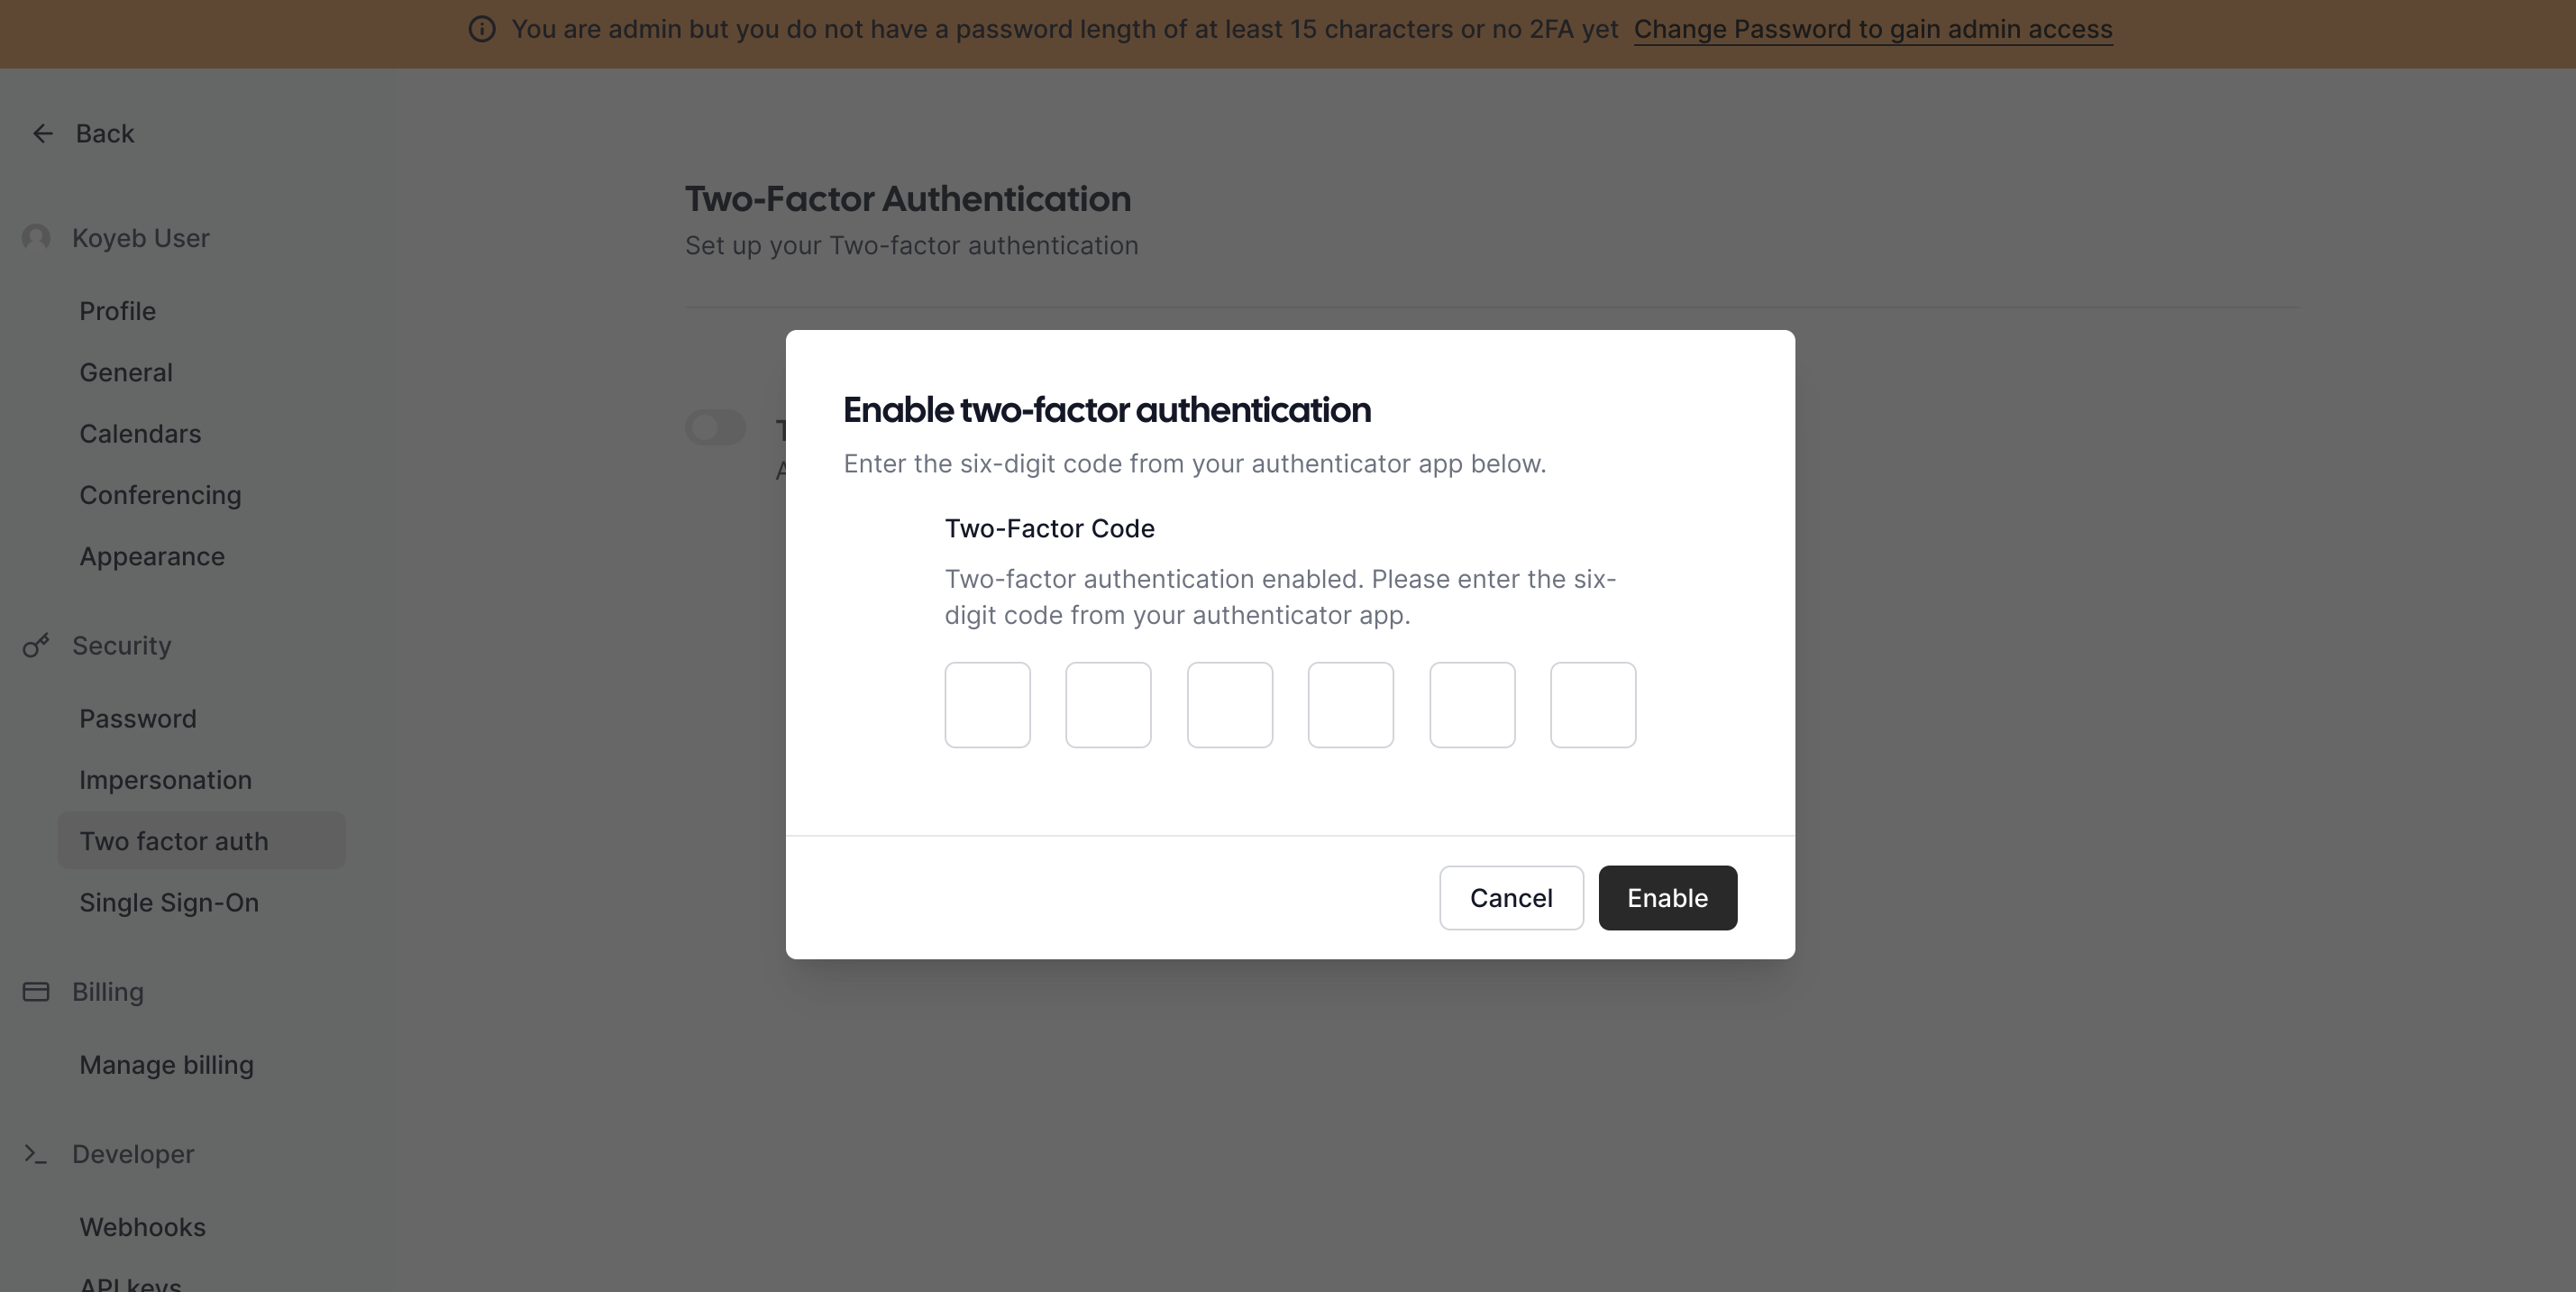
Enter the code from your phone's authenticator app to confirm that your second factor is working correctly and then click Enable.
Cal.com will then give you backup codes that you can use in case your second factor is not available:
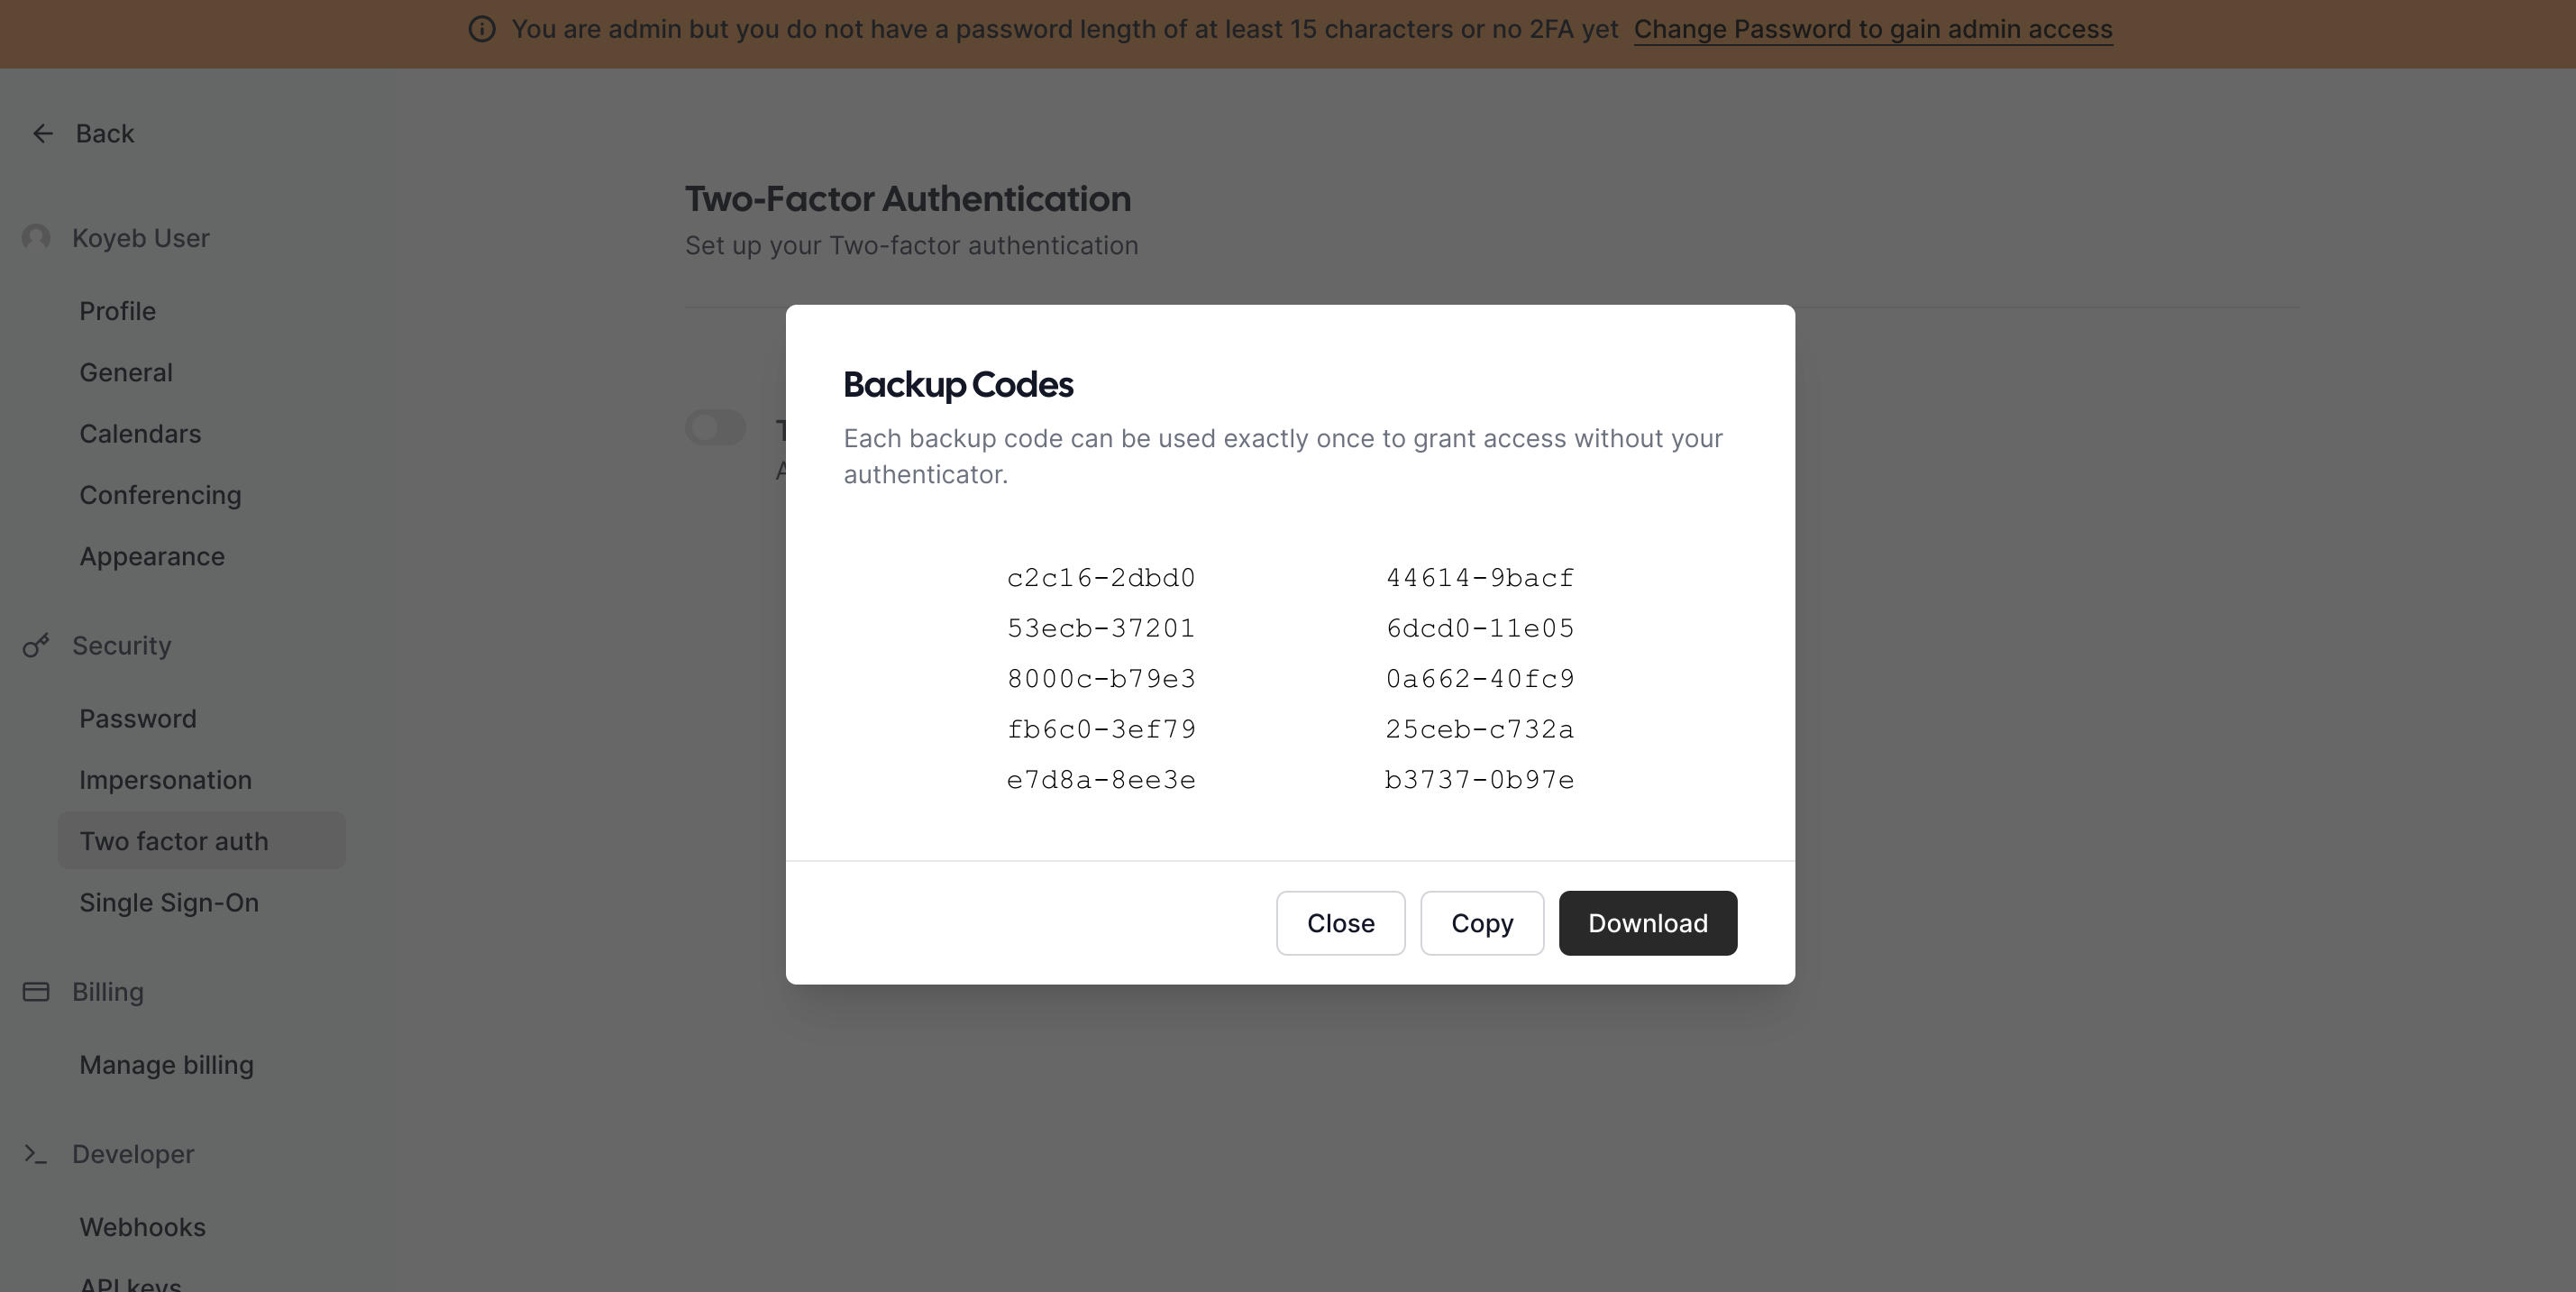
Click Copy or Download to save them to a safe location.
Two factor authentication is now configured on your account, but the orange security banner will still be displayed. To get access to the administrative features, you need to re-login.
Click the Back button in the upper left corner to return to the dashboard. On the dashboard screen, click on your username in the upper left corner and click Sign out. You'll be redirected to the login page where you can authenticate with your email address and password. Enter your second factor code from your authenticator app when prompted. When you log back in, you'll have access to all of the administration features without the warning banner:
Configure Google calendar integration
Now that the Cal.com administrative account is unlocked, we can configure our calendar integration. To do so, we need to configure access to our Google account's calendar system. This involves enabling the associated APIs within Google and then generating authentication details so that Cal.com can authenticate and manage the resource correctly.
Create a new project
To begin, visit the Google API console for the Google account you want to integrate with.
In the project selector near the top of the page, click New Project to create a new project.
You'll be asked to choose a name for the project and whether you'd like to create the project within the context of an organization:
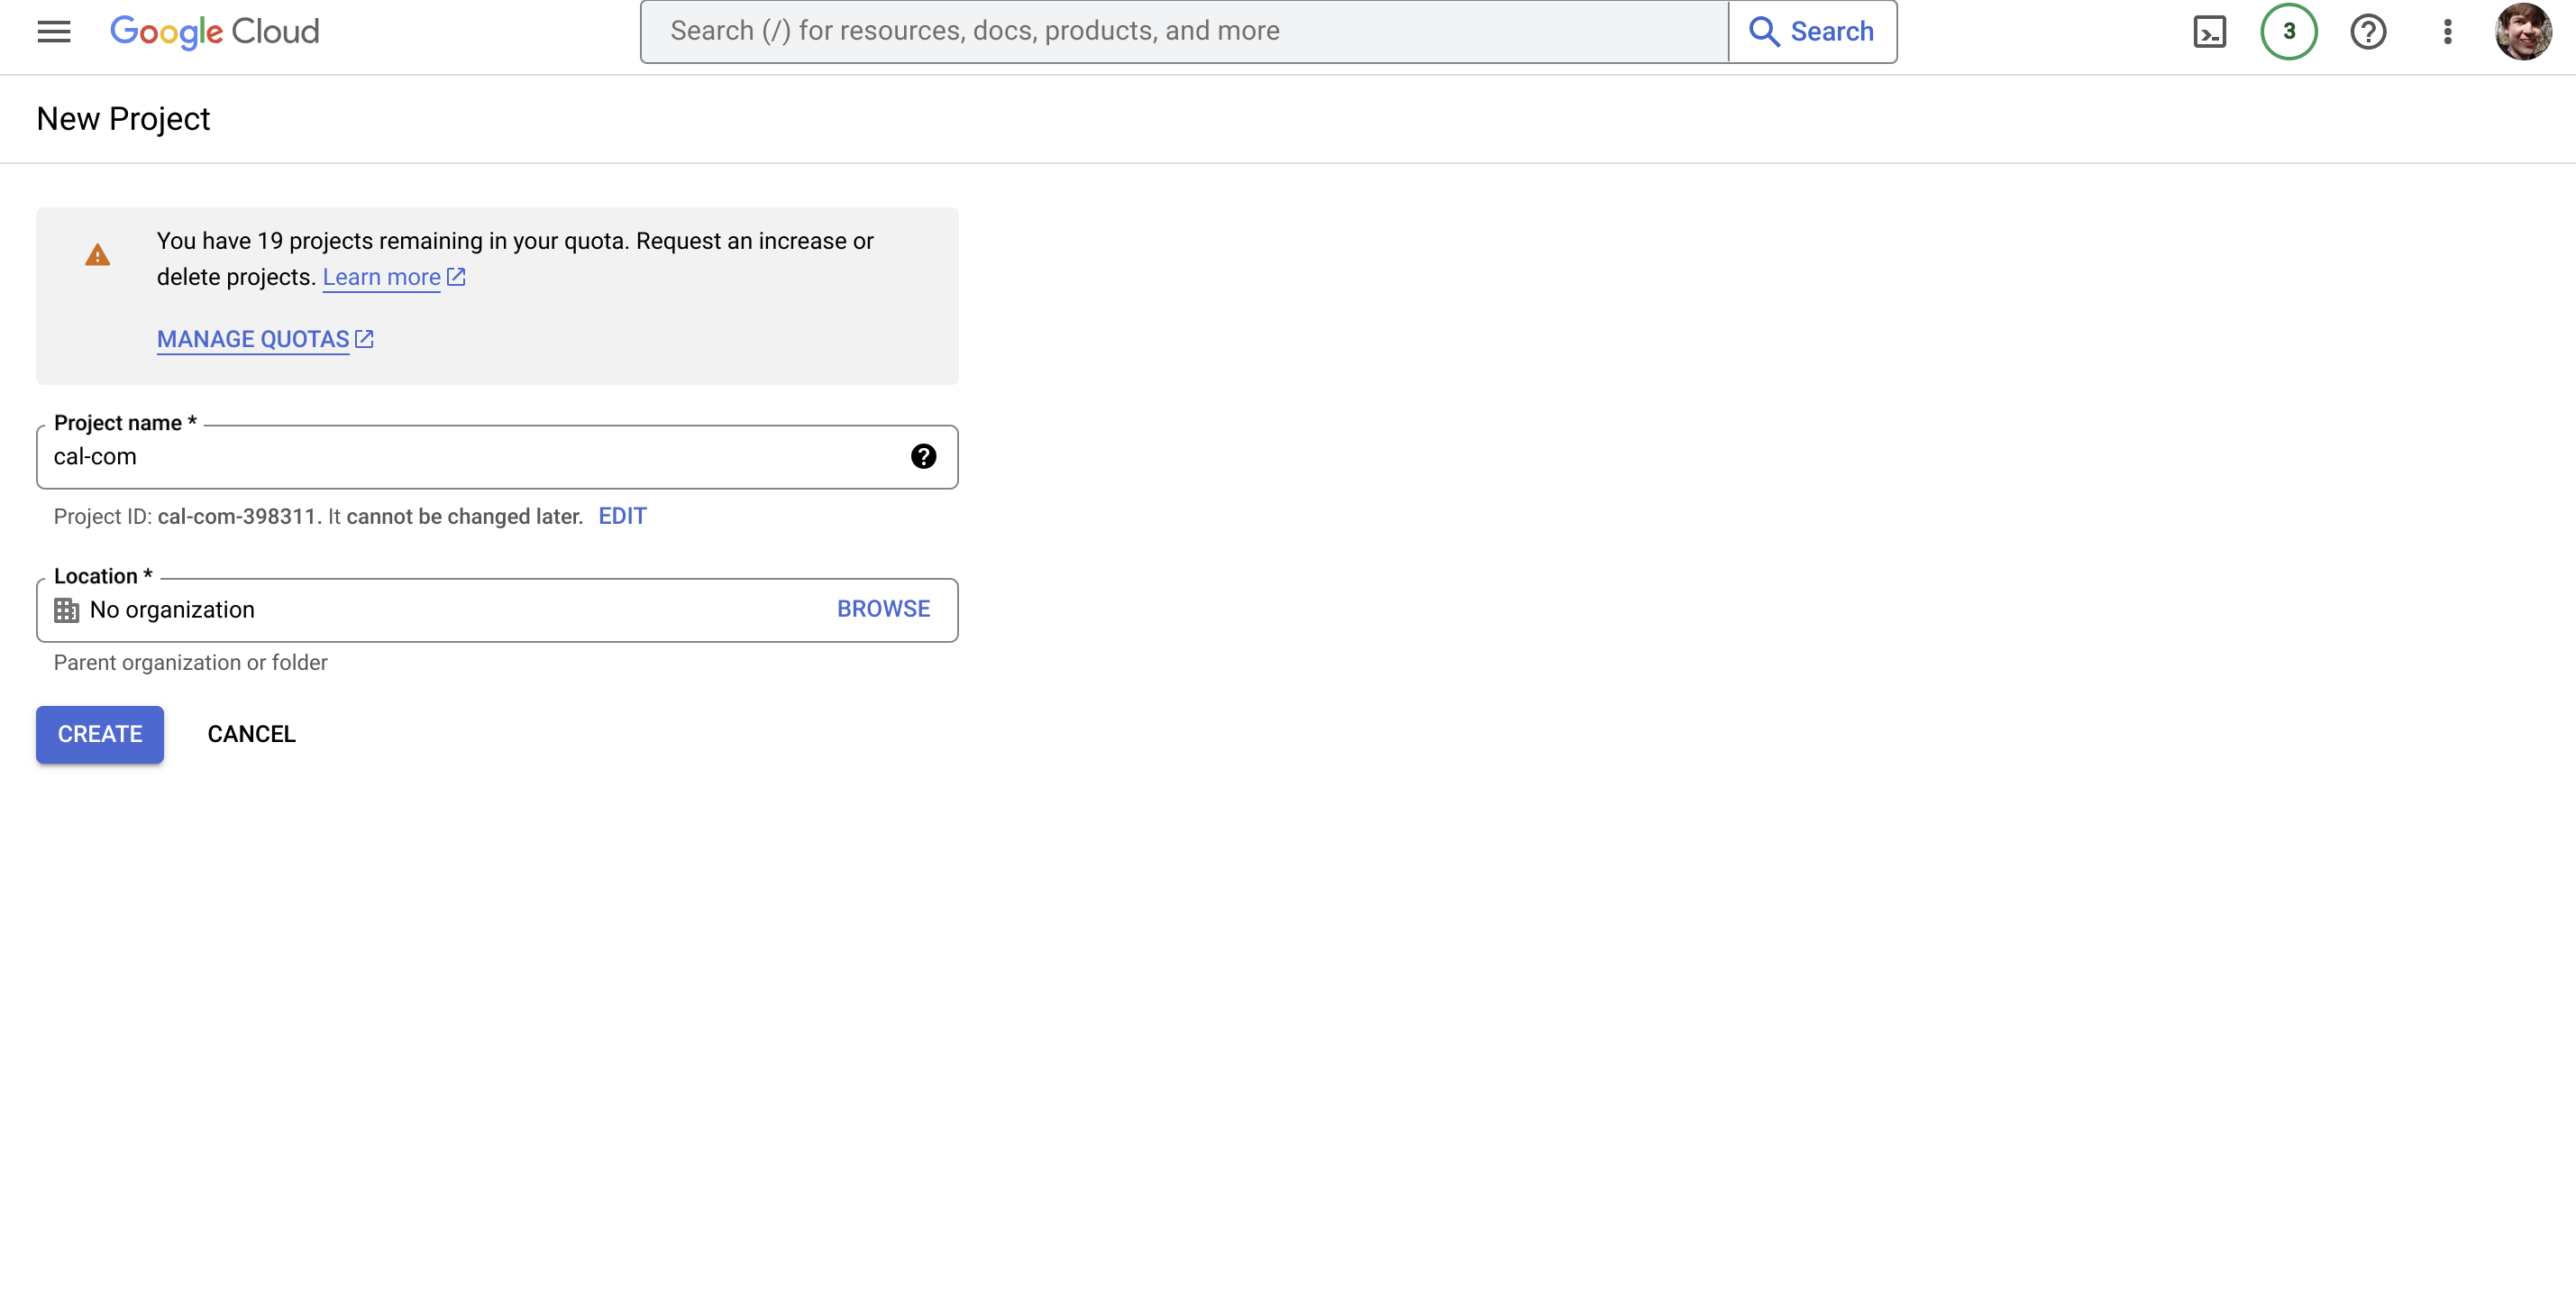
Click Create to continue.
Next, select your new project from the project selector at the top of the page:
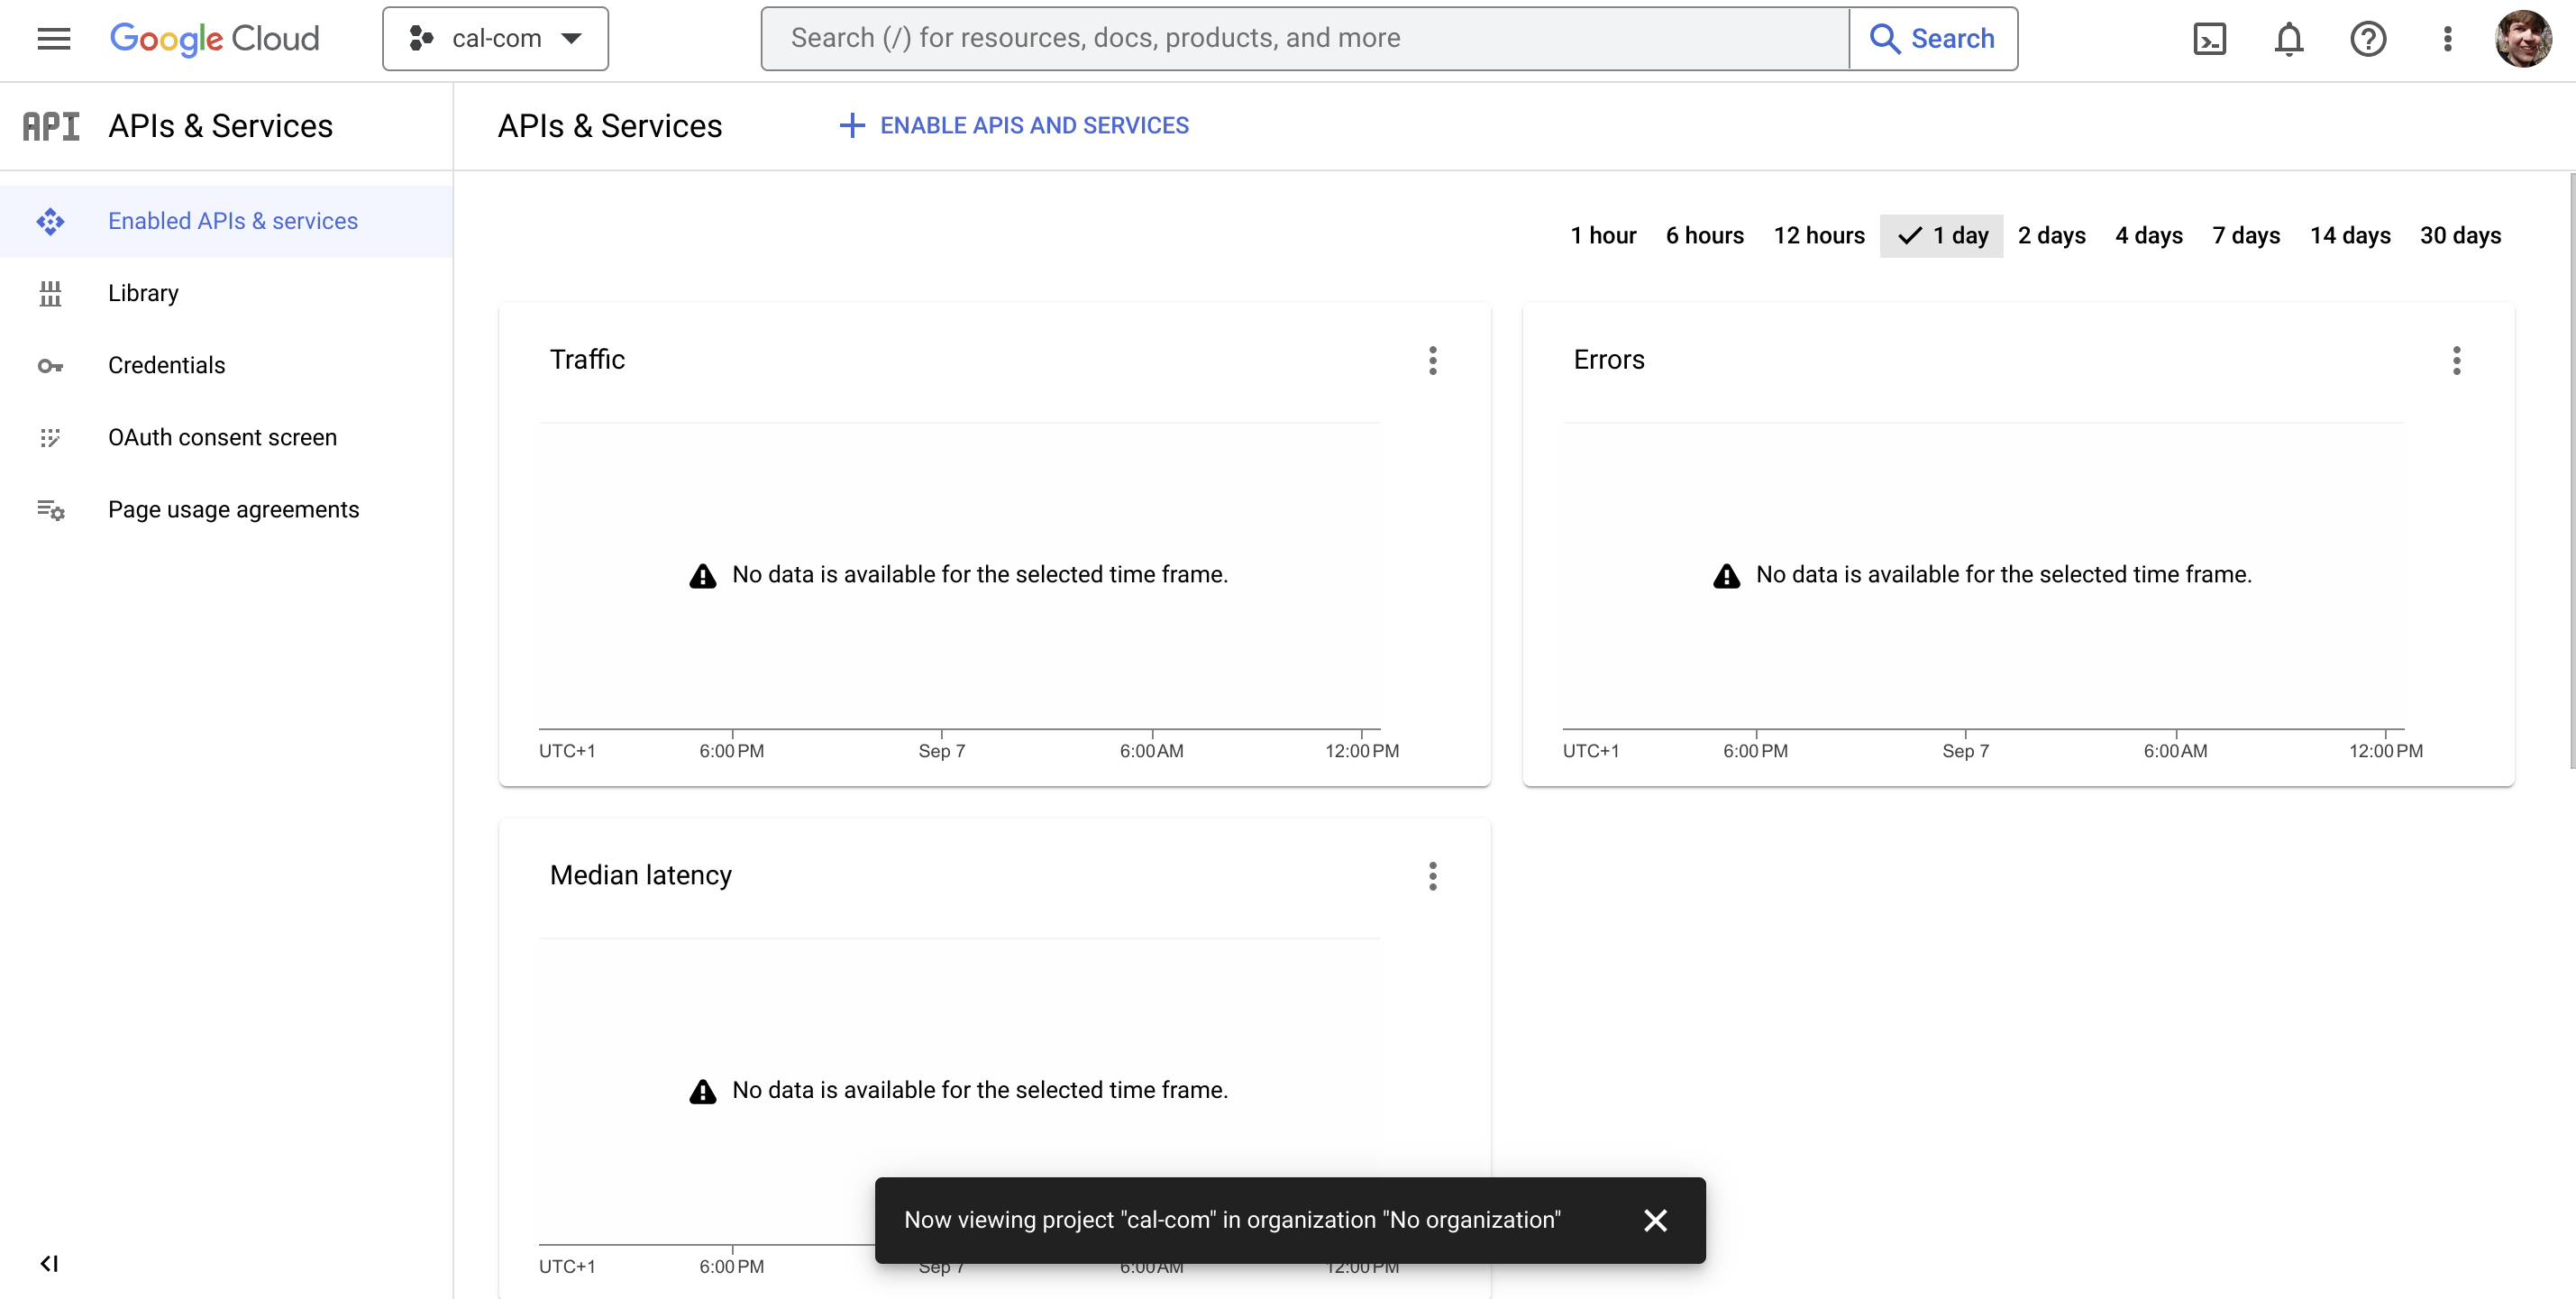
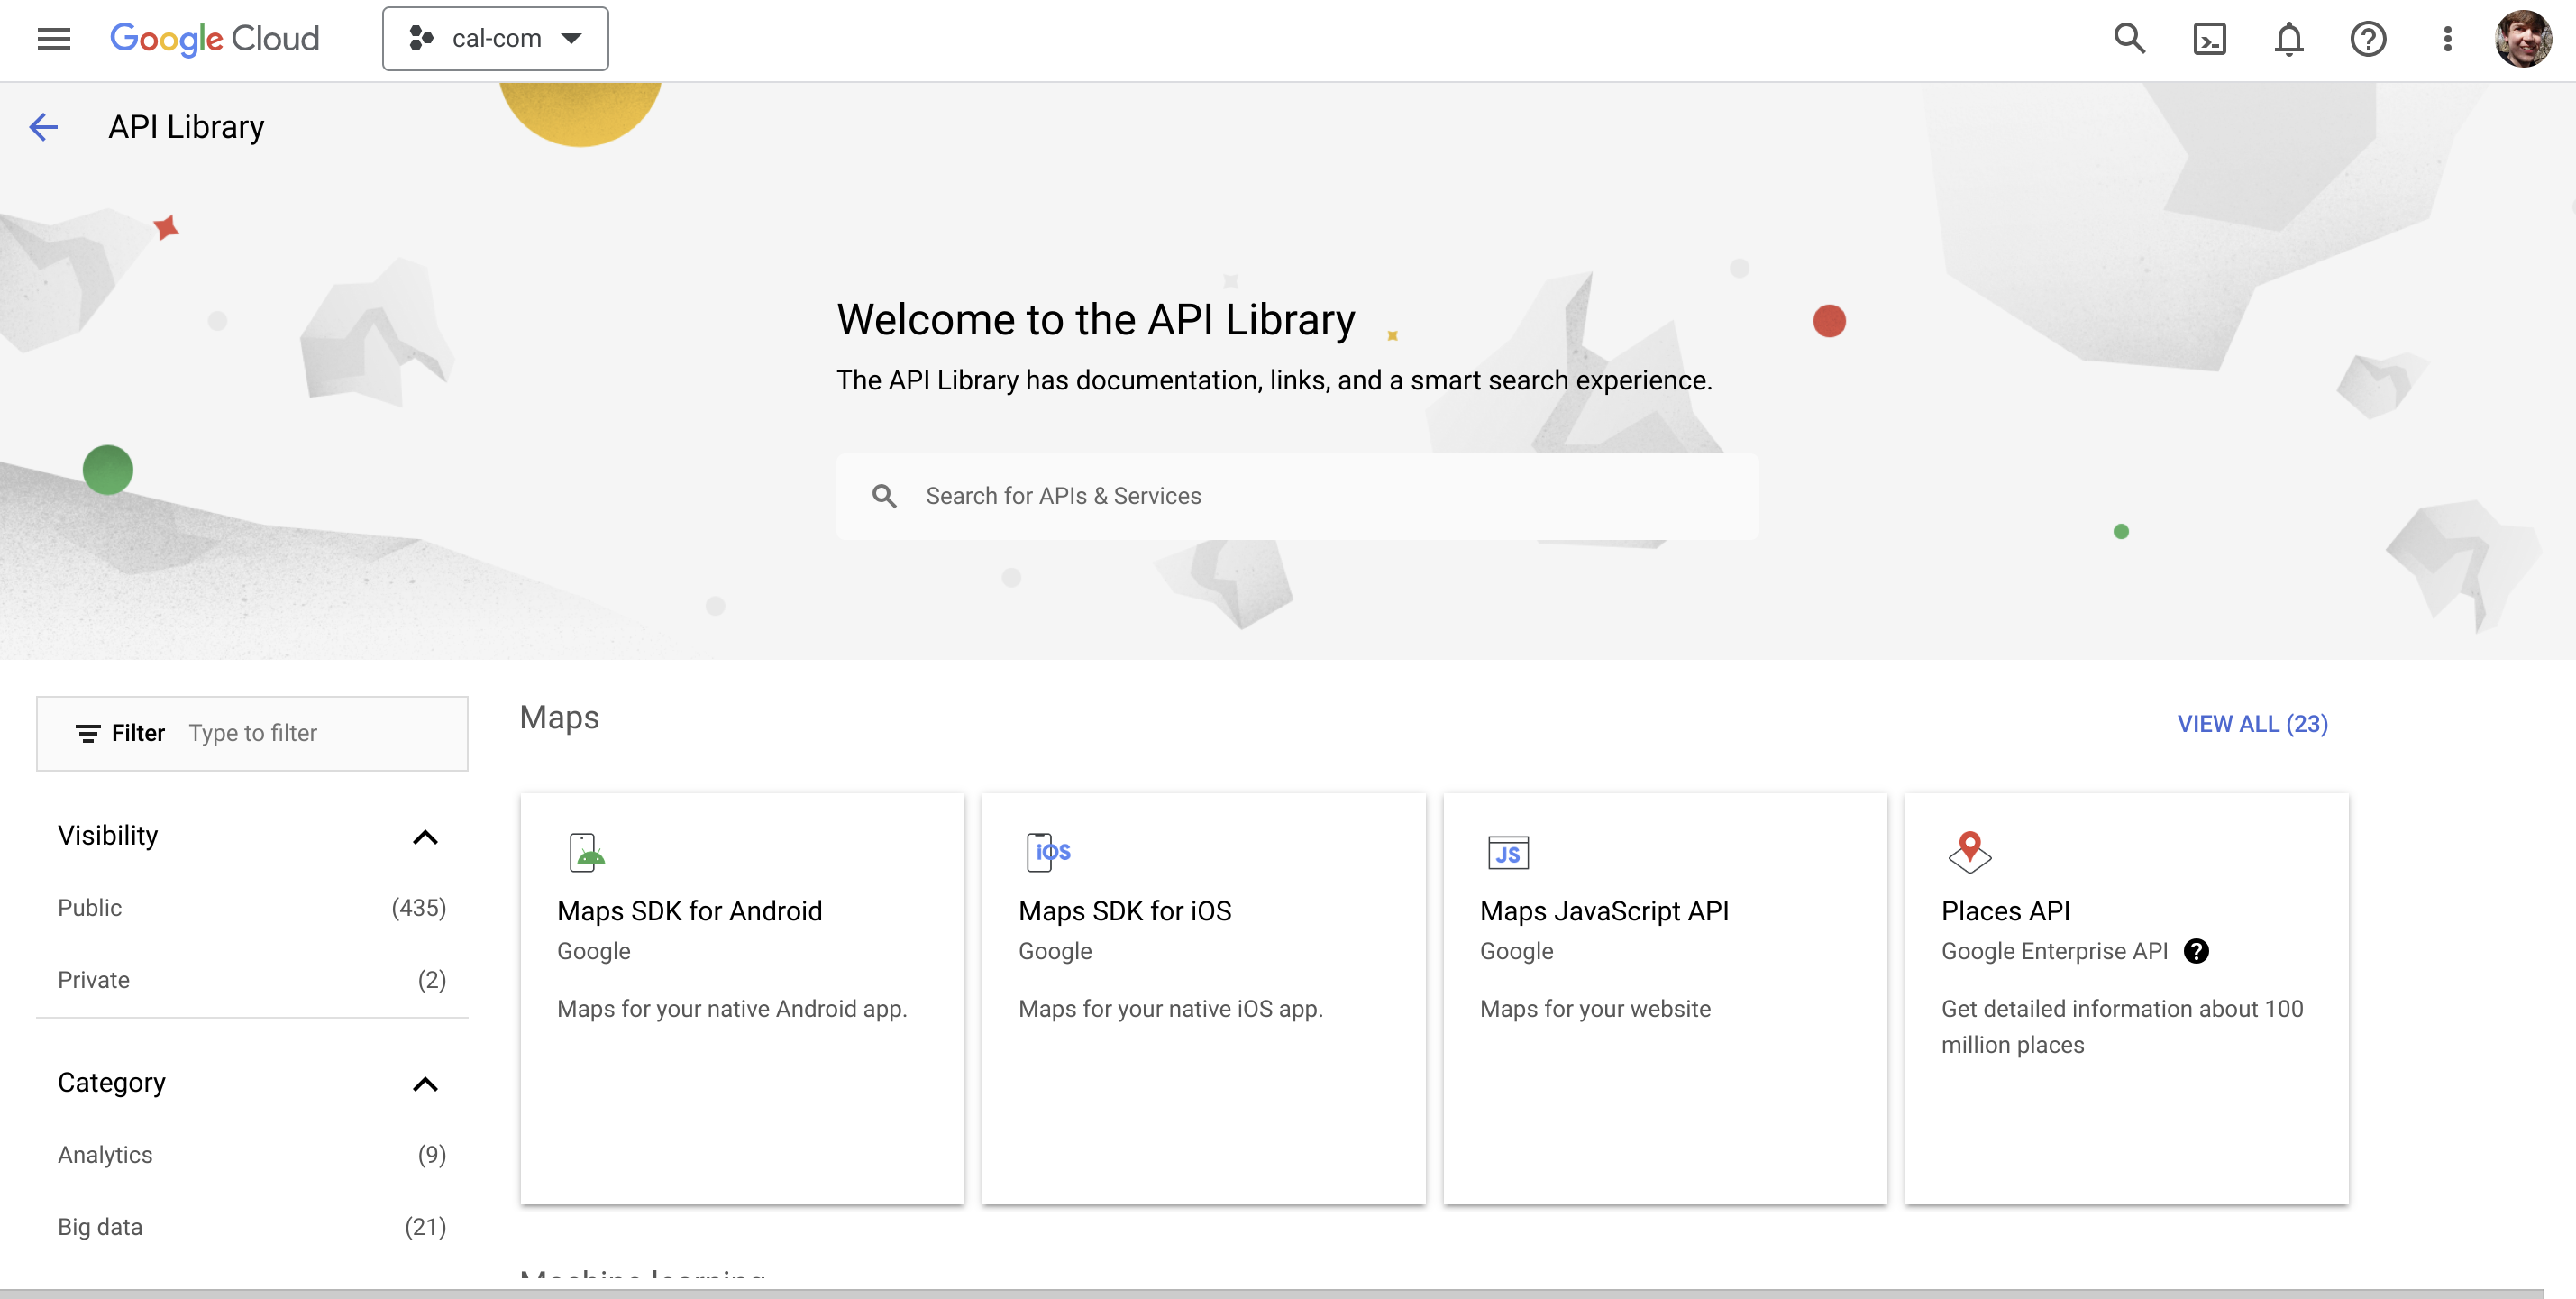
Enable the calendar API
Click Enable APIs and Services to go to the API library:
In the search box, enter calendar to filter the available APIs. Click Google Calendar API on the results page to continue:
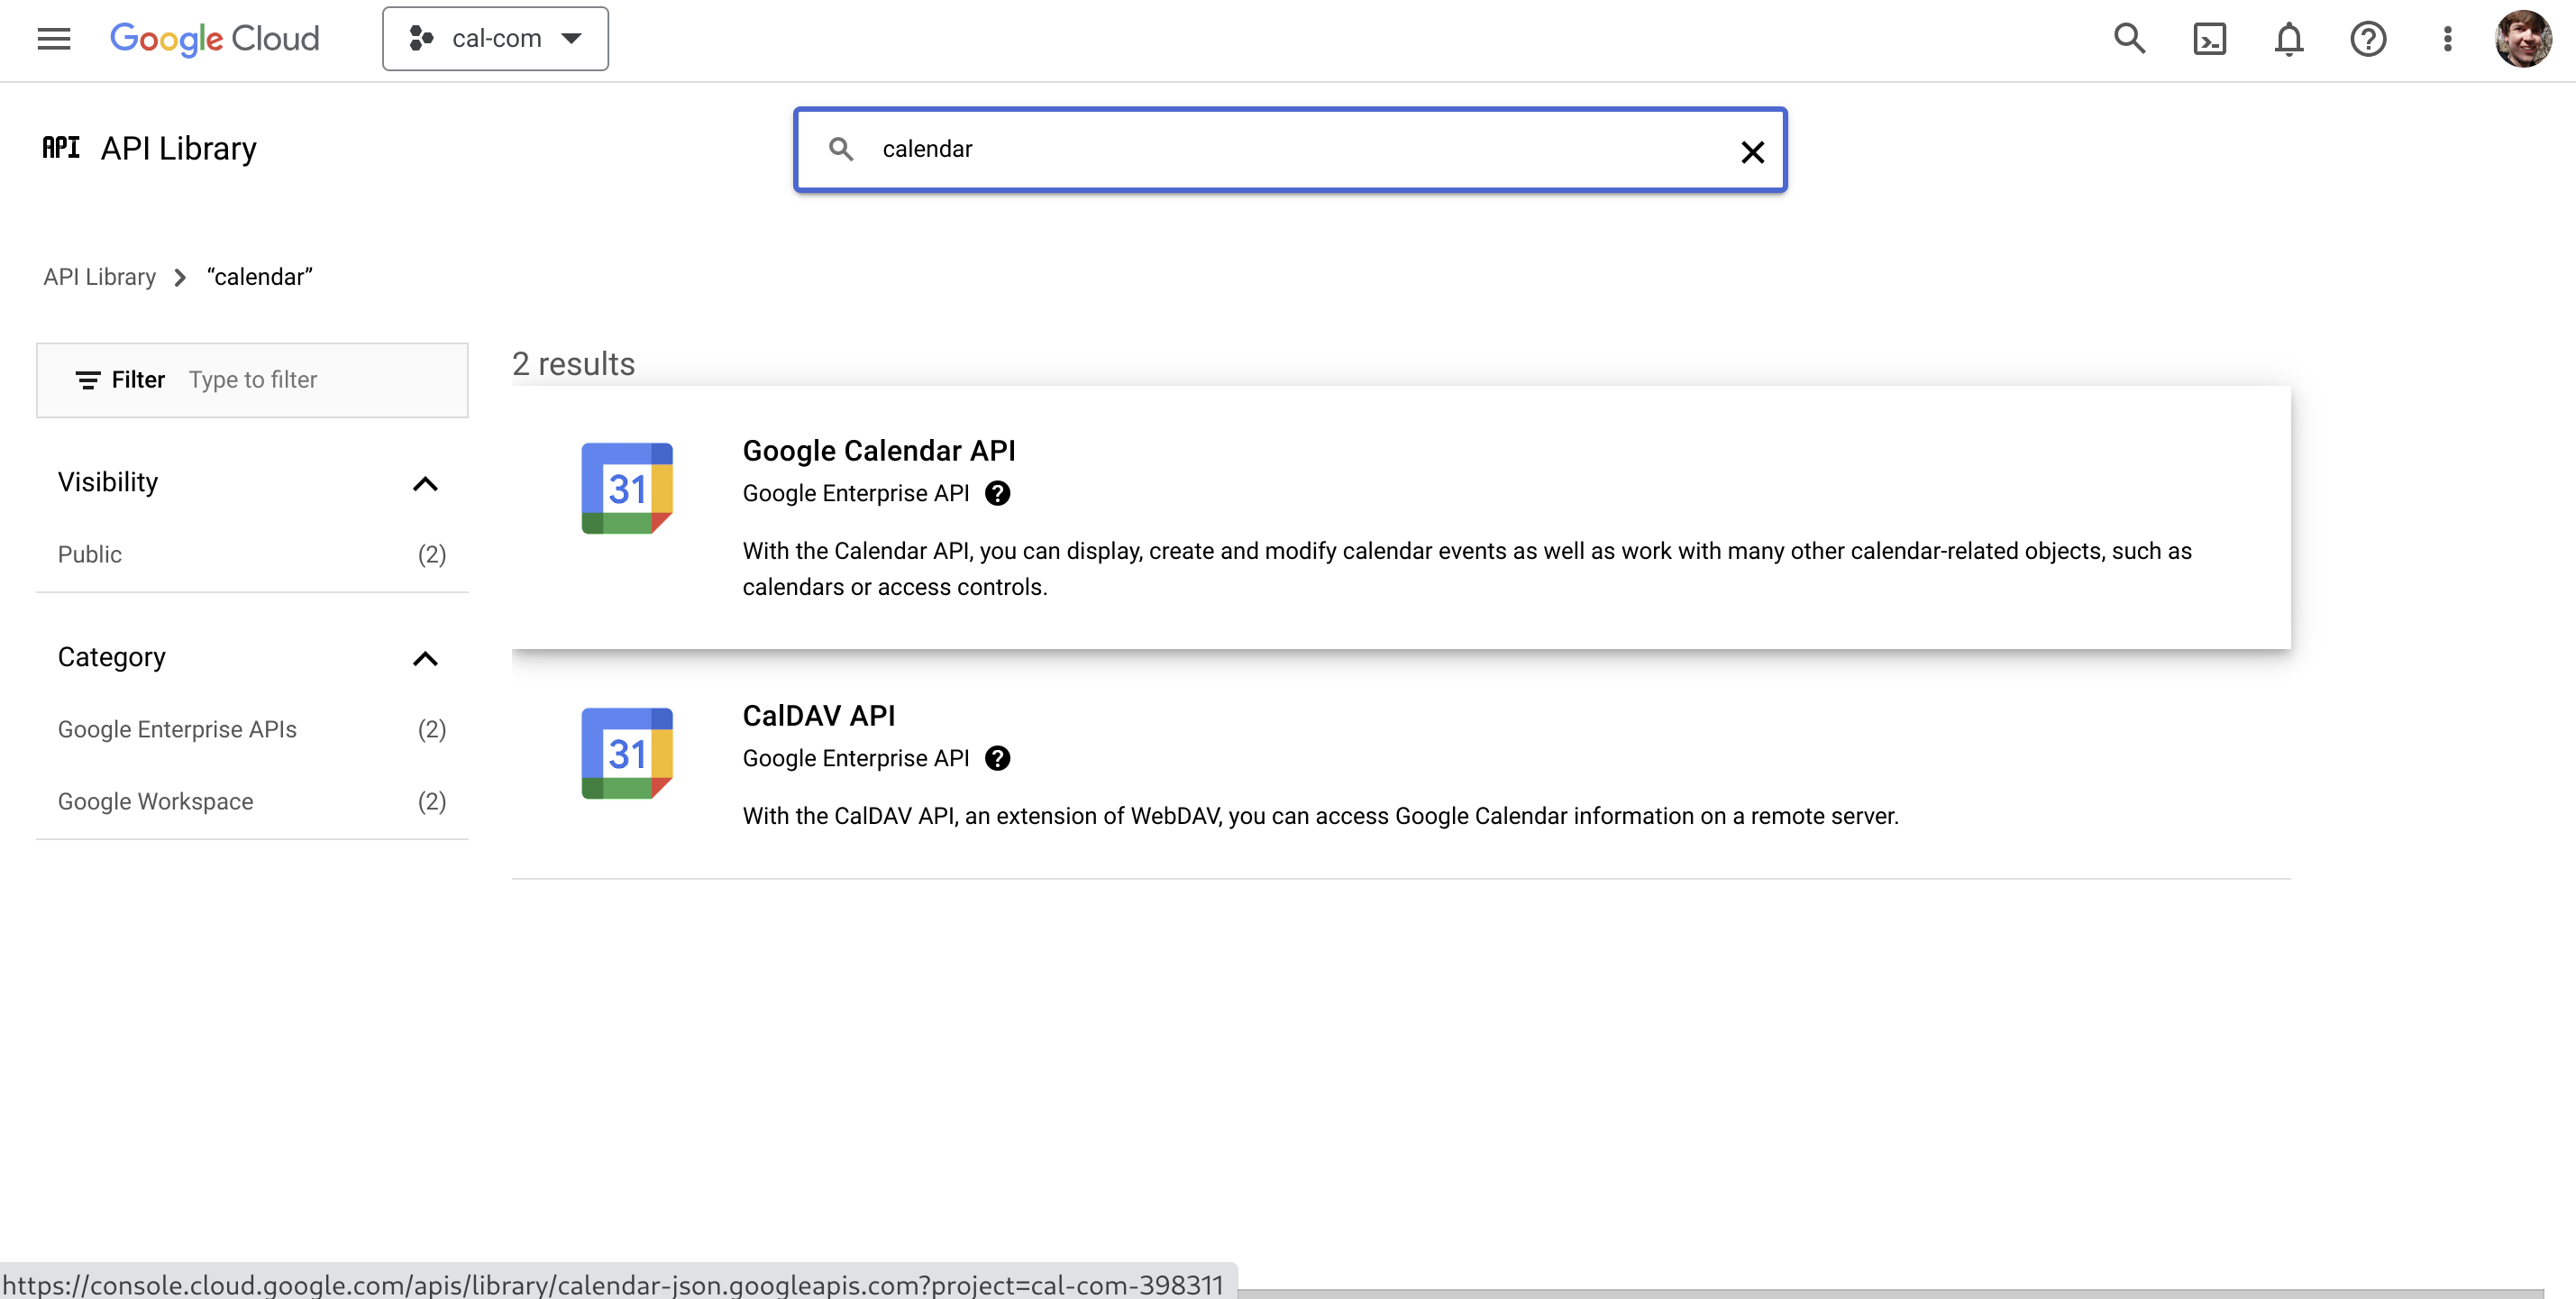
You'll be taken to the API's detail page:
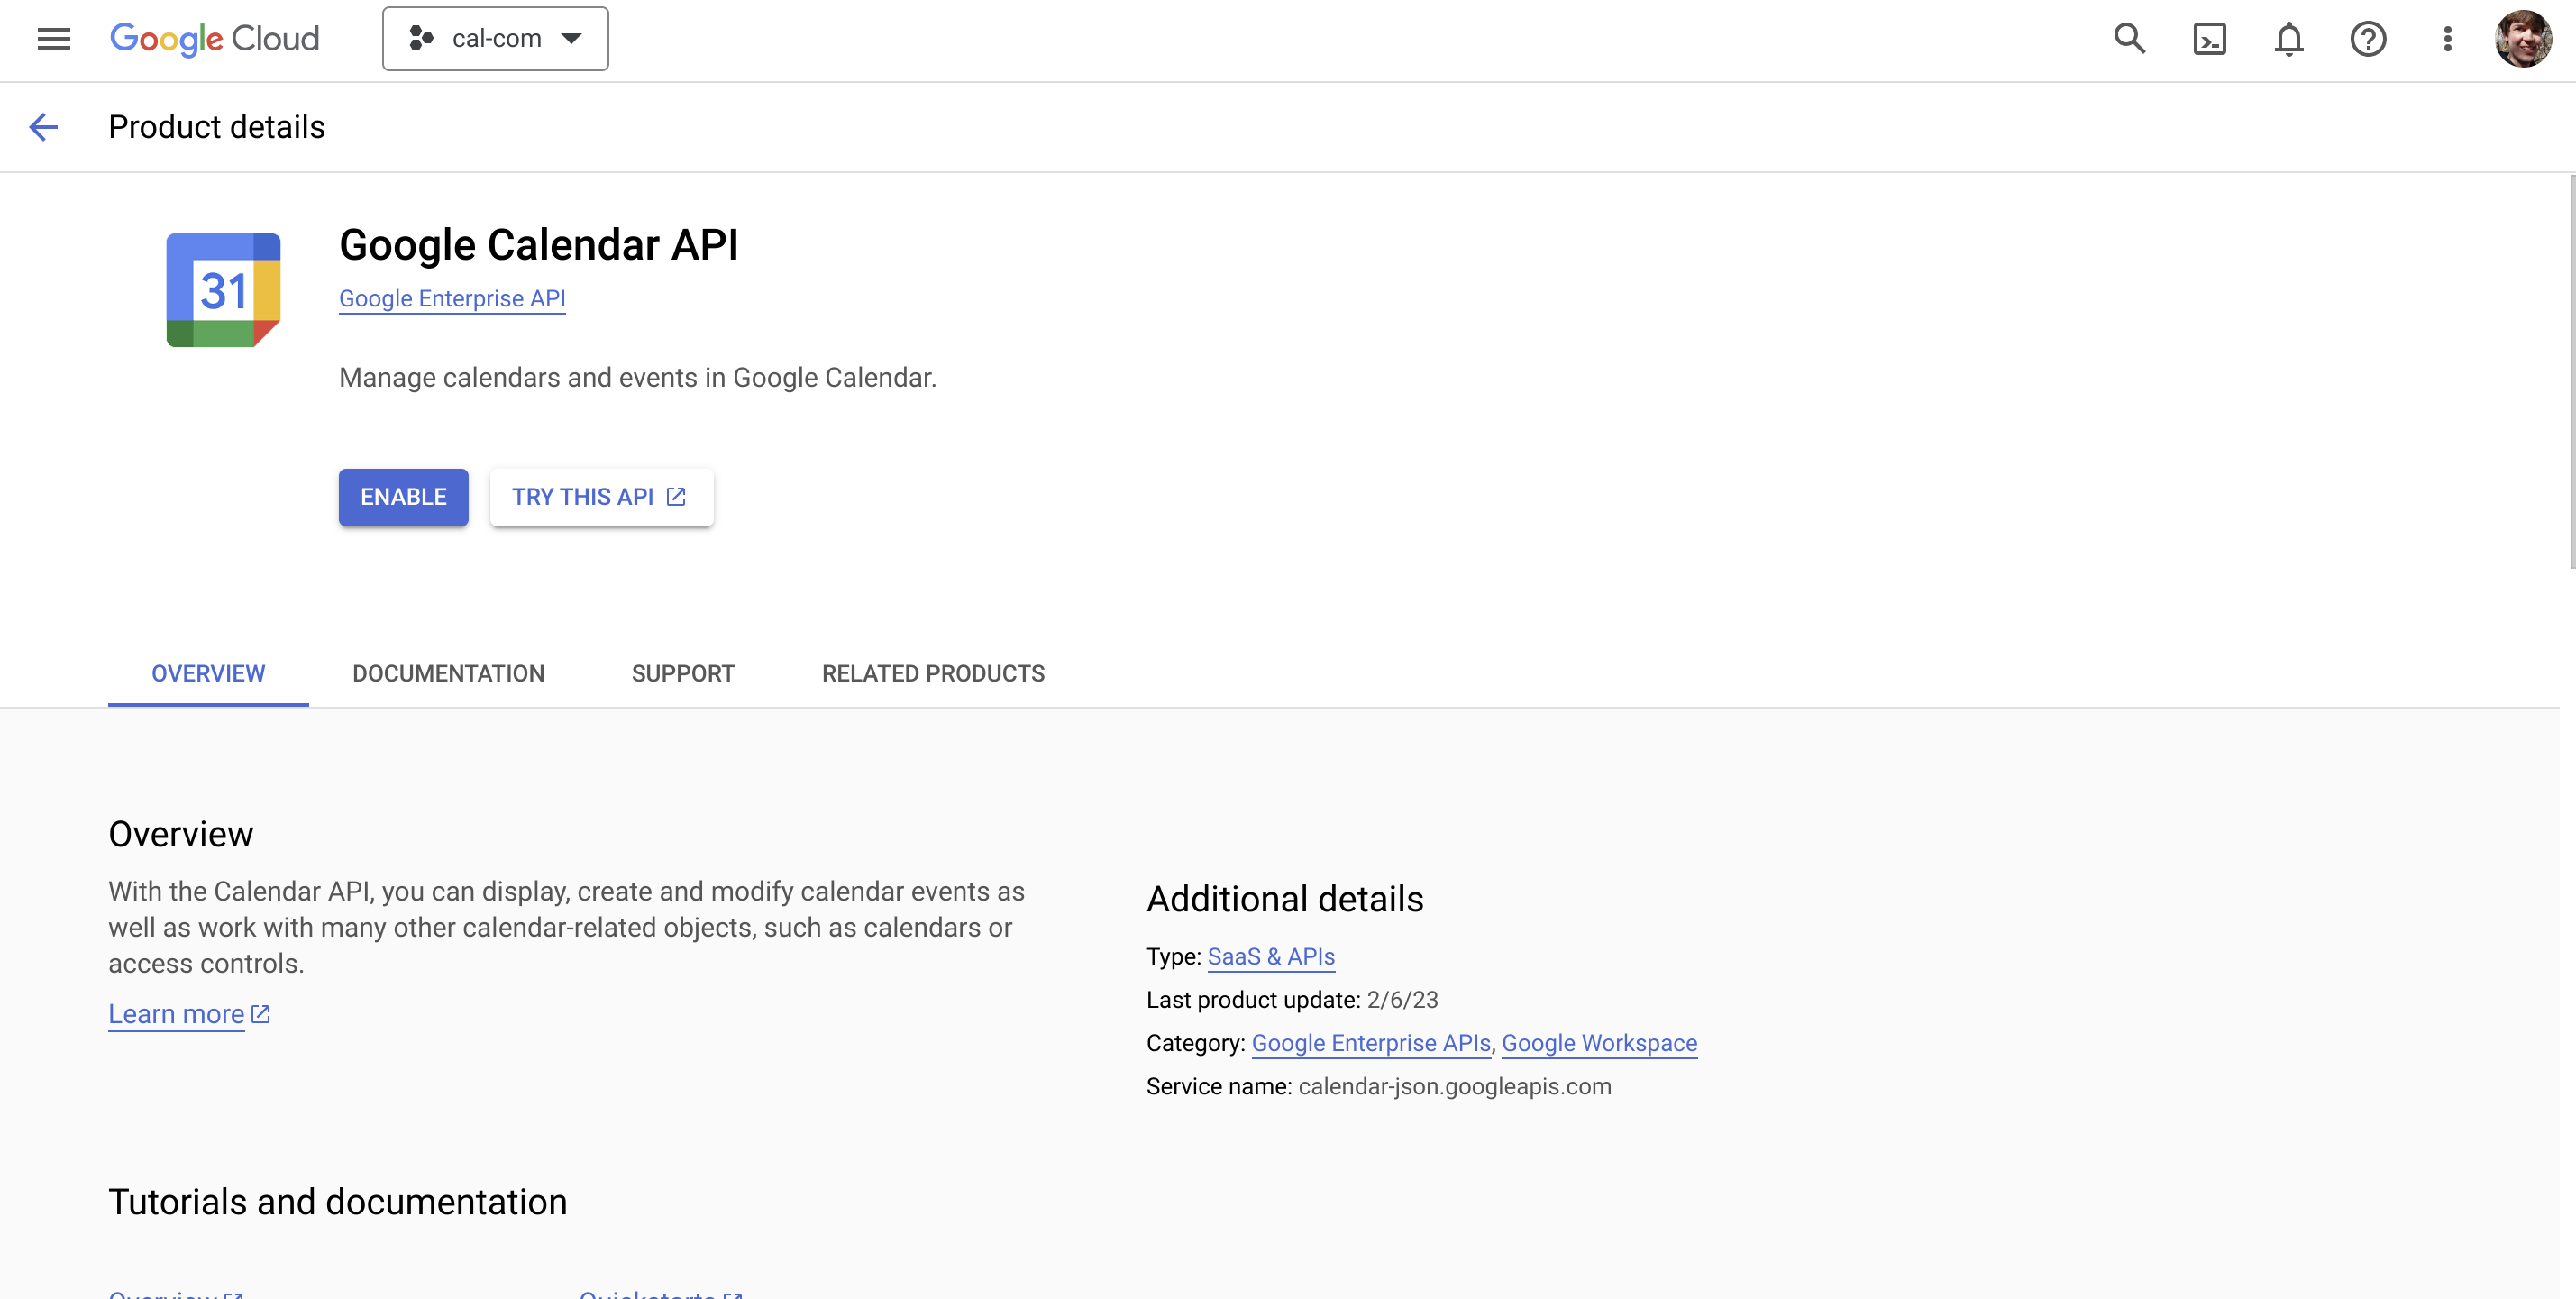
Click Enable to enable the Google Calendar API.
Configure the OAuth consent screen
Next, click OAuth consent screen in the left sidebar menu. You'll be taken to a screen where you can configure the details to authenticate your application:
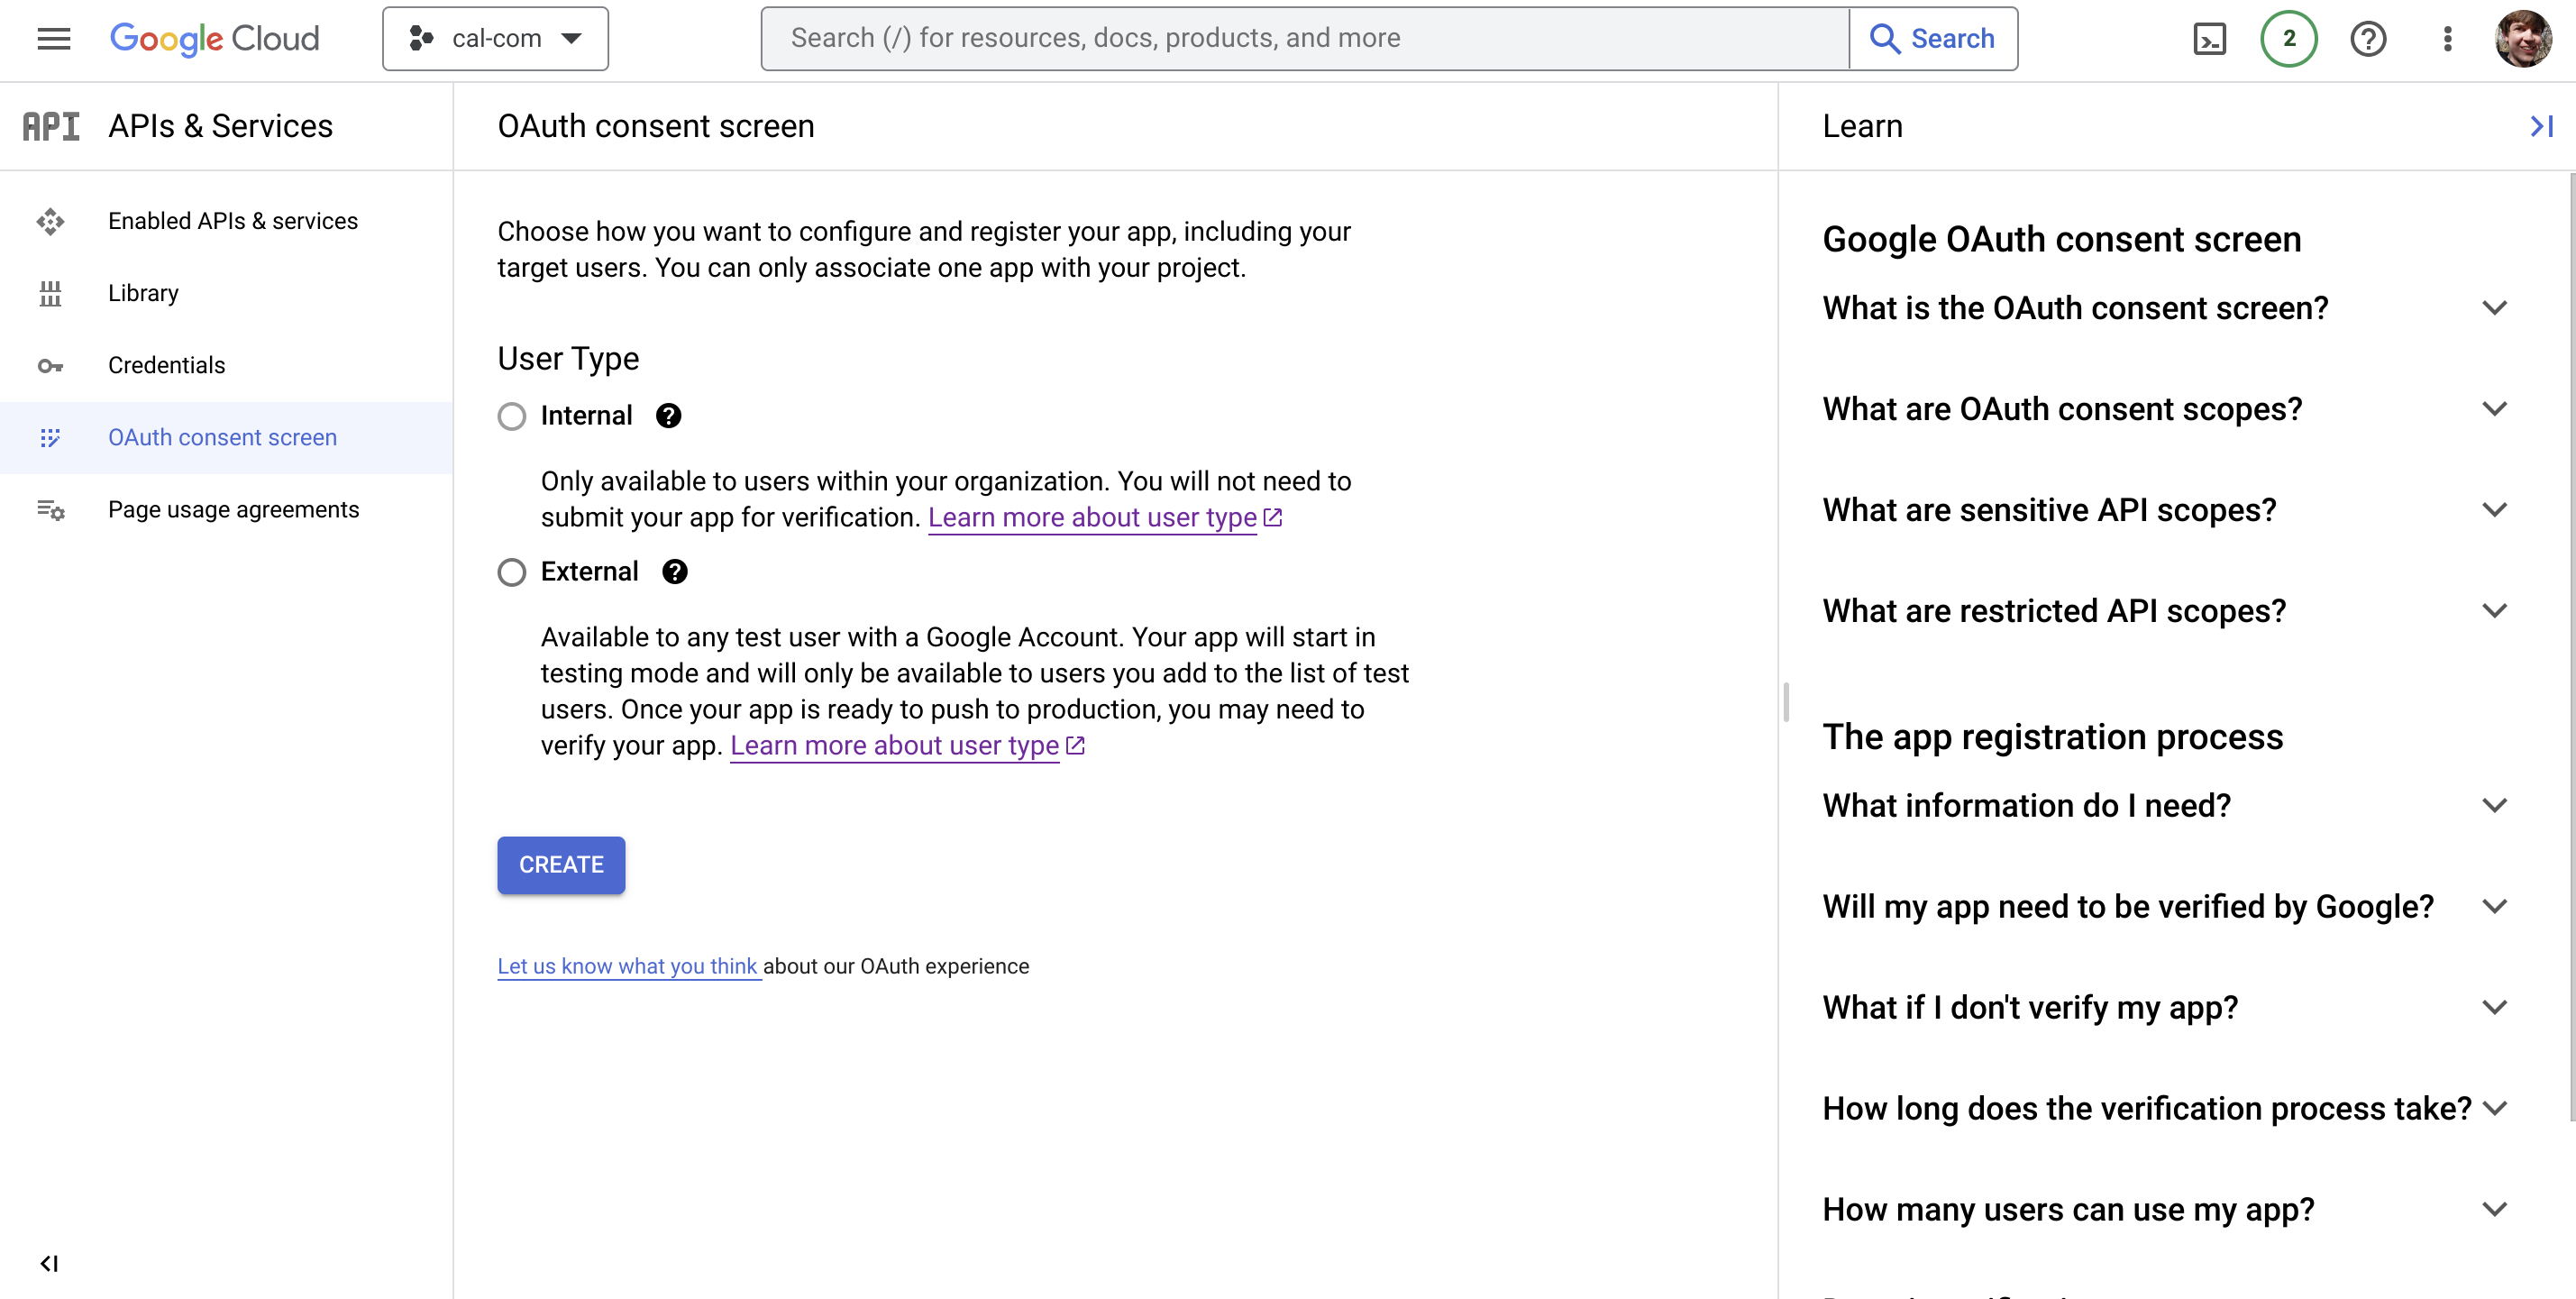
Select External as the user type and then click Create to continue.
Next, you'll need to provide details about your application:
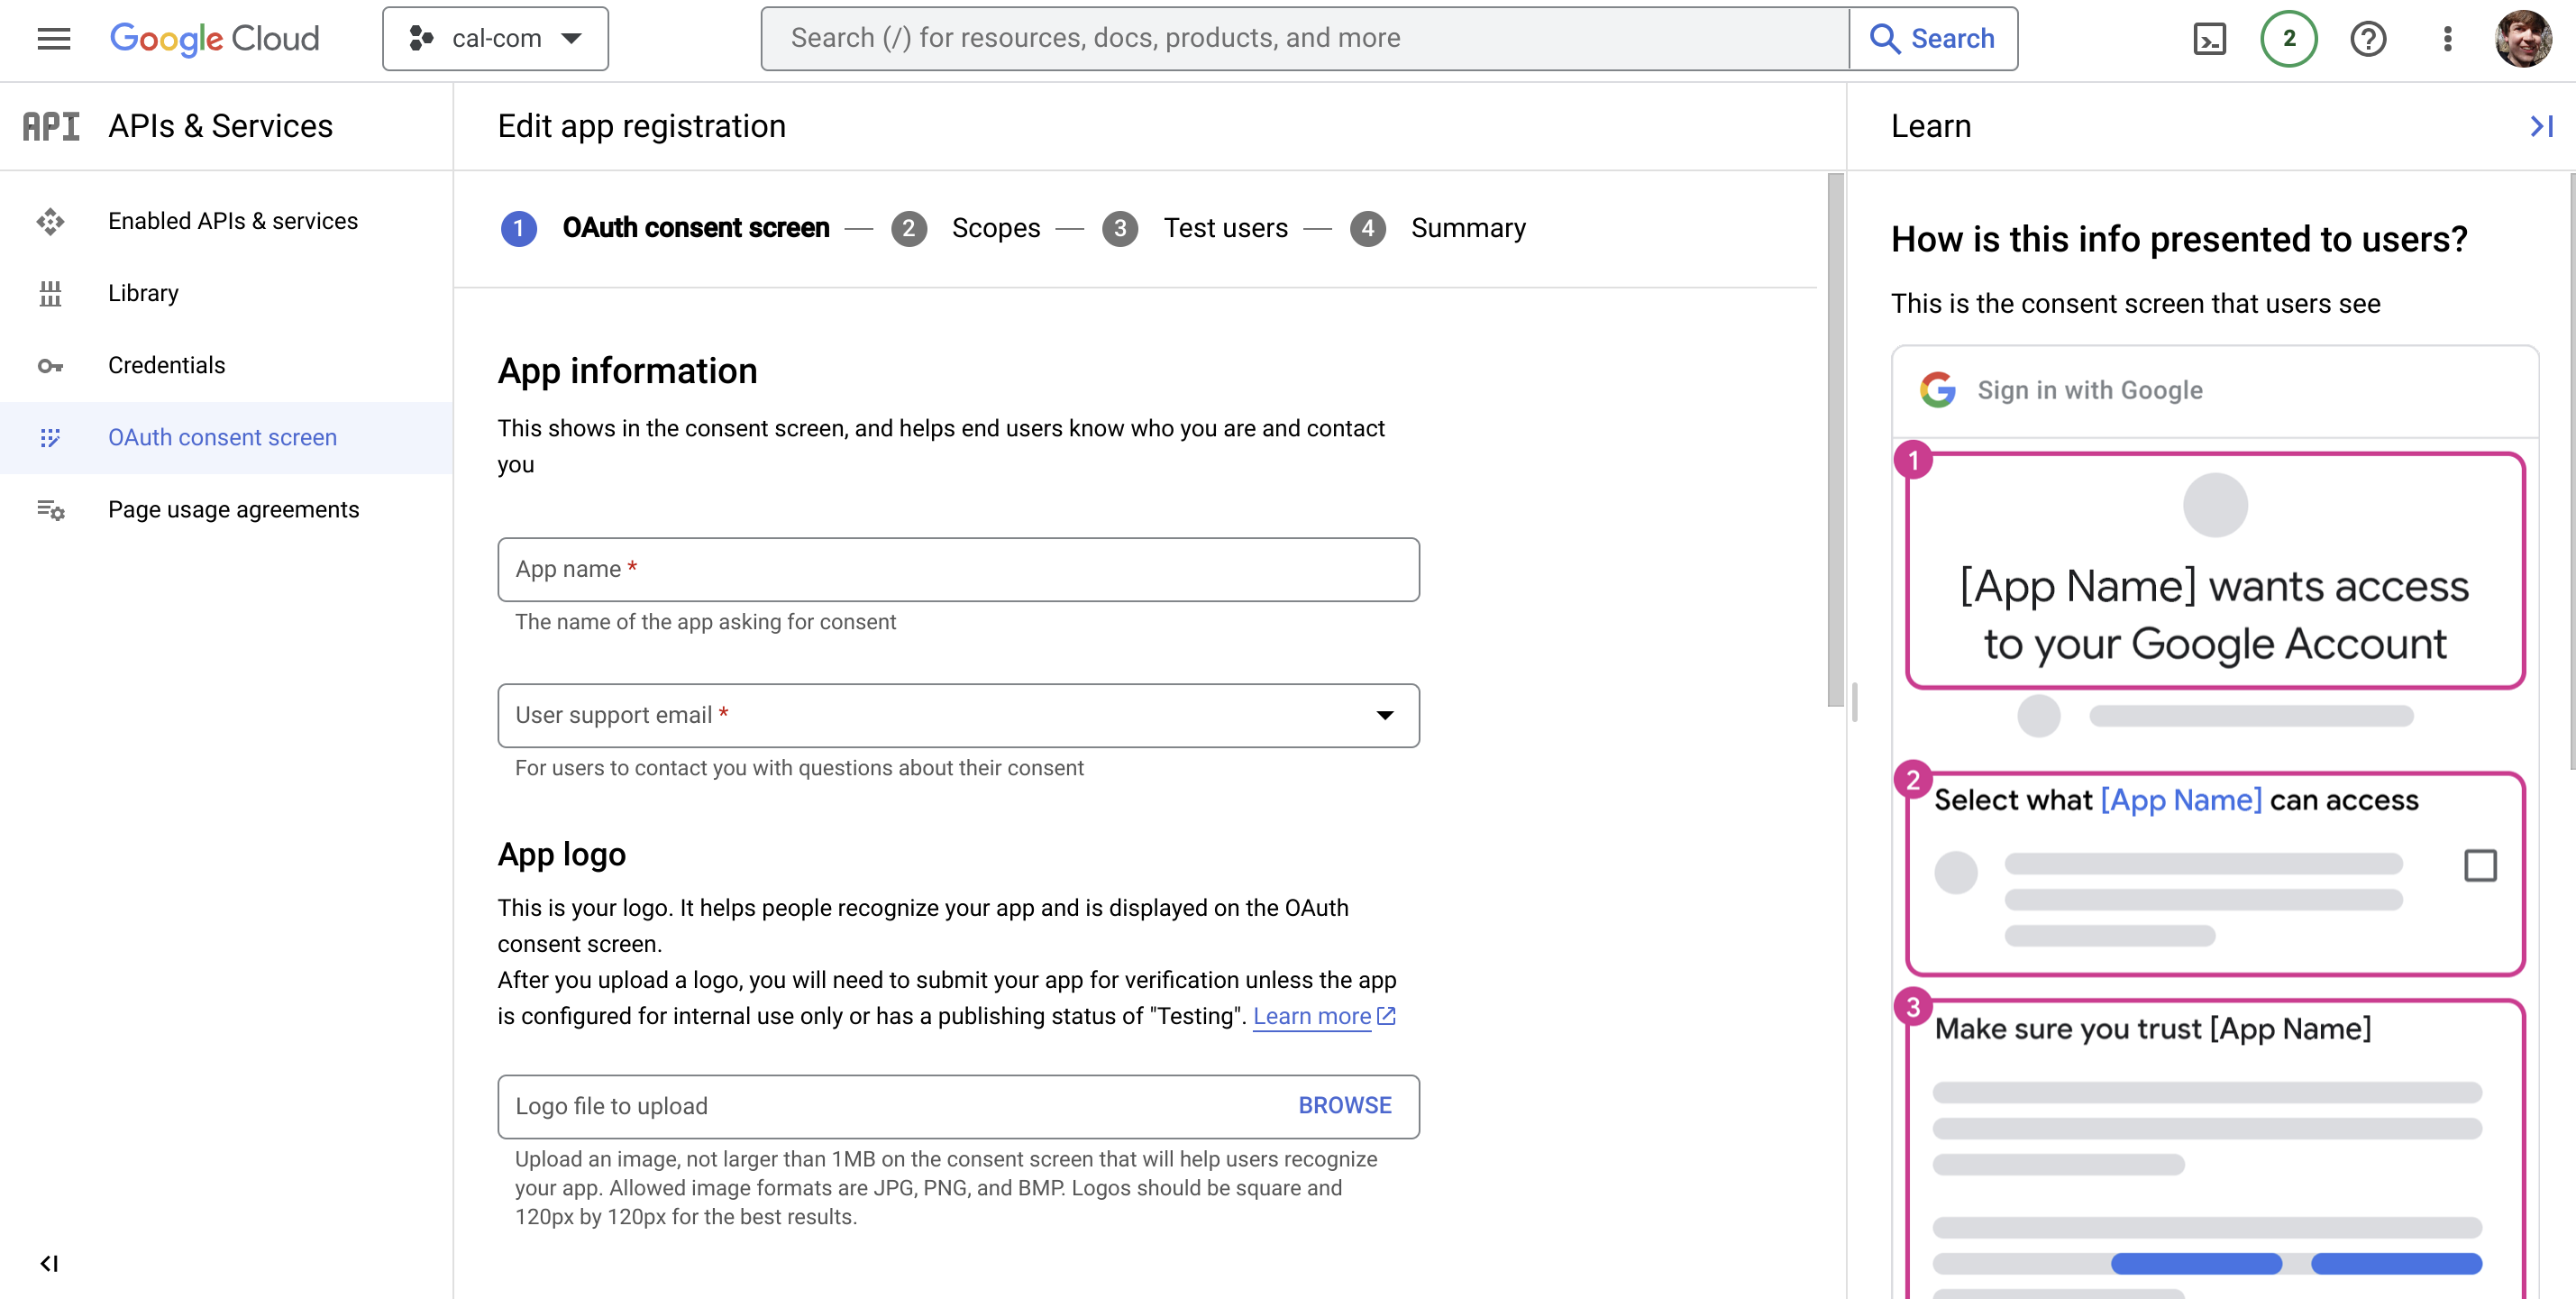
Fill out the required fields: app name to be shown to users, the user support email where user inquiries will be directed, and the developer contact information where Google can contact you in case of problems. You can leave the other fields on the page blank. Click Save and continue when you are ready.
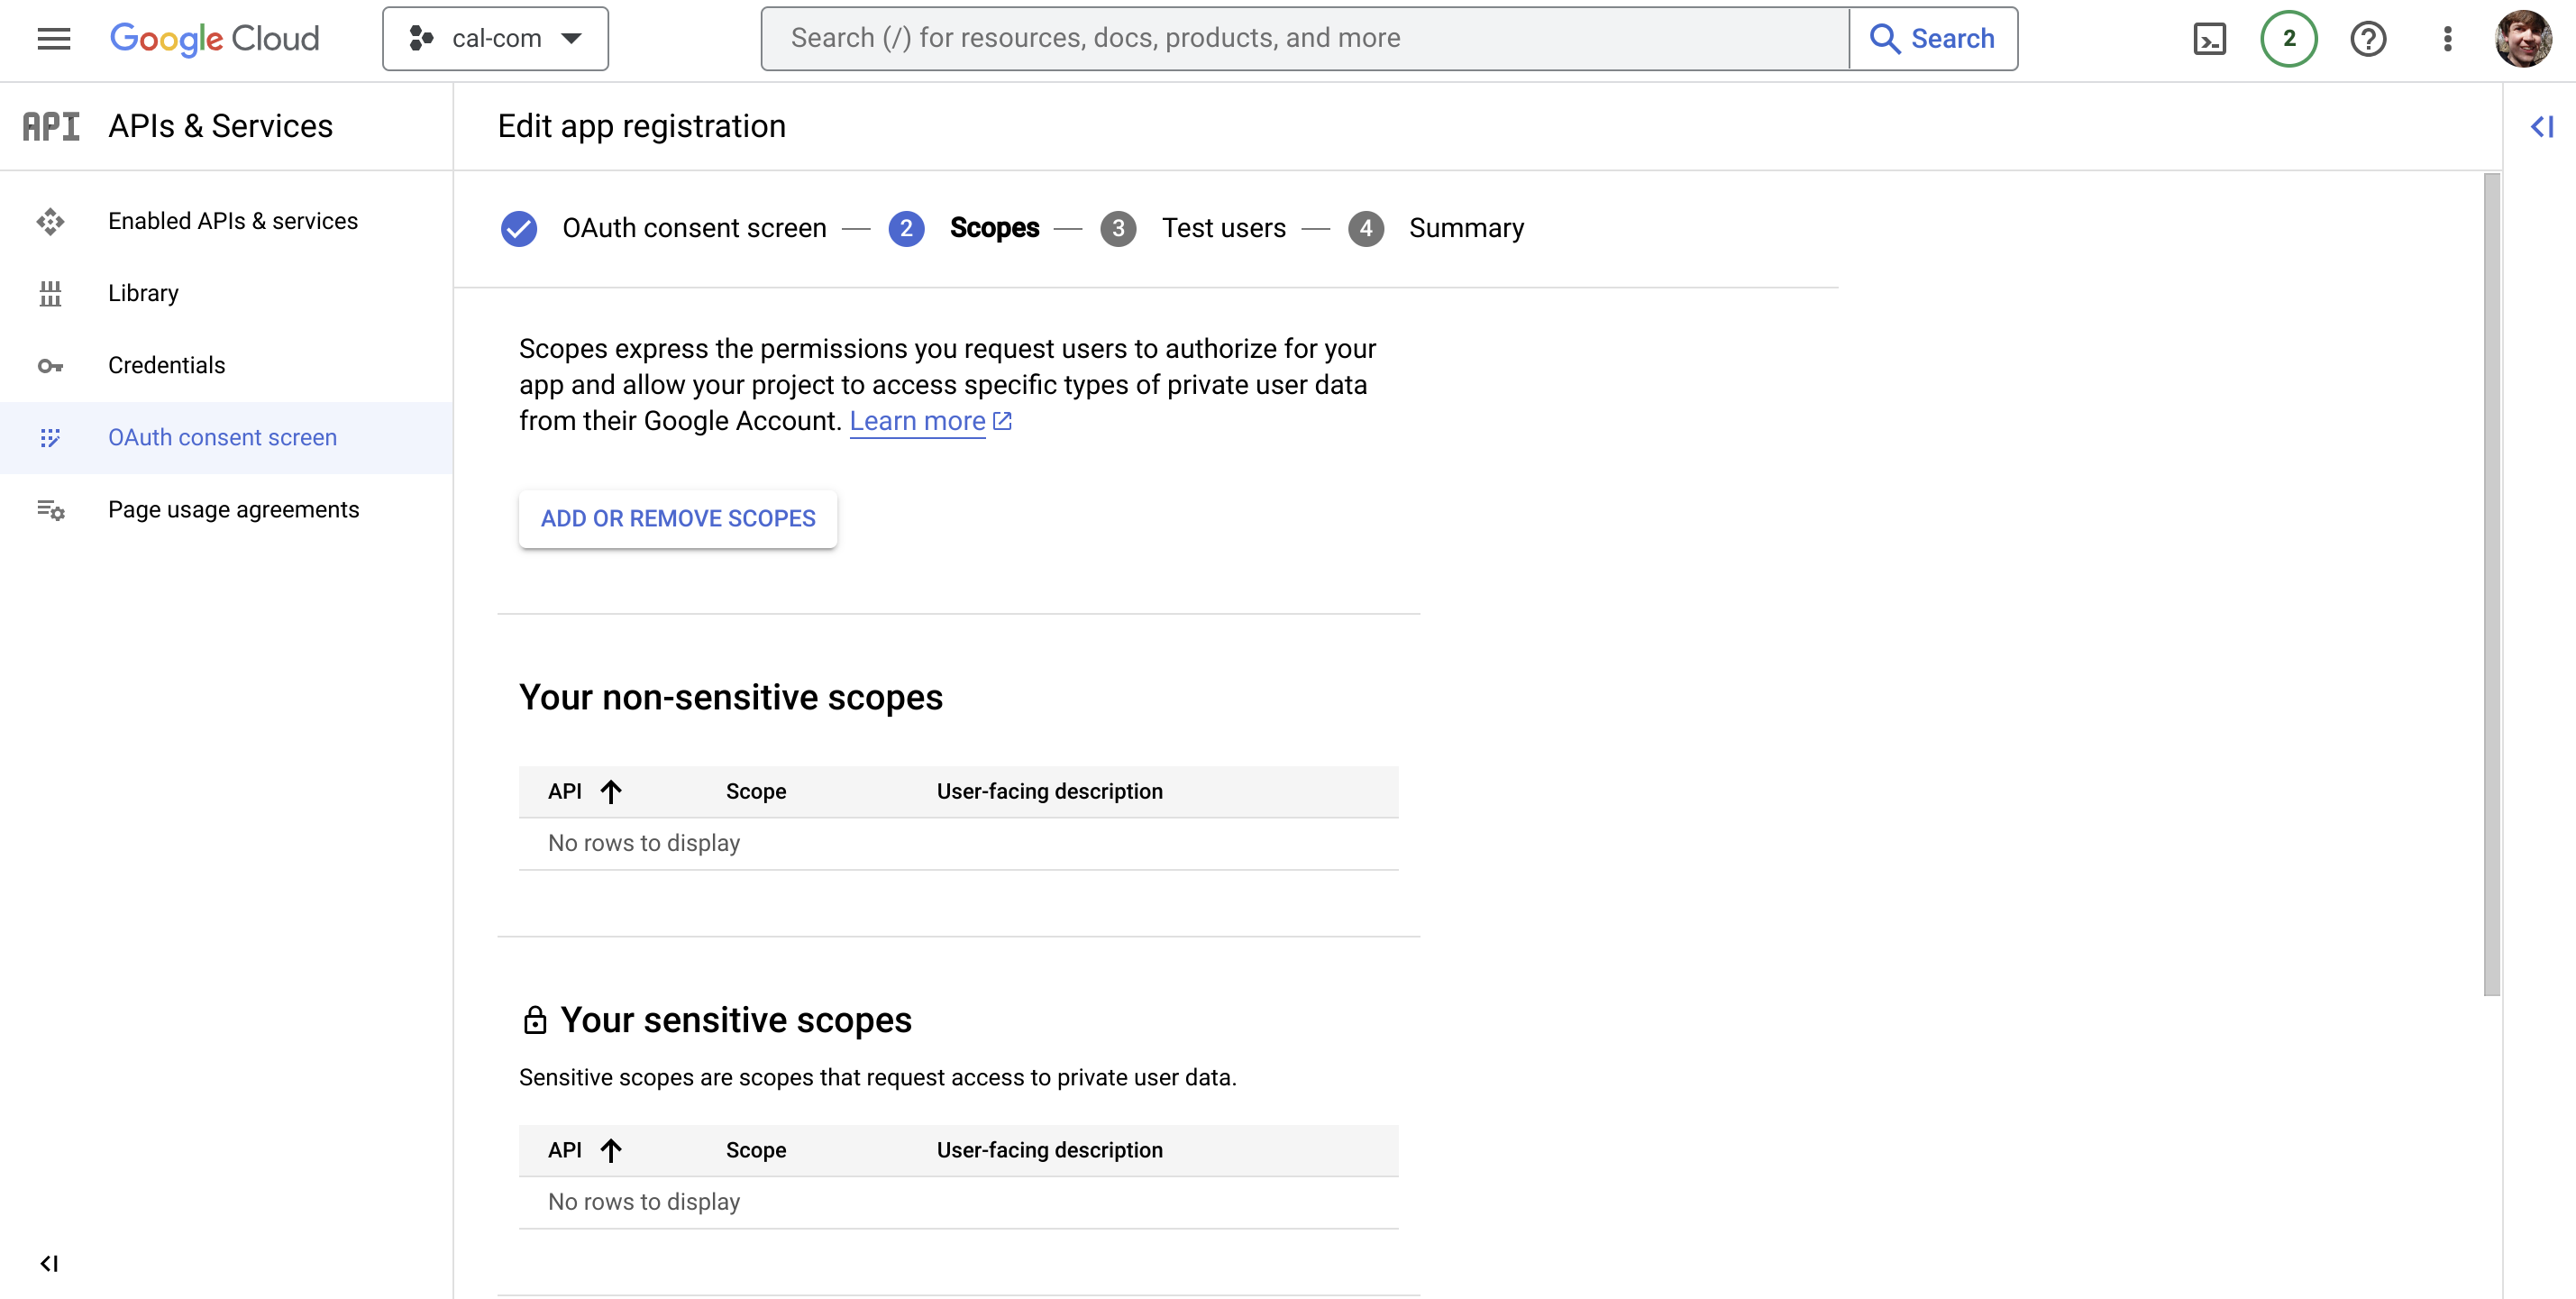
On the following page, click Add or remove scopes:
In the filter field, type calendar:
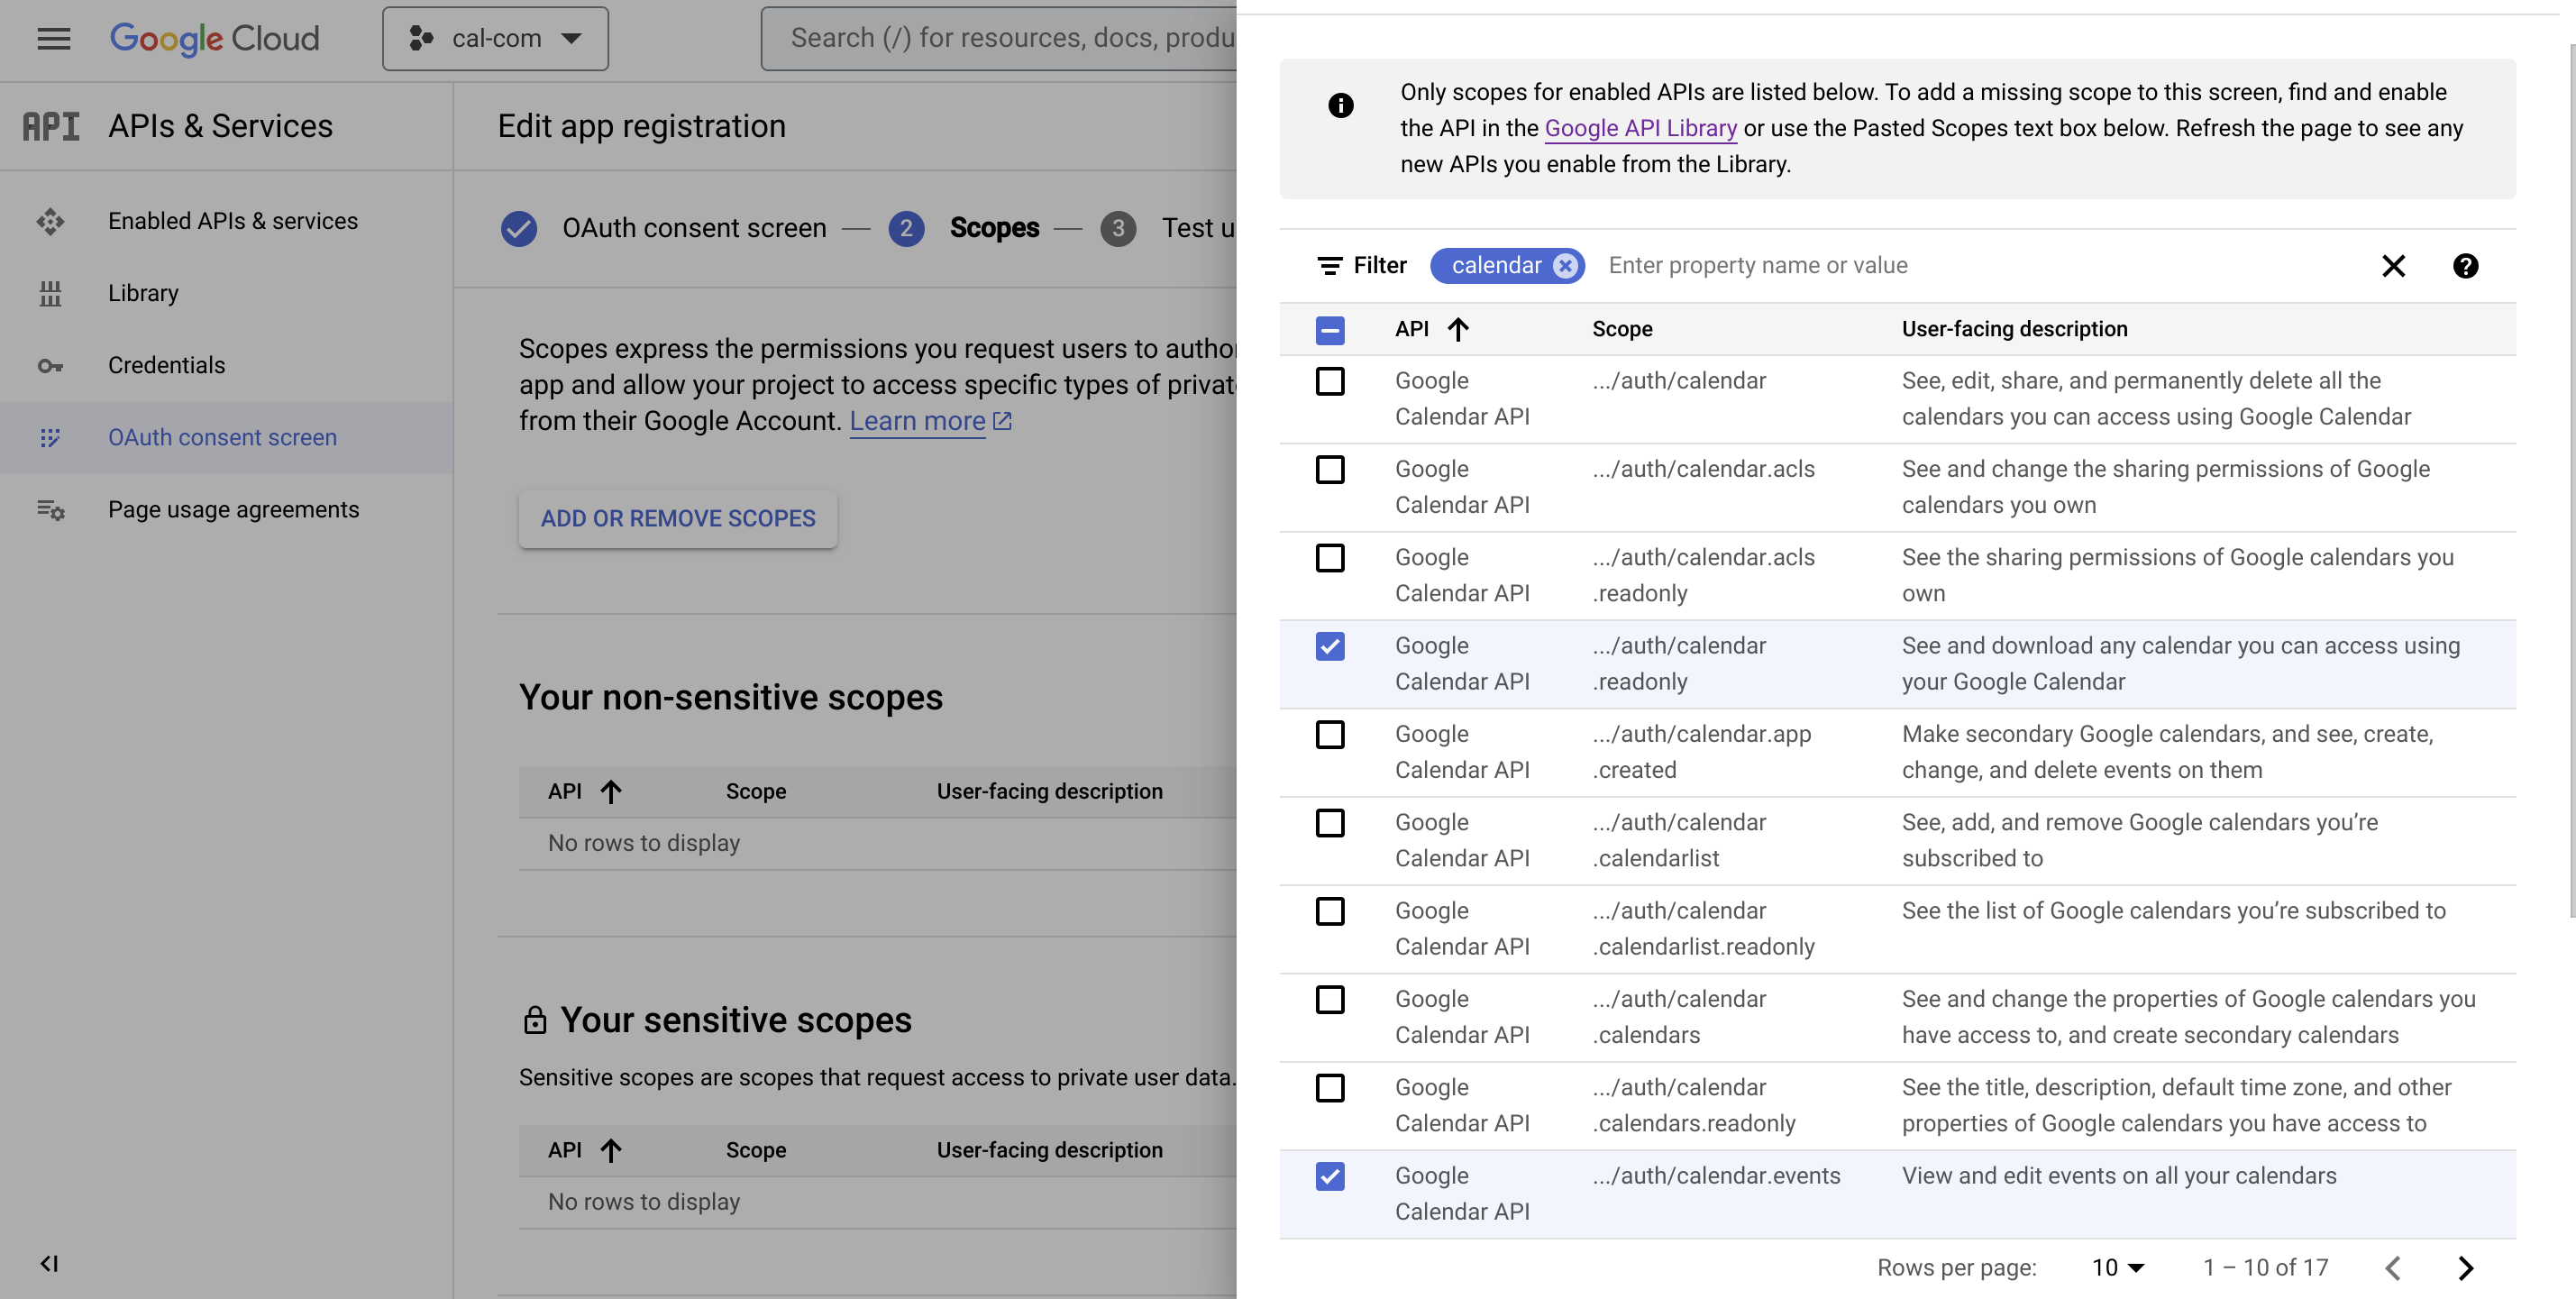
Check the boxes associated with the .../auth/calendar.readonly and .../auth/calendar.events scopes. Scroll down to the bottom of the page and click Update.
Click Save and continue at the bottom of the page.
On the next page, click Add users to add test users:
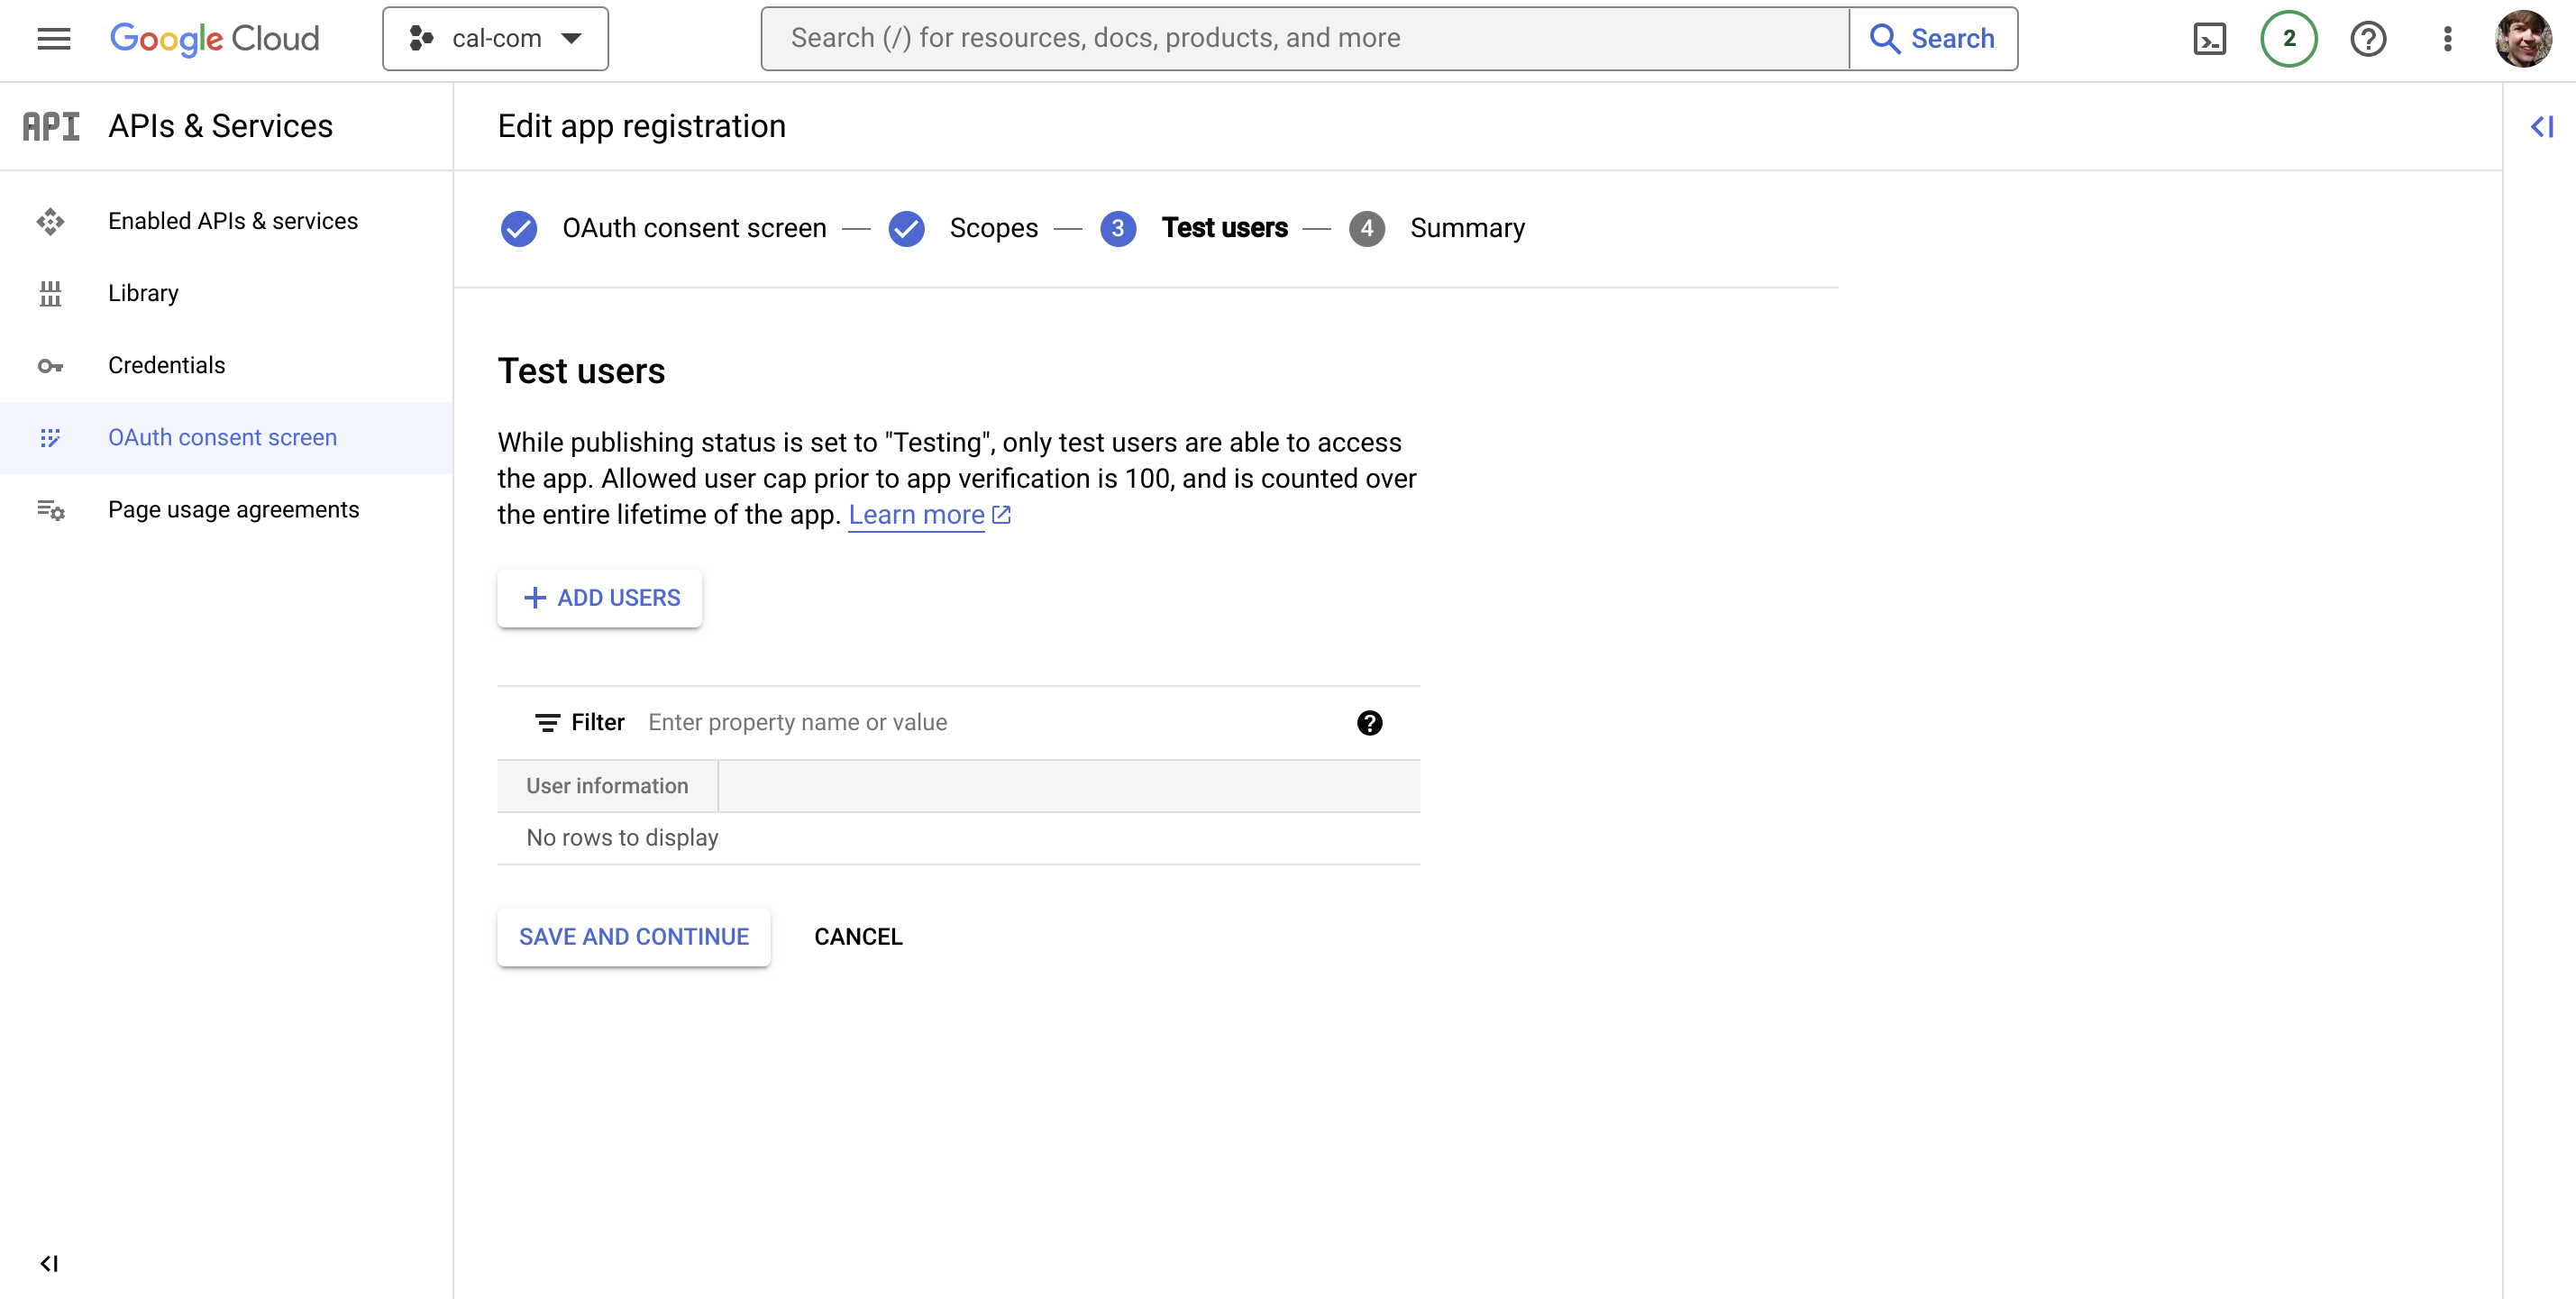
In the "add users" form, enter the email addresses you'd like to authorize for the application. Click Add to add the test users.
Click Save and continue at the bottom of the page to move on.
On the final page, review the details to ensure everything's configured correctly.
Configure credentials
Next, click Credentials in the left sidebar menu to go to the credentials page:
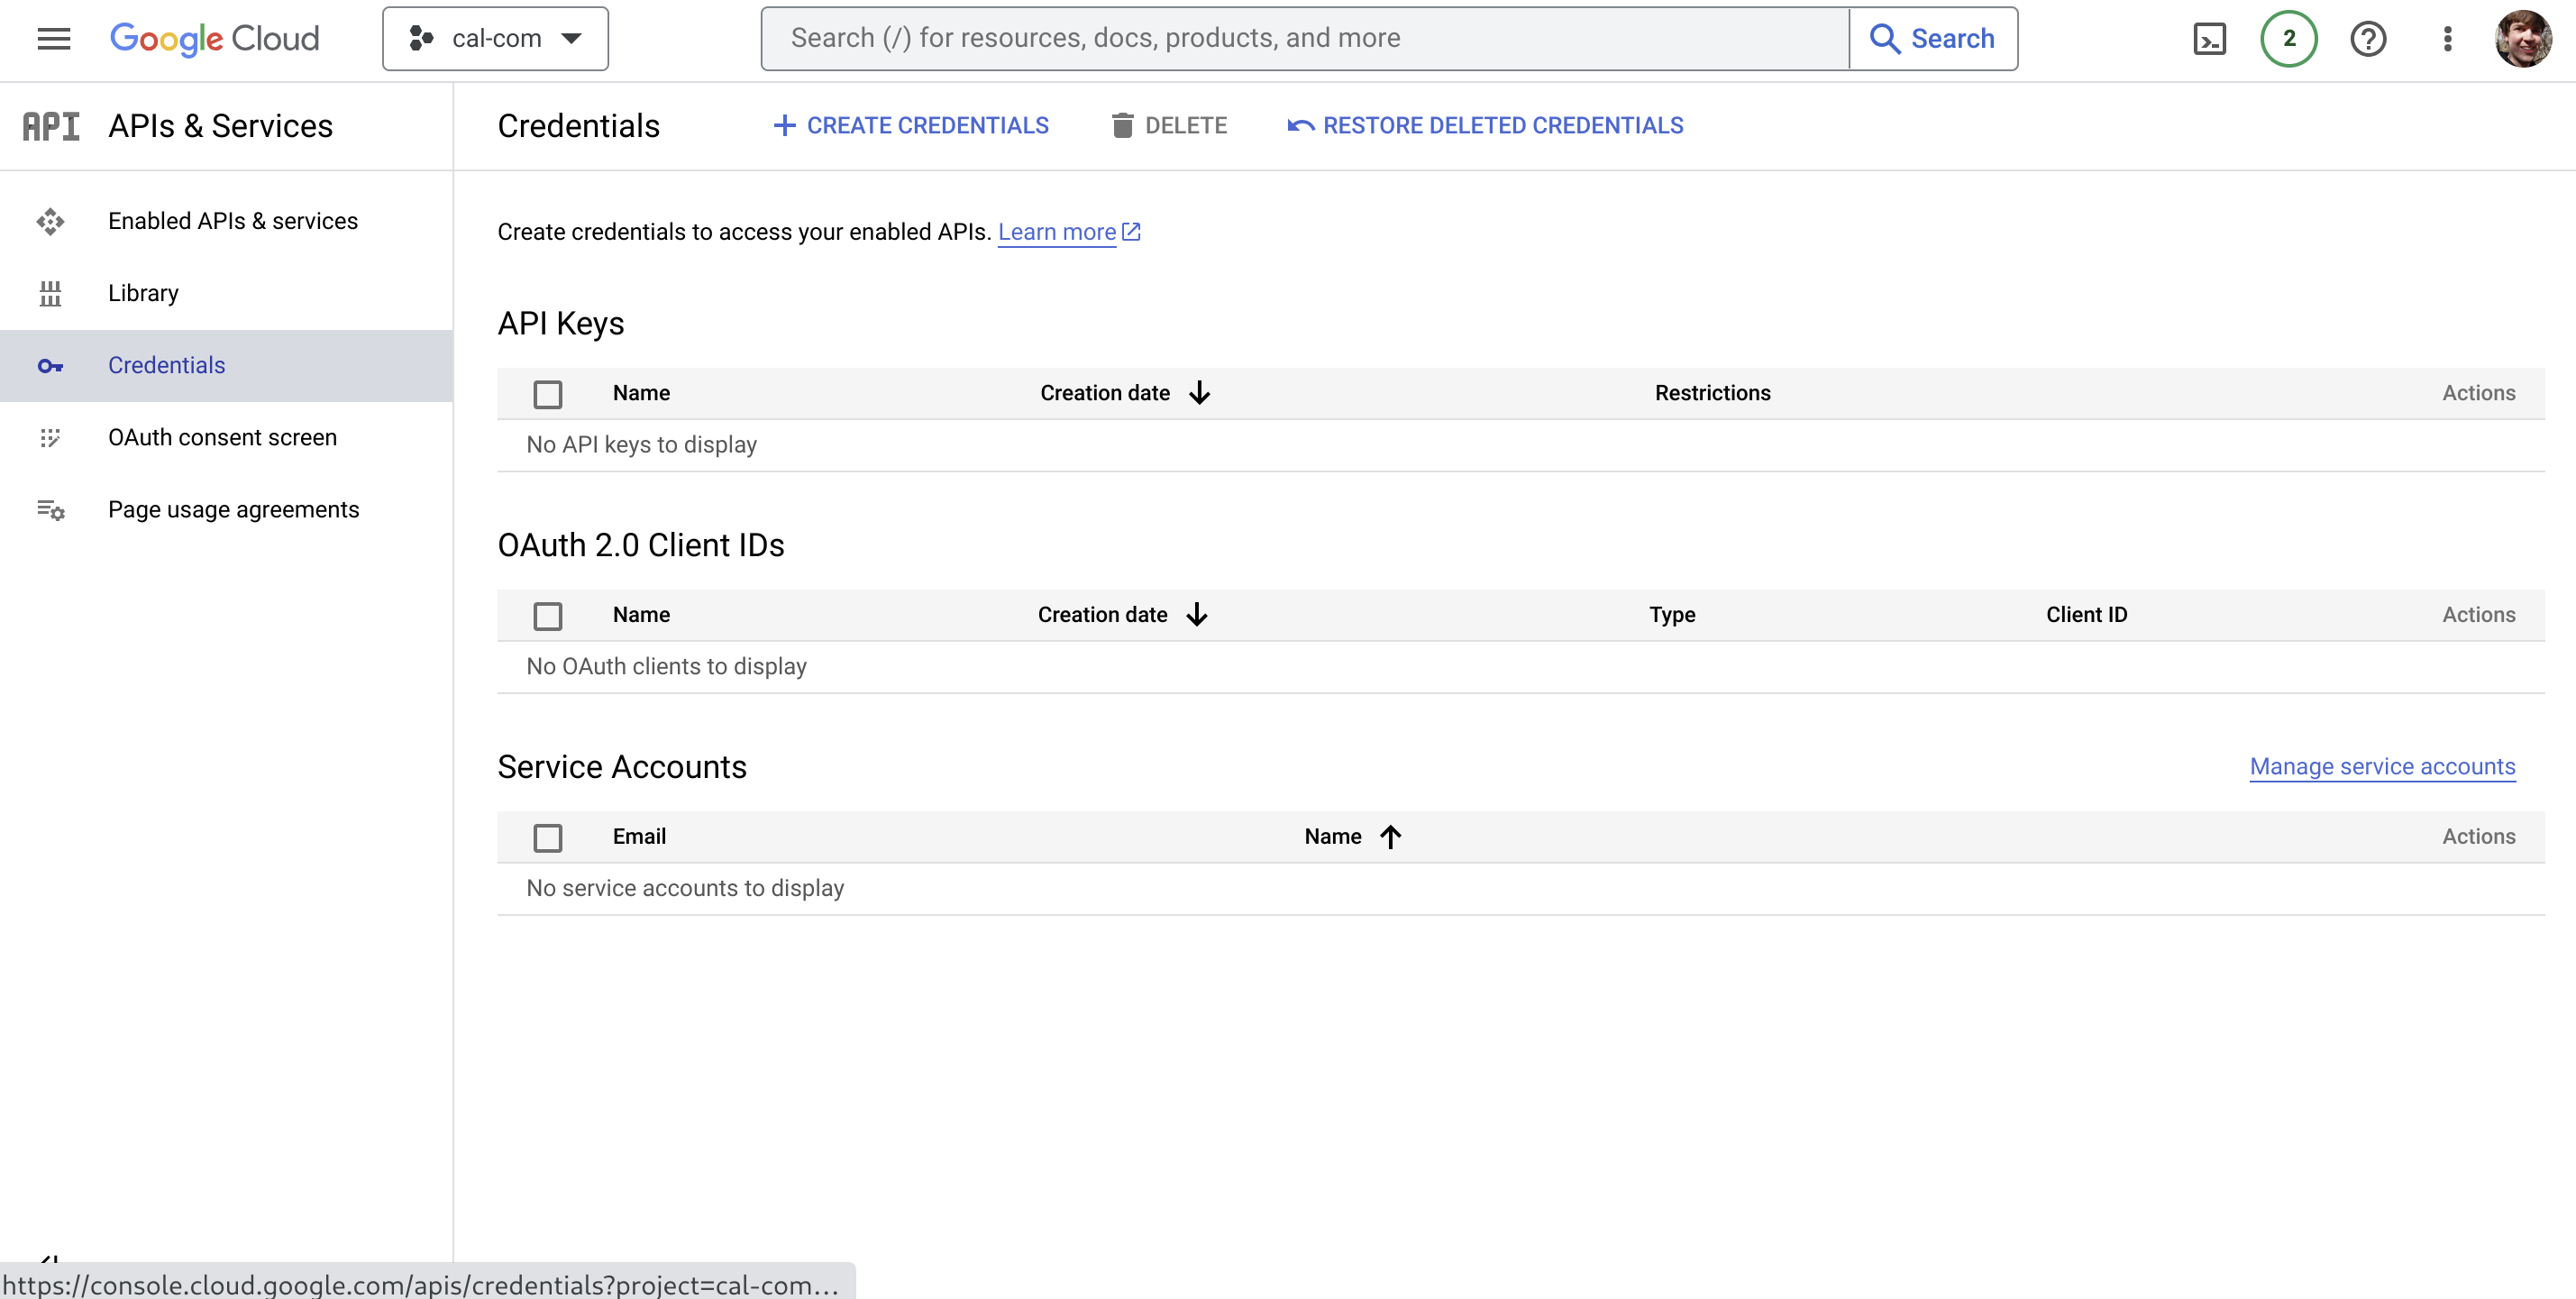
Click Create credentials at the top of the screen and select OAuth client ID from the available options.
On the page that follows, select Web application as the application type and then choose a name for the OAuth client:
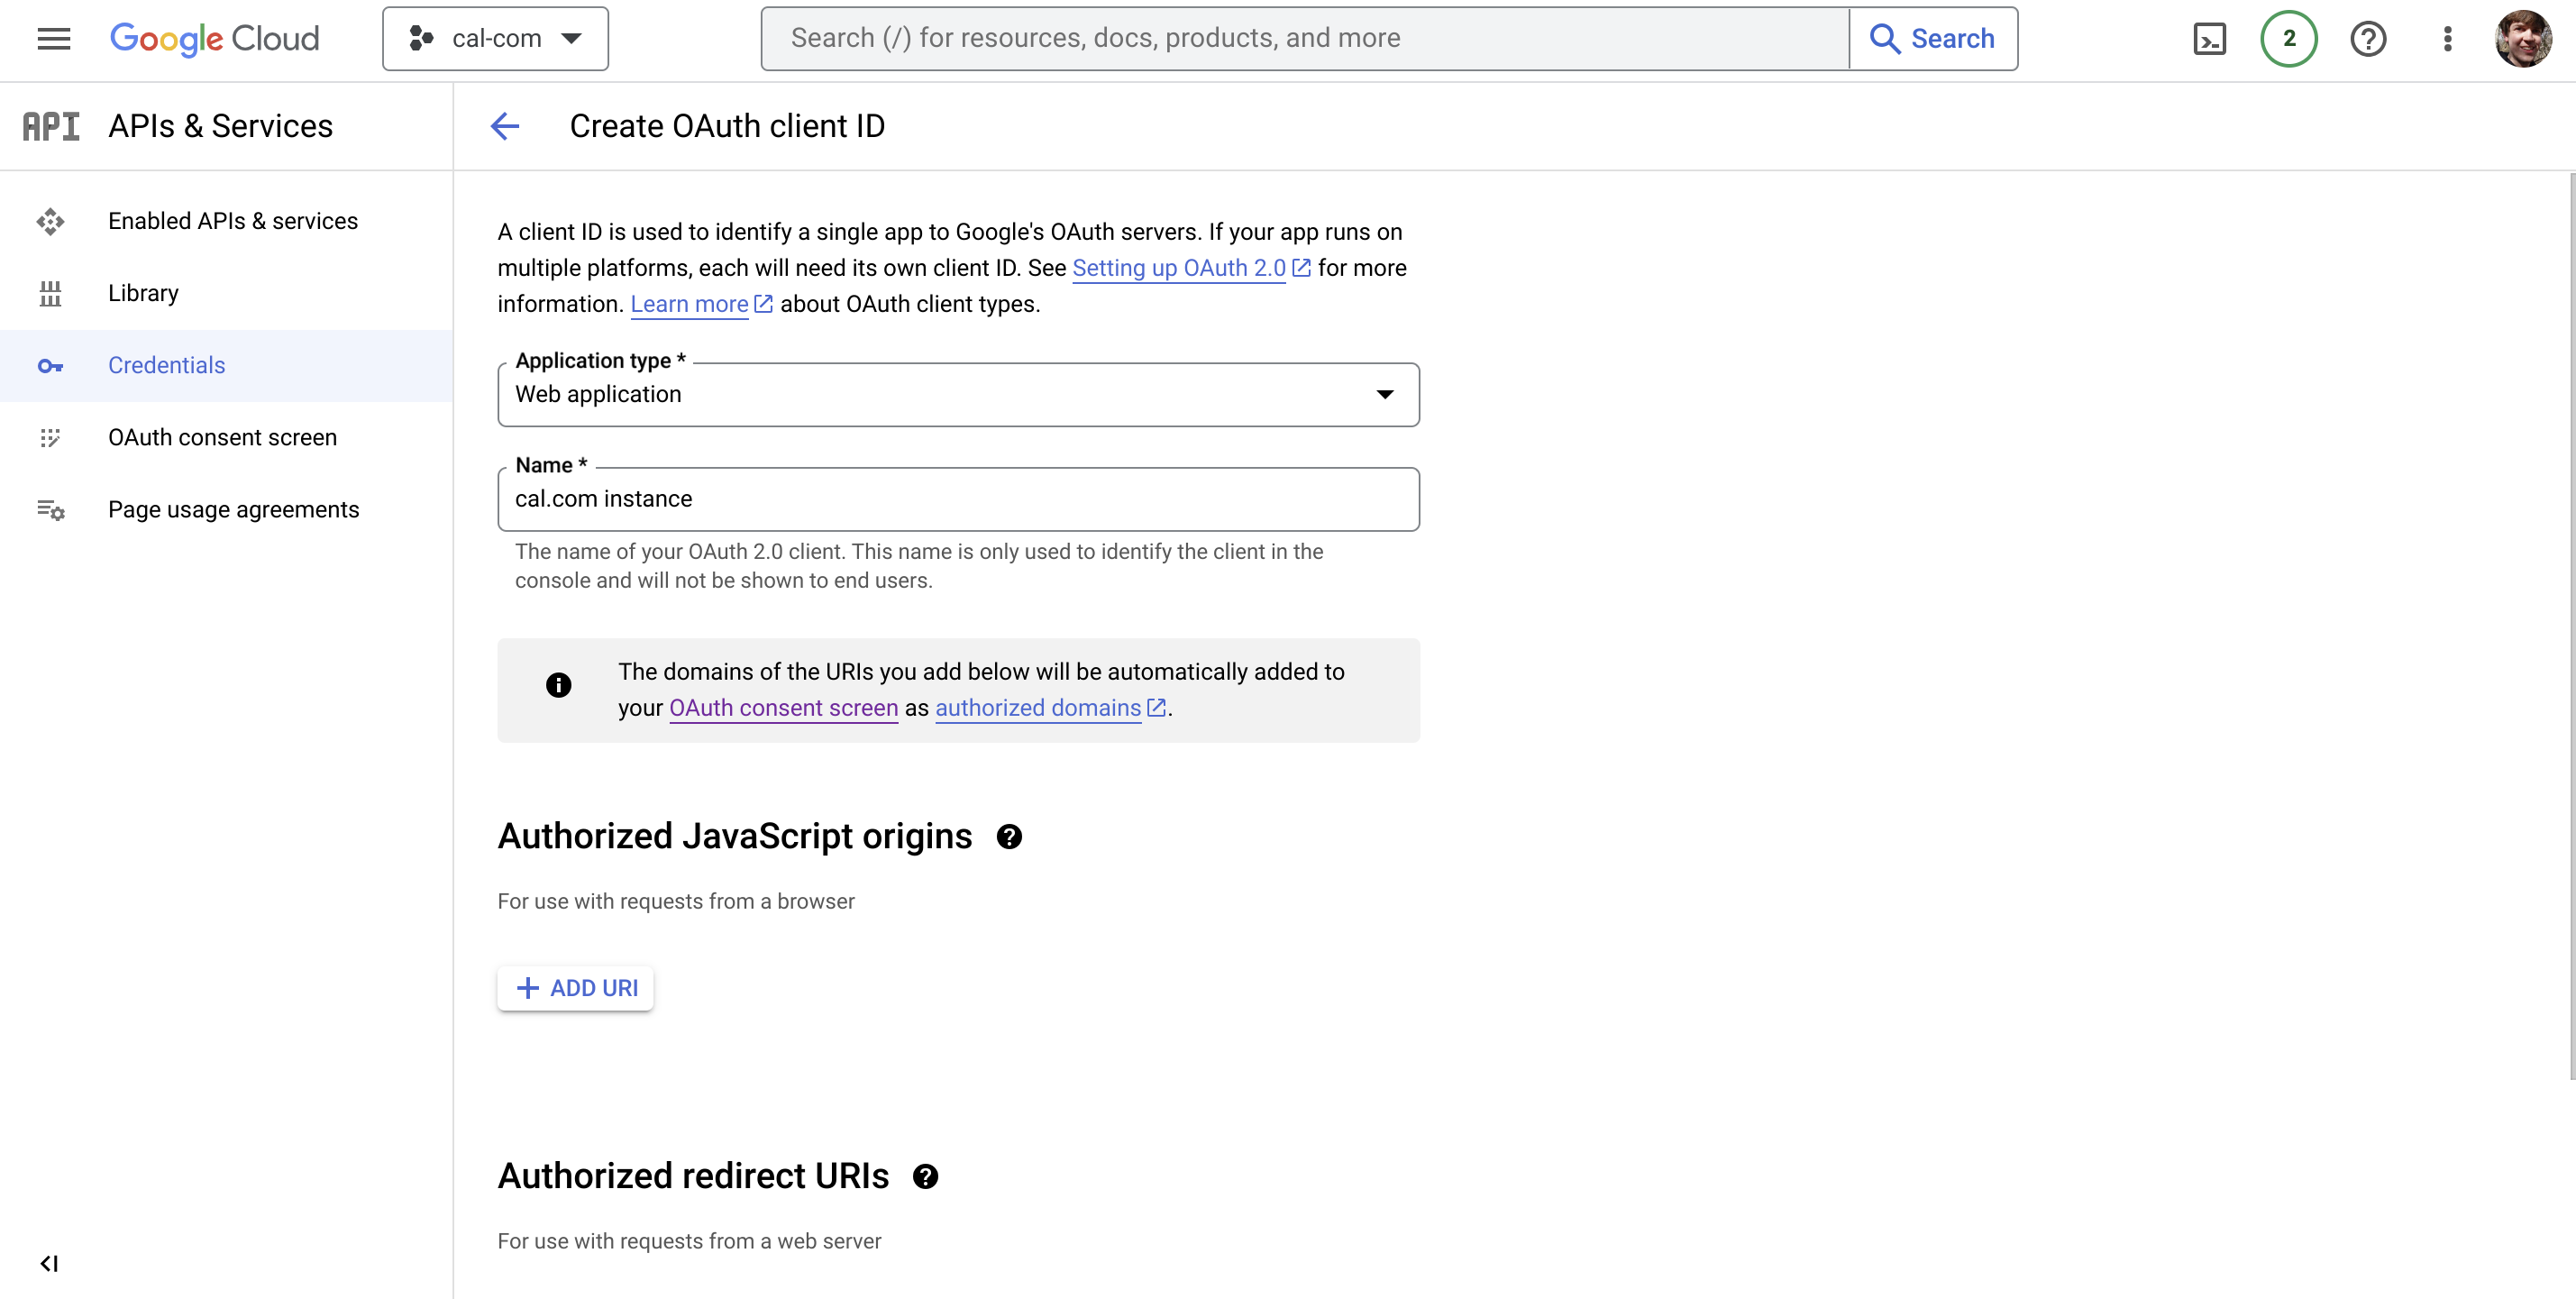
Next, in the Authorized redirect URIs section, click Add URI. Add the following URI values, being sure to substitute the base URL for your Cal.com instance's Koyeb subdomain:
<YOUR_KOYEB_SERVICE_SUBDOMAIN>/api/integrations/googlecalendar/callback<YOUR_KOYEB_SERVICE_SUBDOMAIN>/api/auth/callback/google
For example, if your Cal.com service's name is calcom and your Koyeb organization is named myorg, the URIs would look like this:
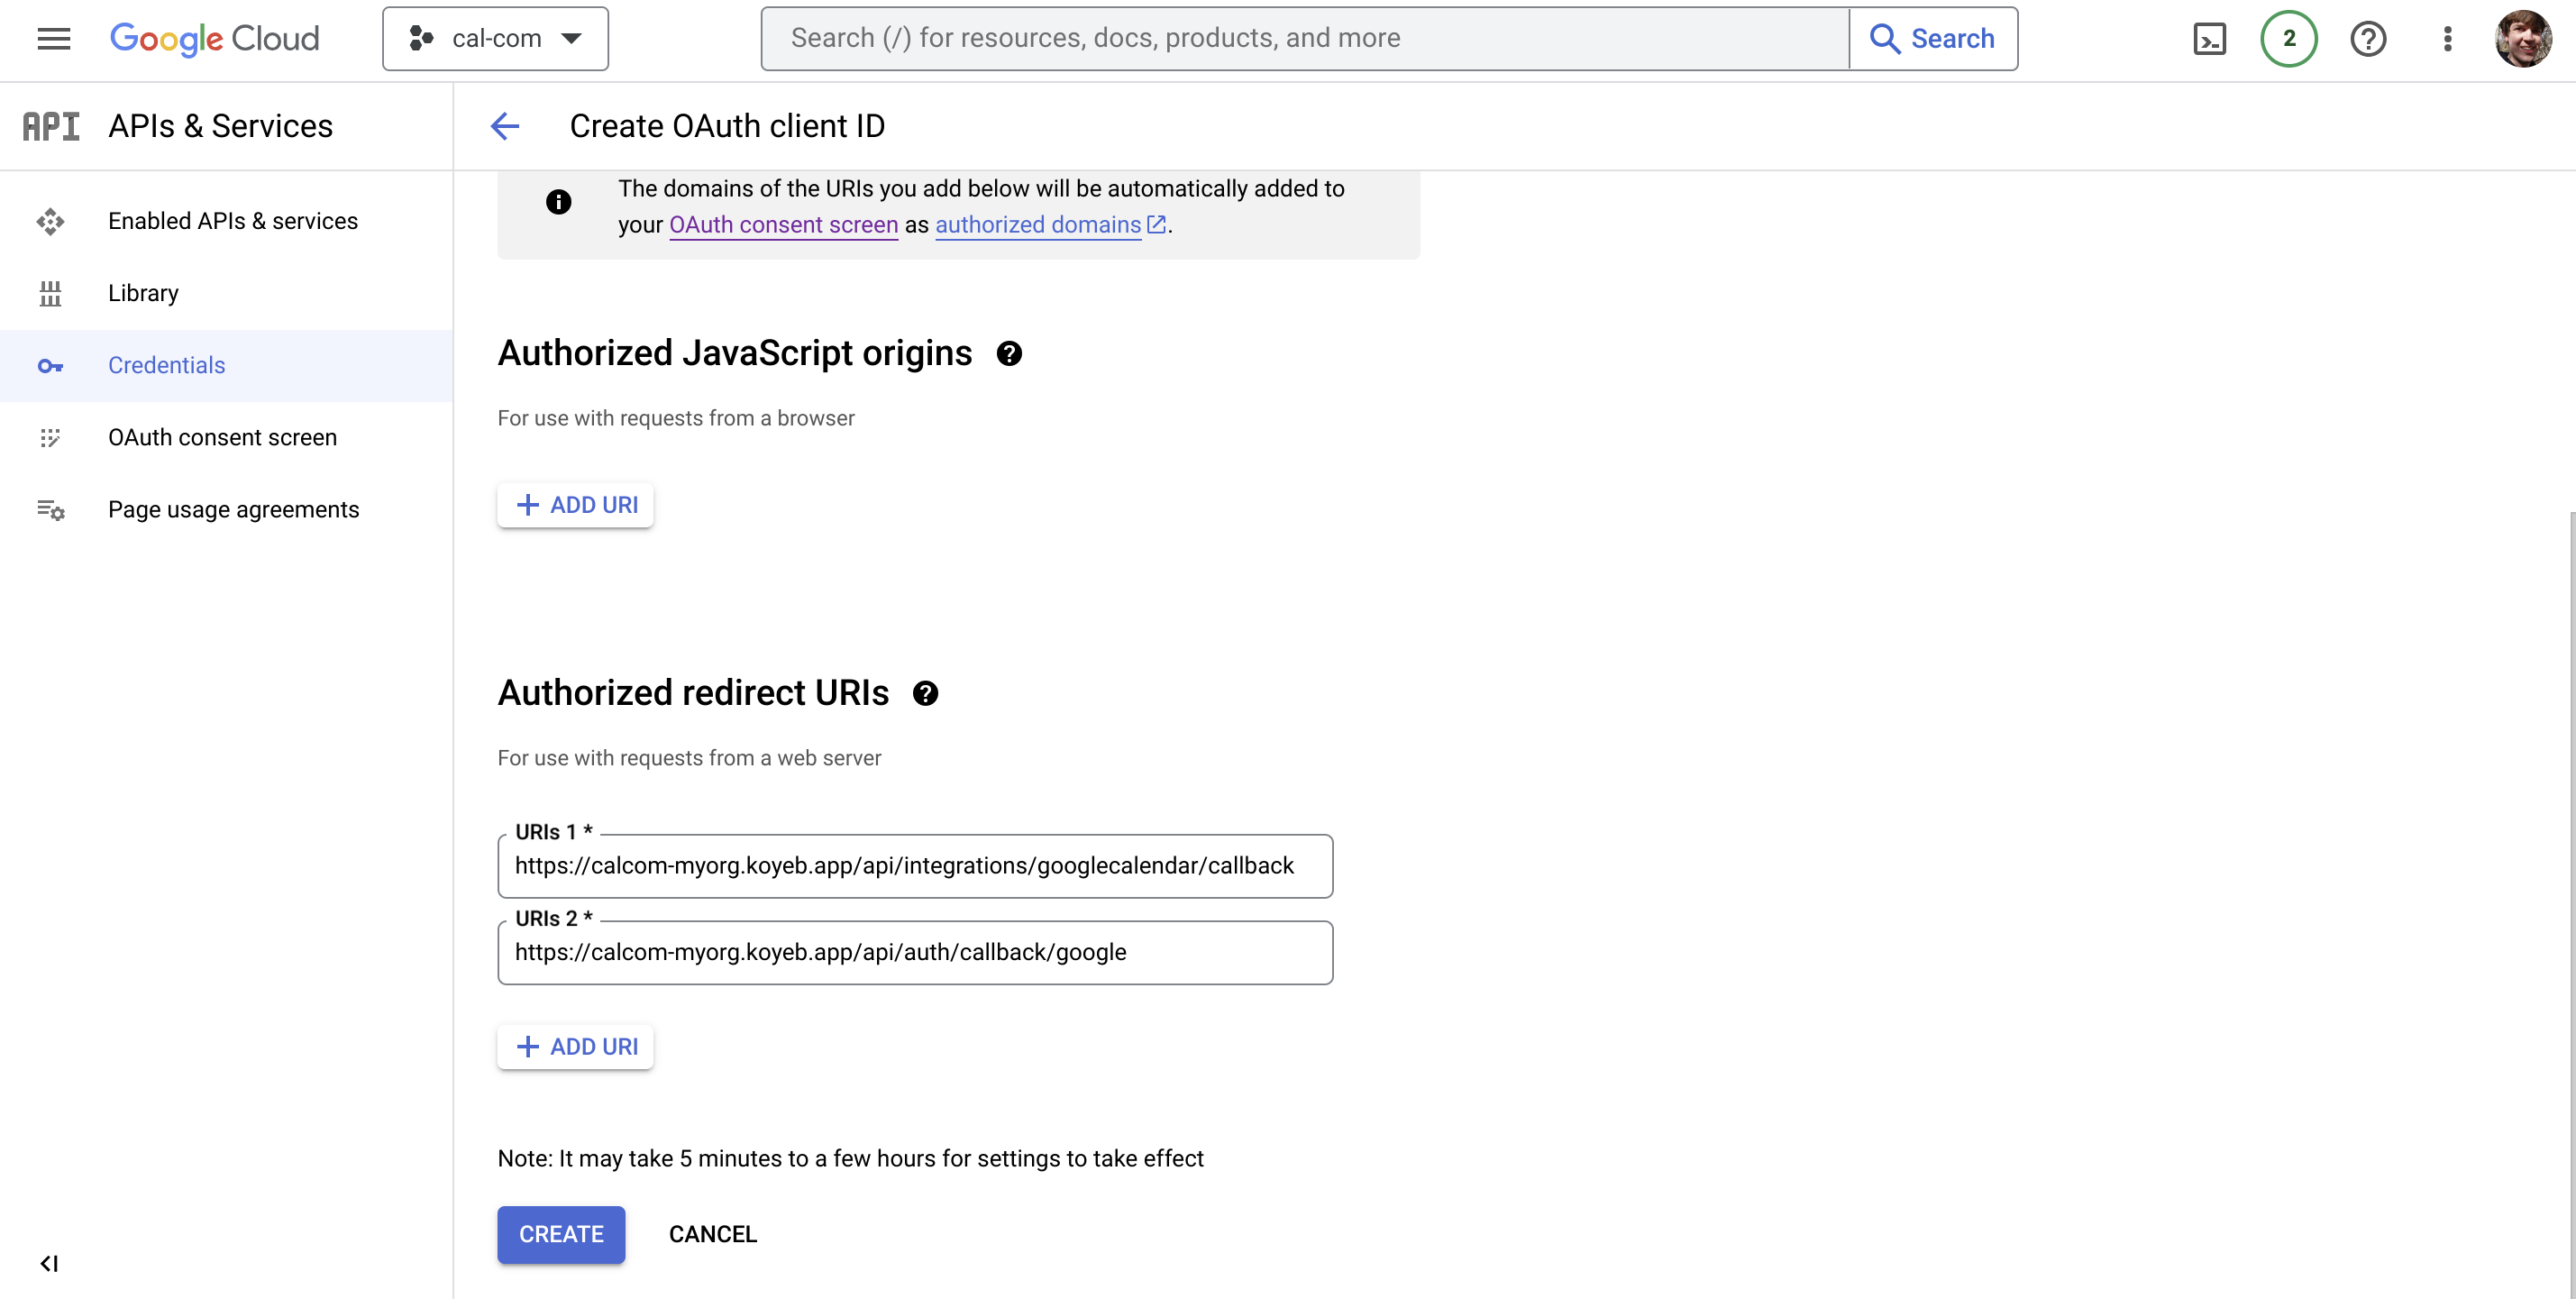
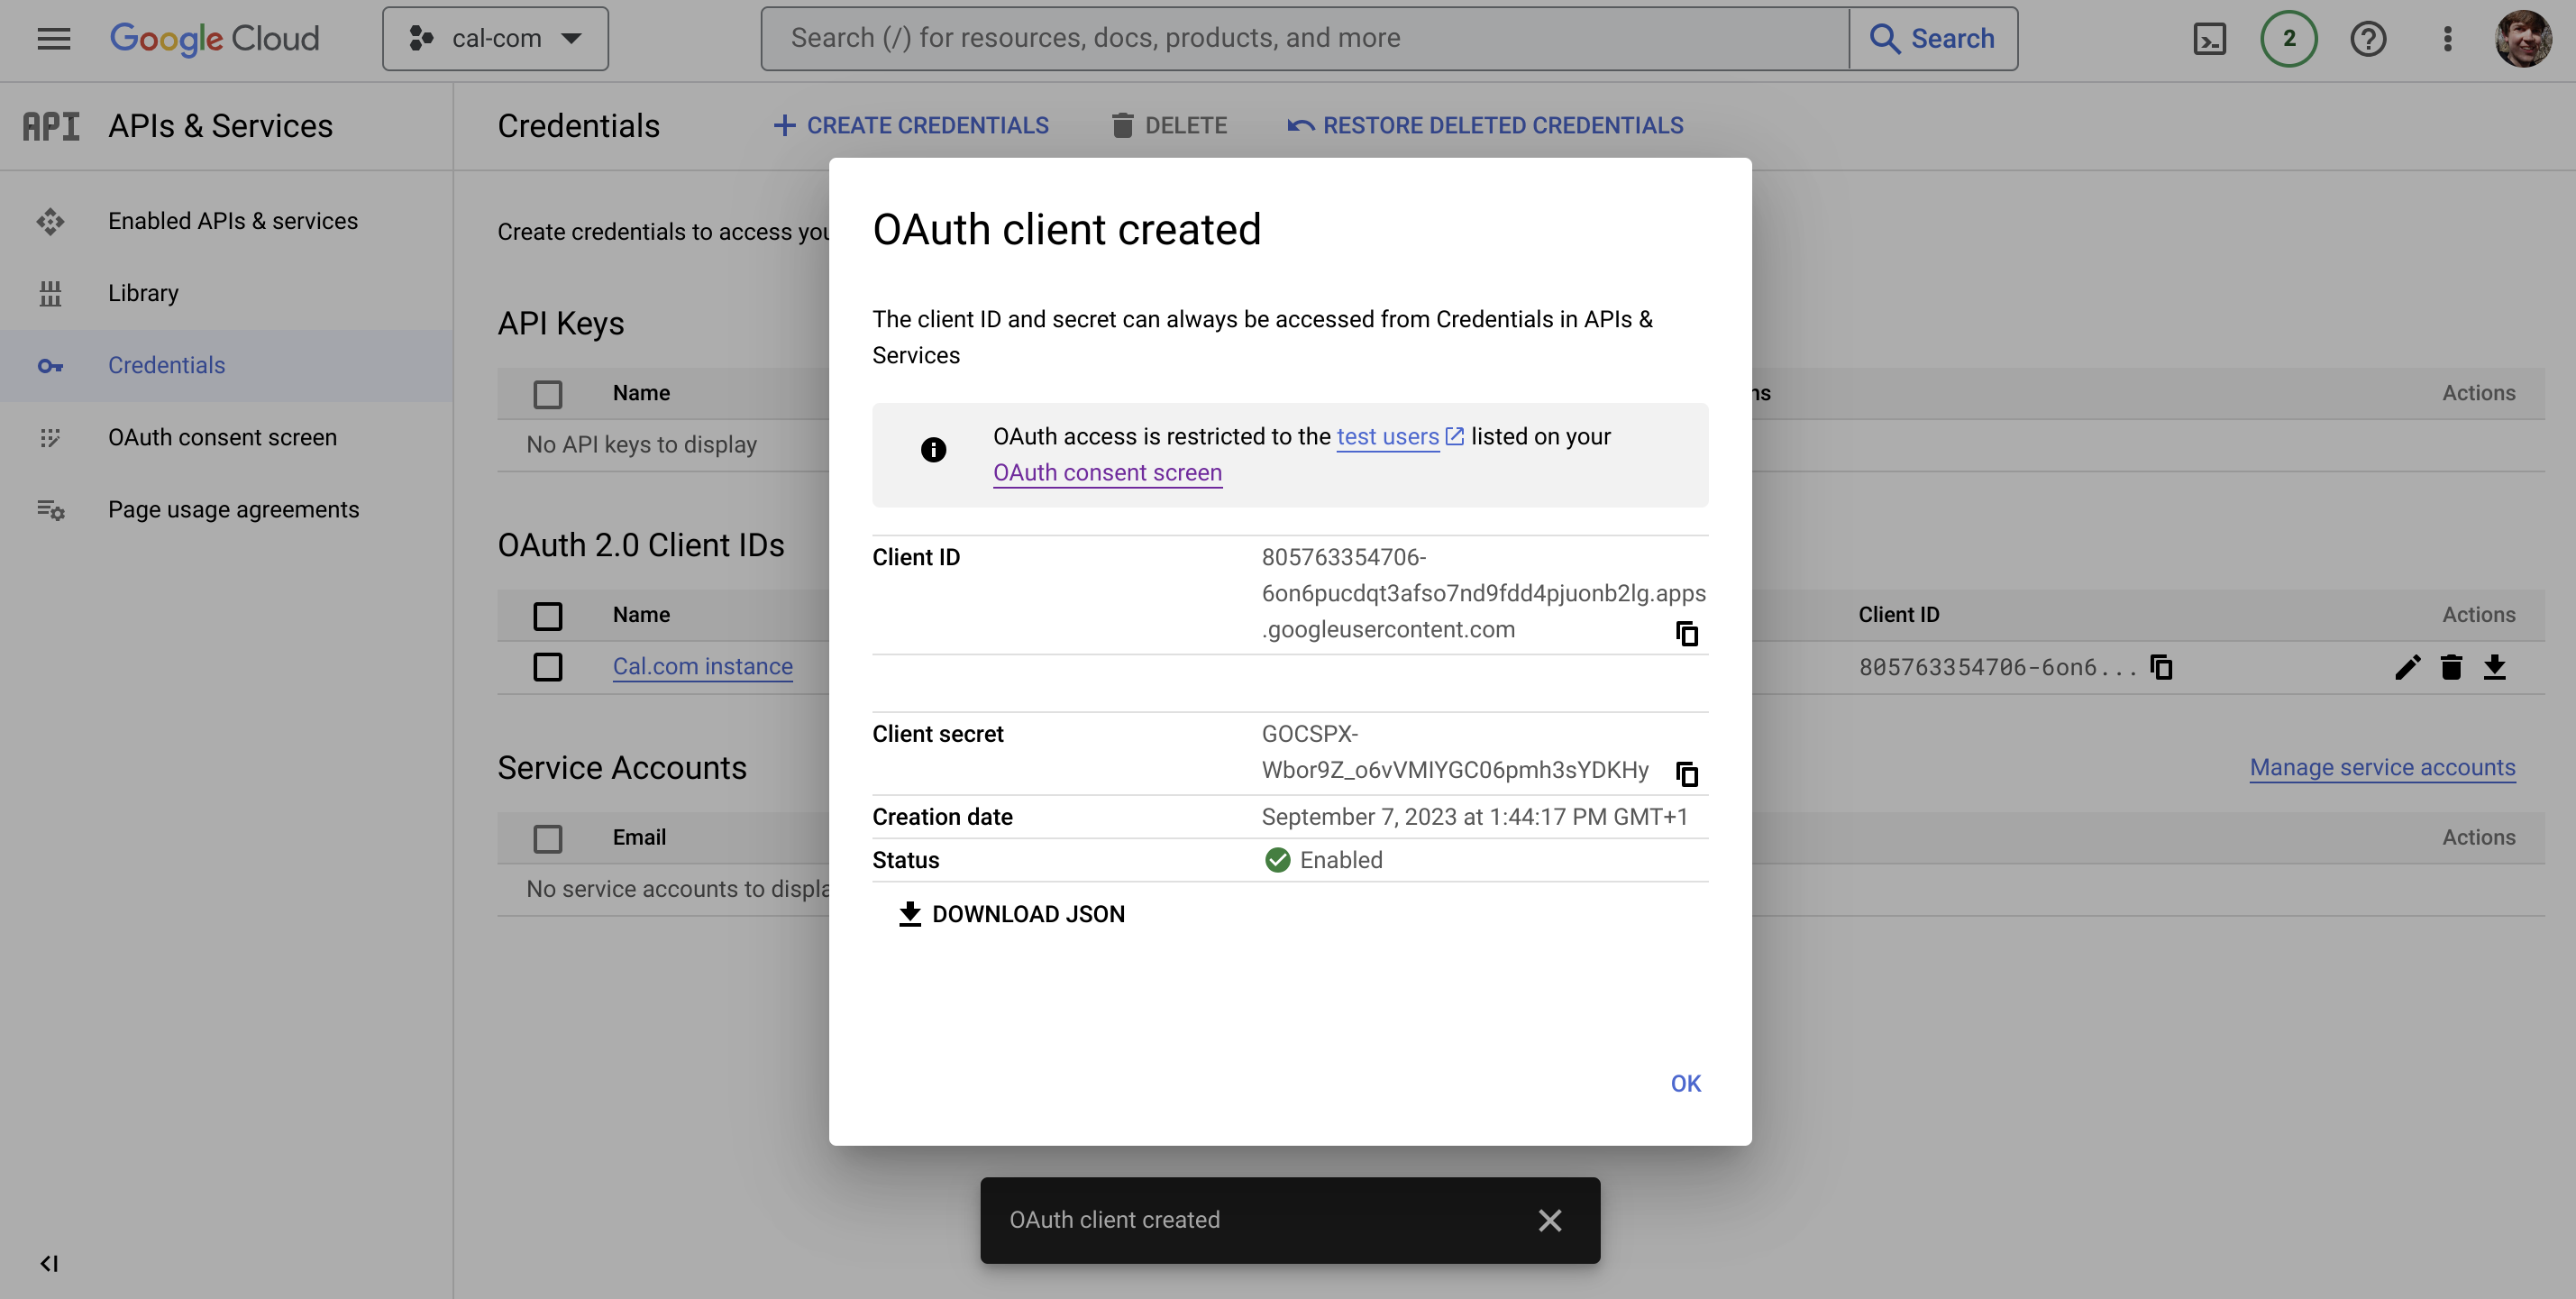
Click Create when you are finished to create the new credentials.
On the following page, click Download JSON to download the authentication string you'll need to authenticate to the Calendar API:
Redeploy Cal.com to configure the new integration
Next we need to use the JSON credentials we just downloaded to give Cal.com access to our Google calendar.
In the Koyeb control panel, select the Cal.com service you deployed and then click Settings in the top bar to view the service configuration.
Scroll down to the Environment variables and files section and click Add variable.
Add a new variable called GOOGLE_API_CREDENTIALS and set its value to the JSON string that you downloaded from Google's credentials page.
When you are finished, click Apply at the bottom of the page.
Koyeb will redeploy your Cal.com instance with the additional environment variable. The service will go through its normal initialization procedure and, when healthy, Koyeb will replace the previously running instance of Cal.com with the new deployment.
Once the new instance is running, revisit the application URL to configure the Google calendar integration.
From your dashboard, click Apps in the left sidebar menu:
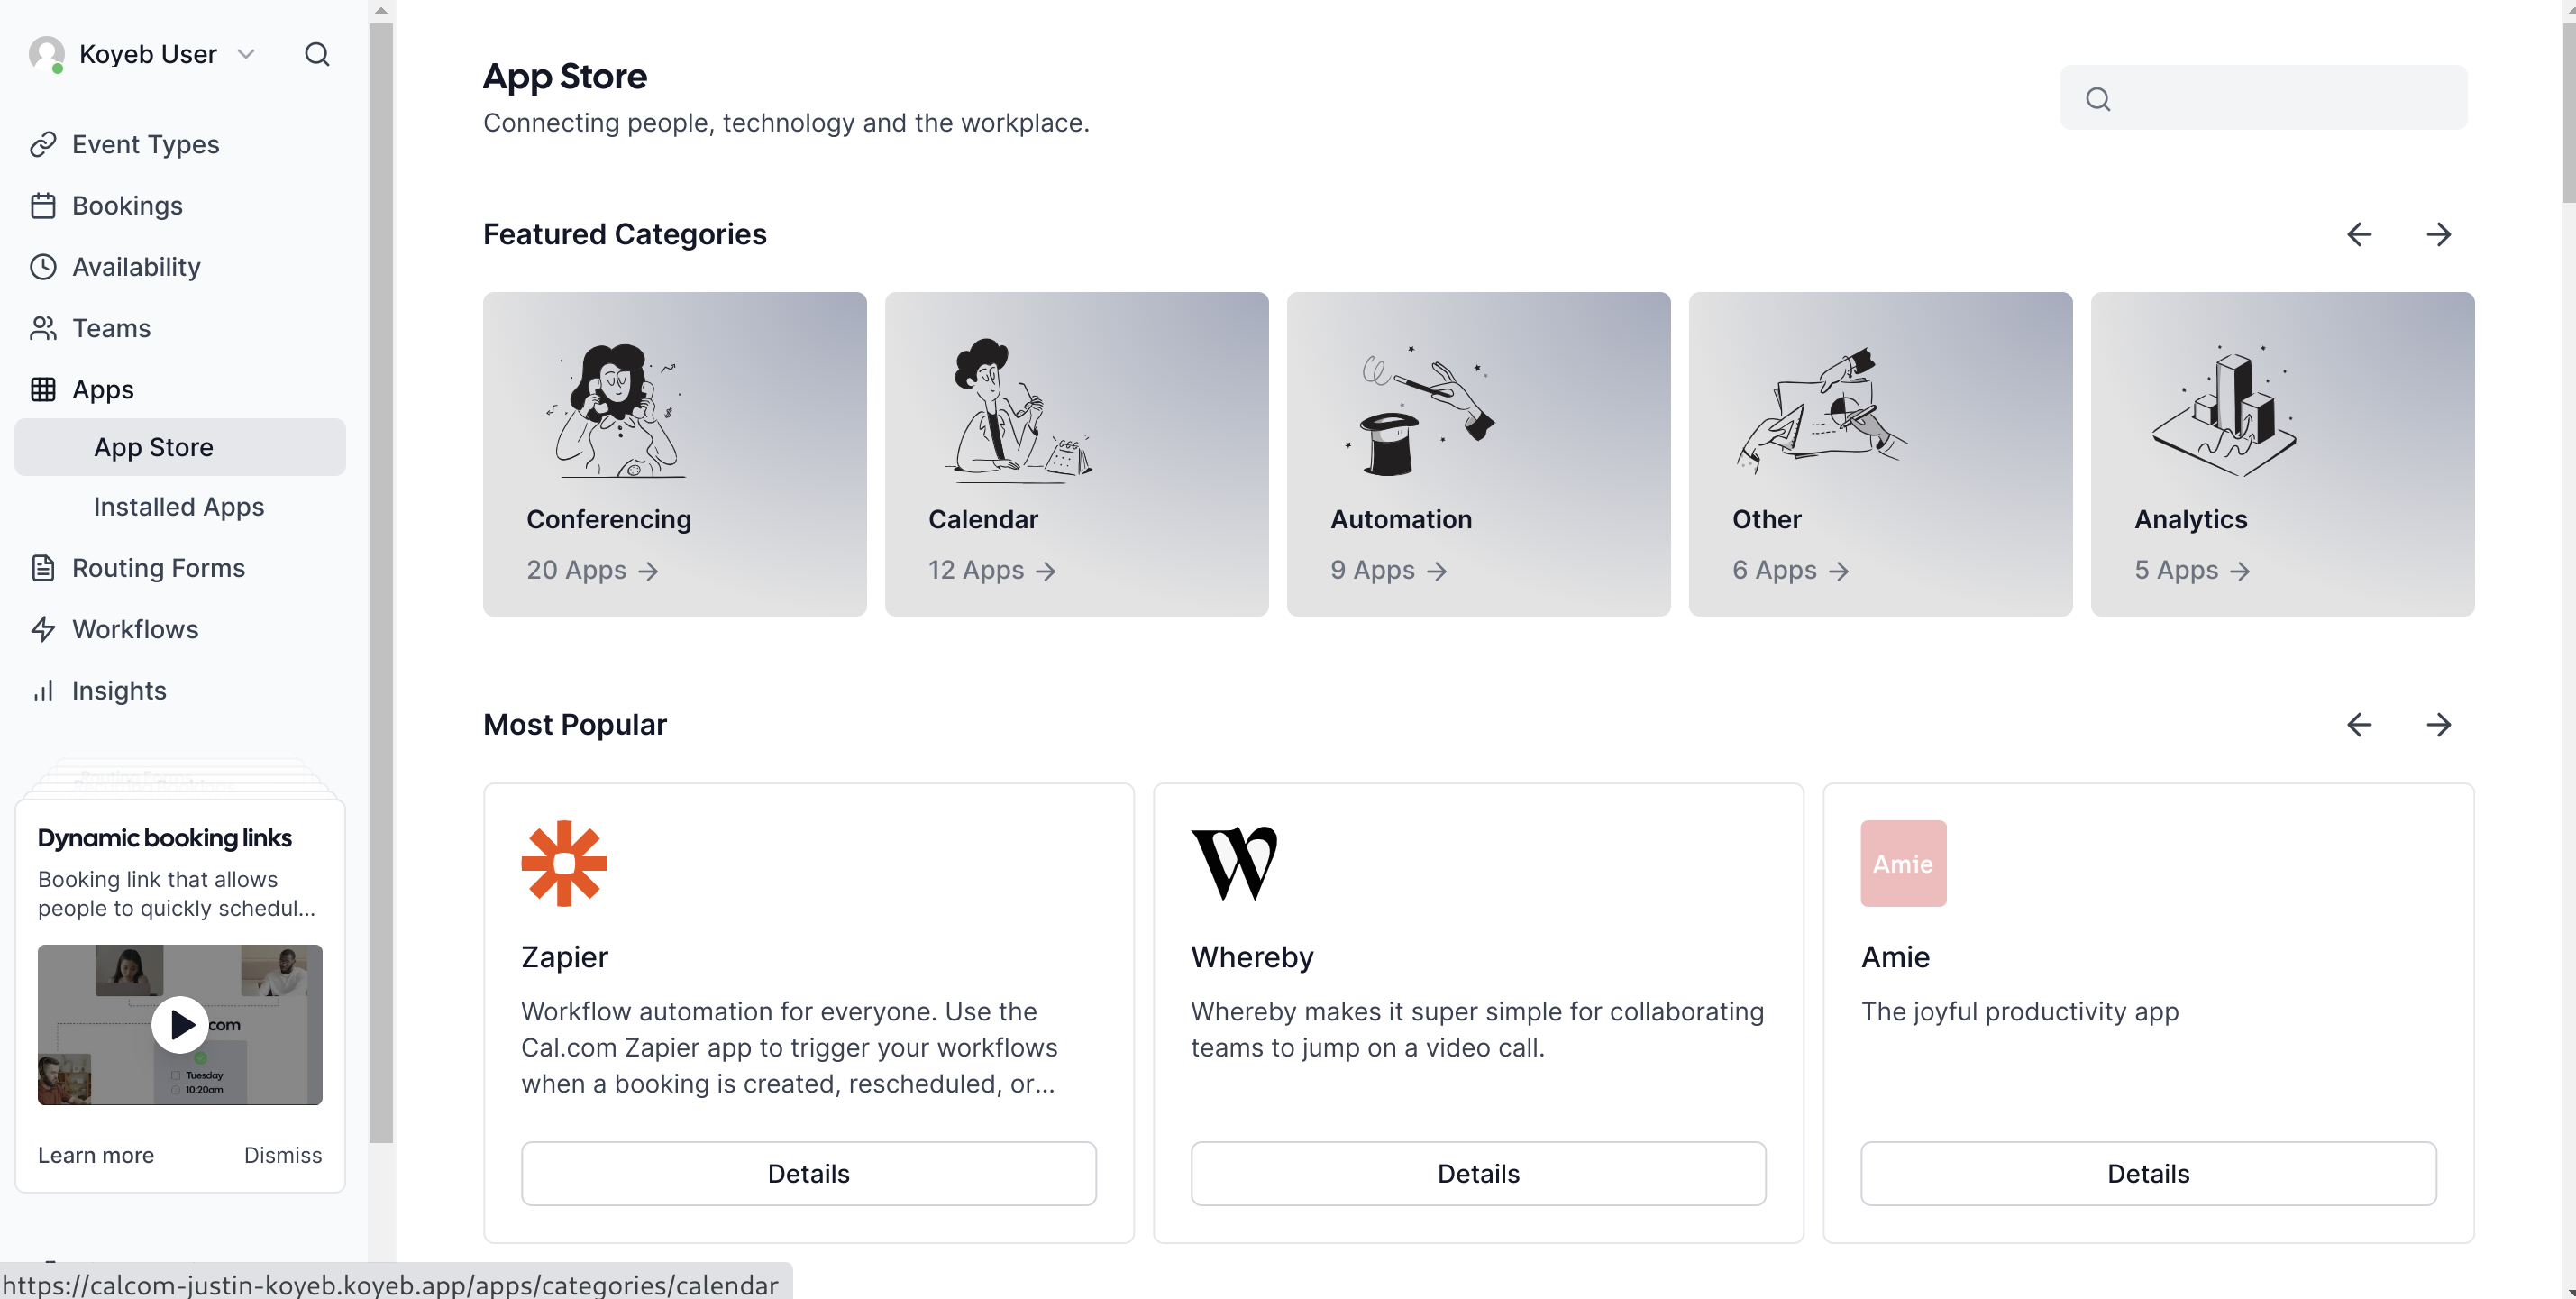
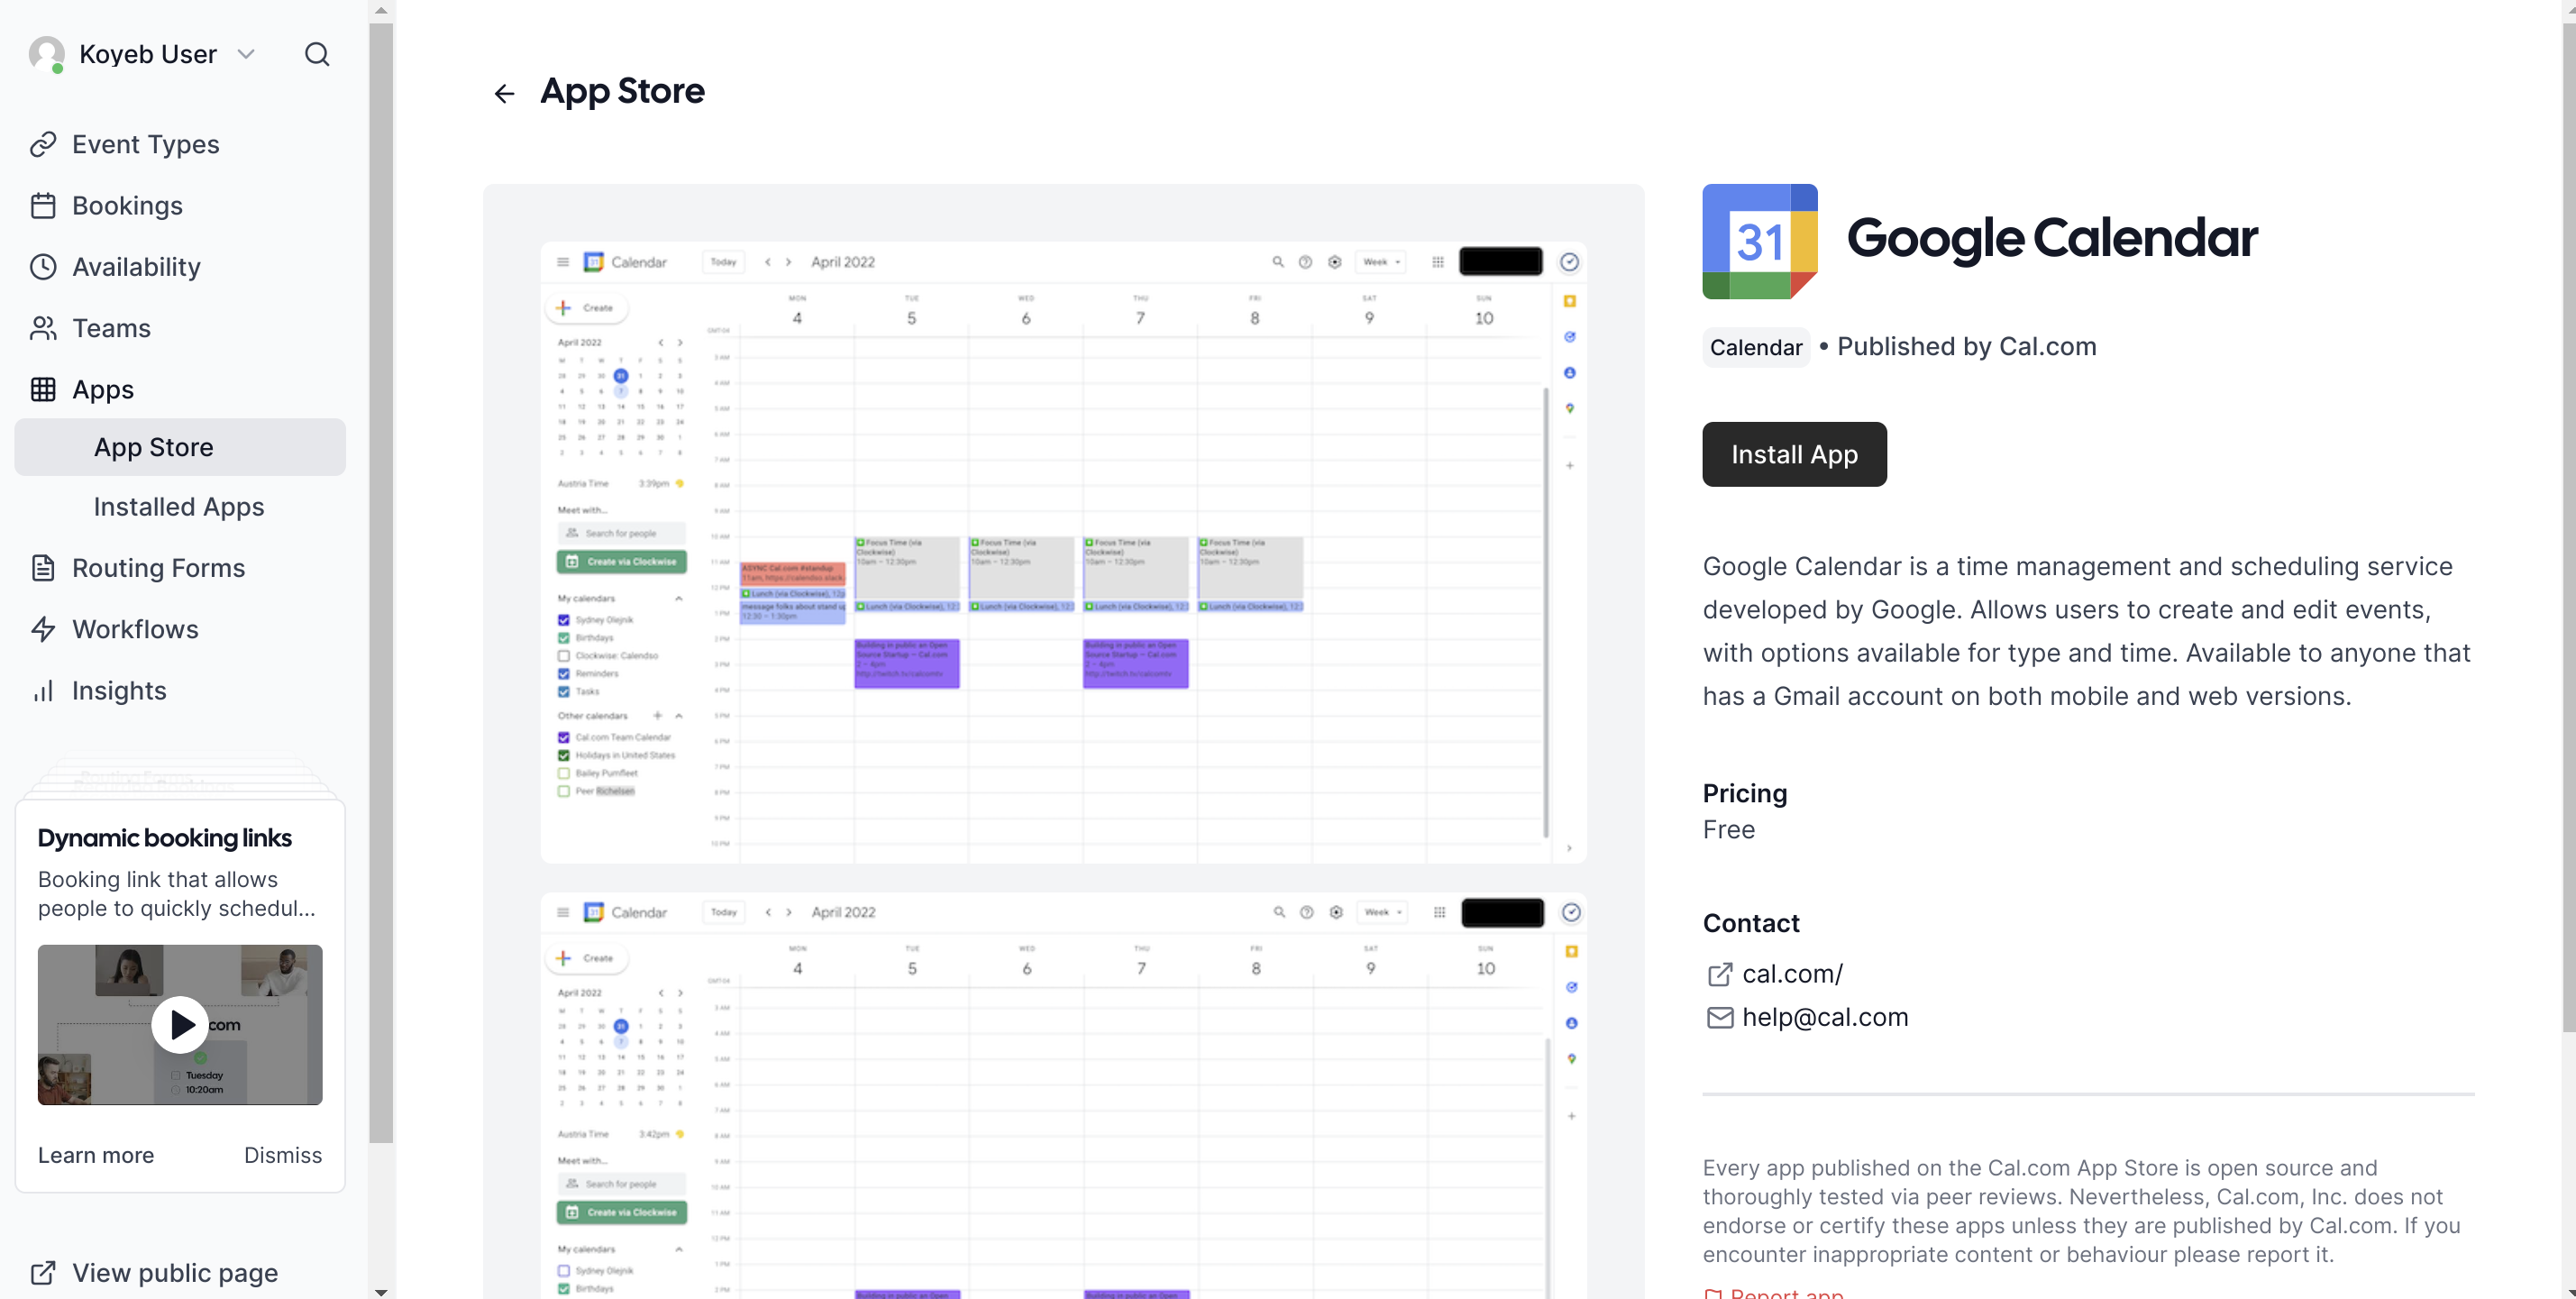
Click Calendar to view the available calendar apps. Scroll to find Google Calendar and click Details.
On the next page, click Install App to install the Google calendar integration.
You'll be redirected to the Google authorization flow. Choose one of the accounts you added as a test account during the OAuth consent configuration.
You will likely see a warning page like this indicating that Google has not verified the application in question:
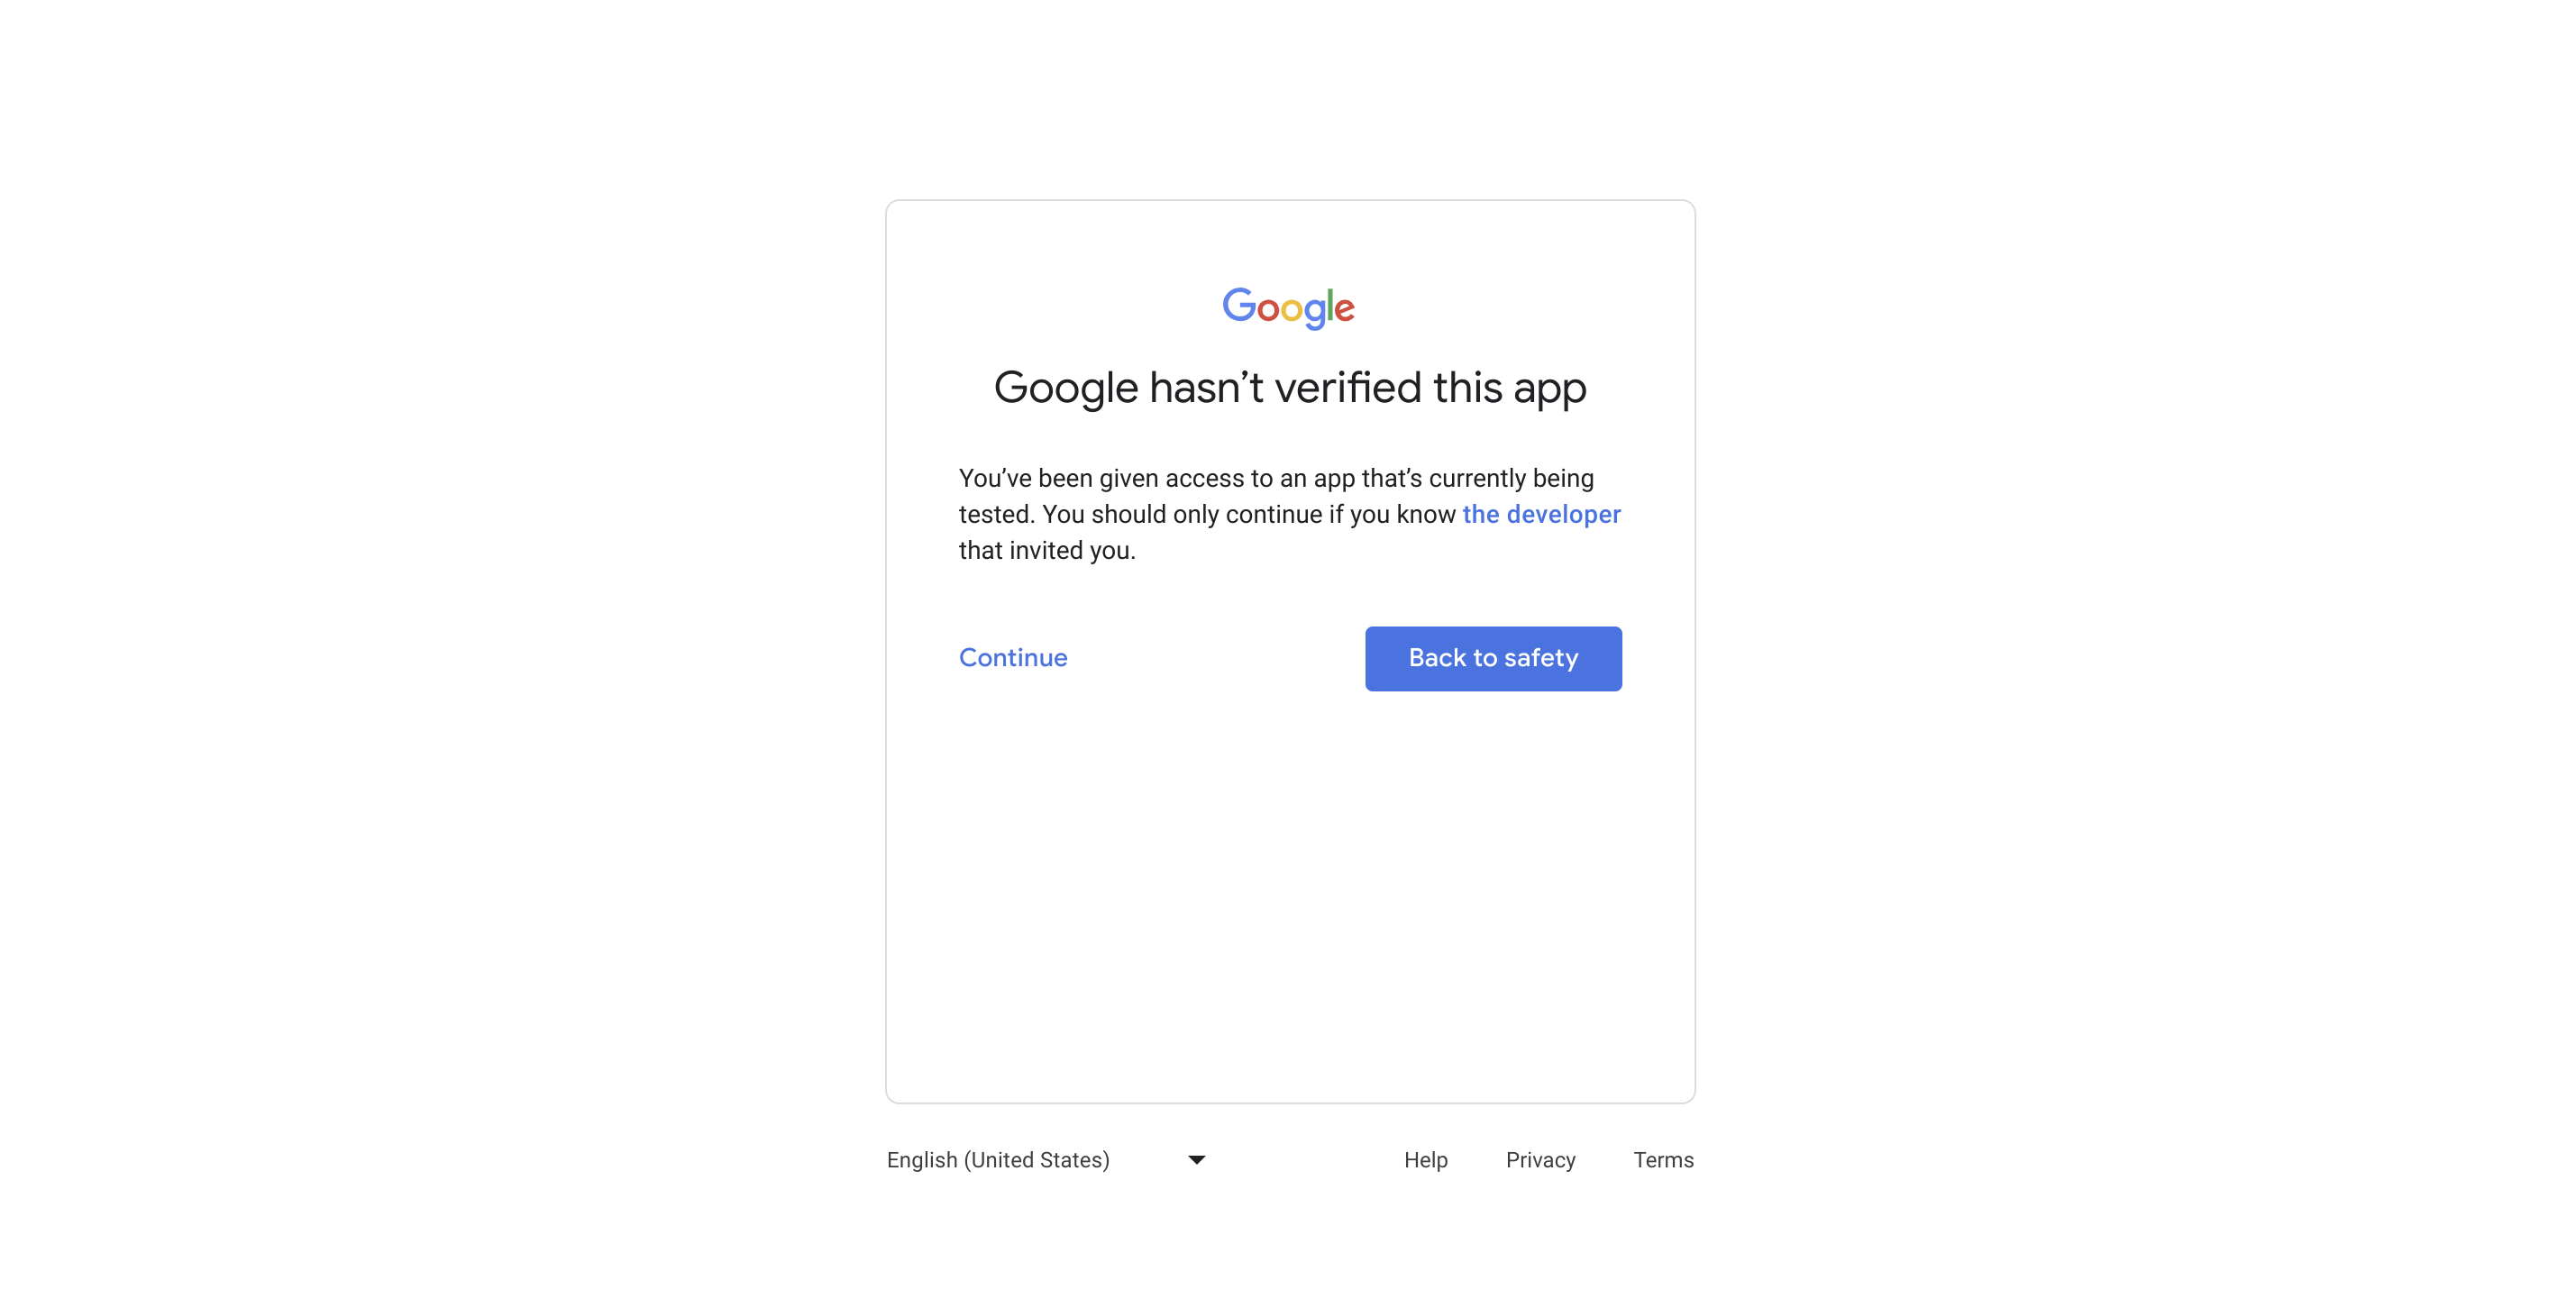
Click Continue to proceed with the authorization.
Next, you'll be asked to select what permissions to give the integration:
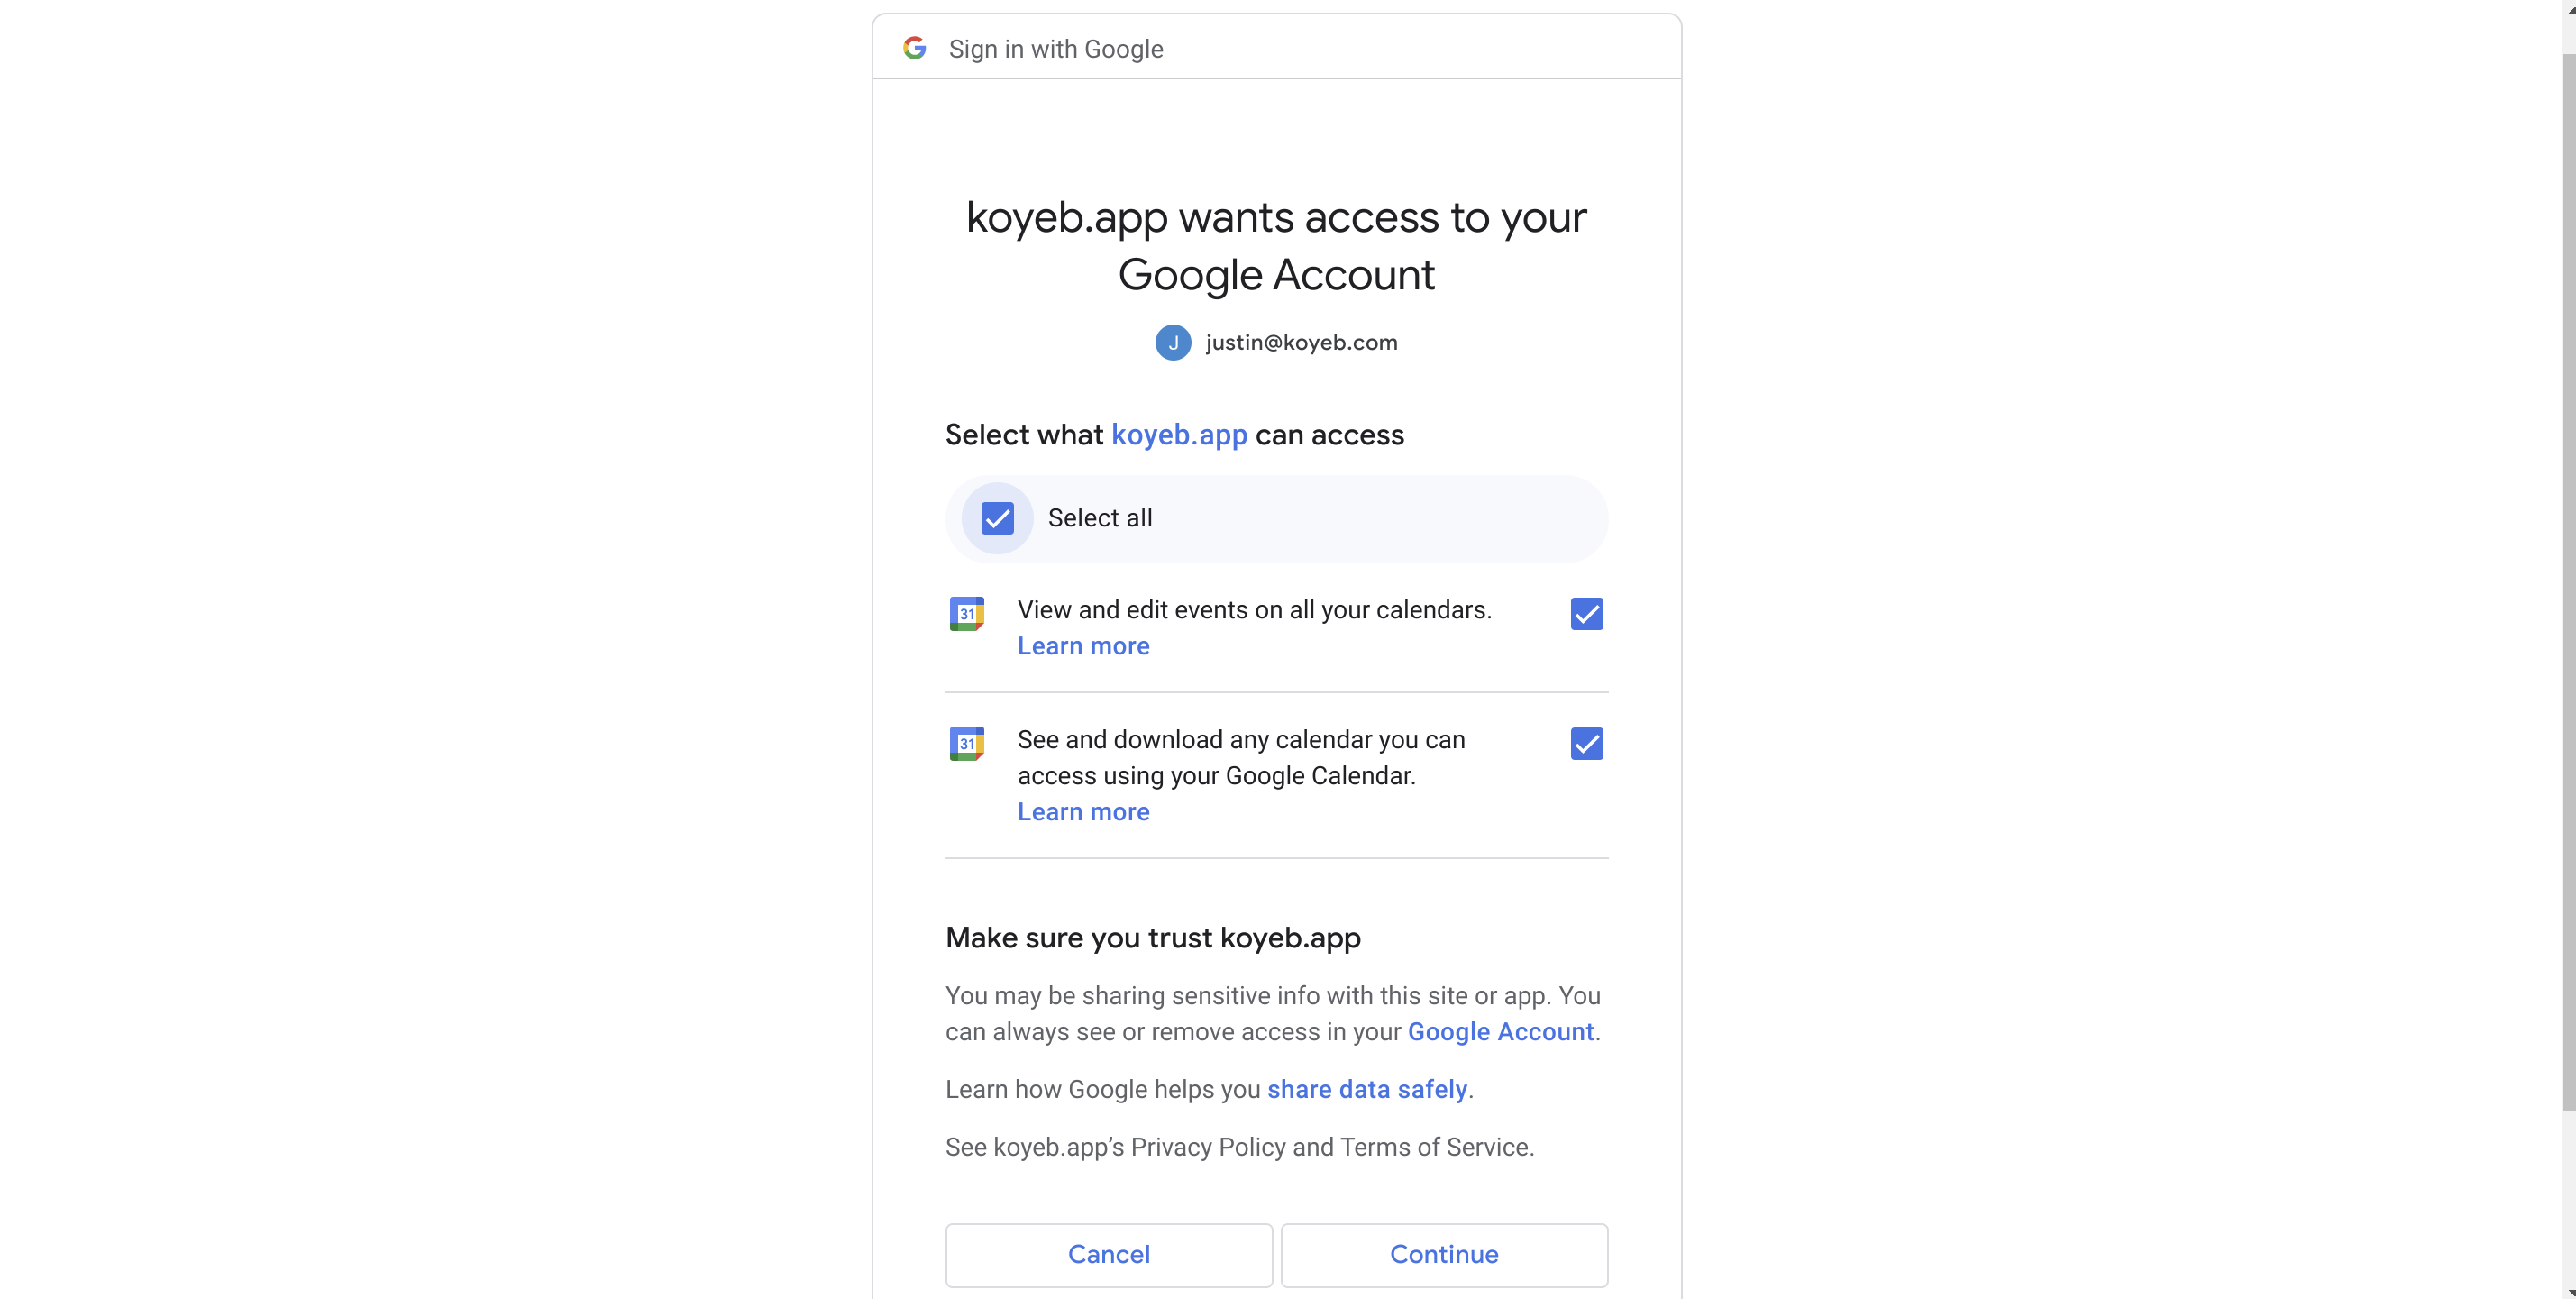
Check the Select all box and then click Continue.
After a moment, you'll be taken to the calendar configuration page within Cal.com. You can select the calendars you want to use to check for conflicts by toggling the associated sliders.
Test the scheduling workflow
Now that your Google calendar is accessible from your Cal.com instance, you can test that the integration is working as intended by testing the scheduling workflow.
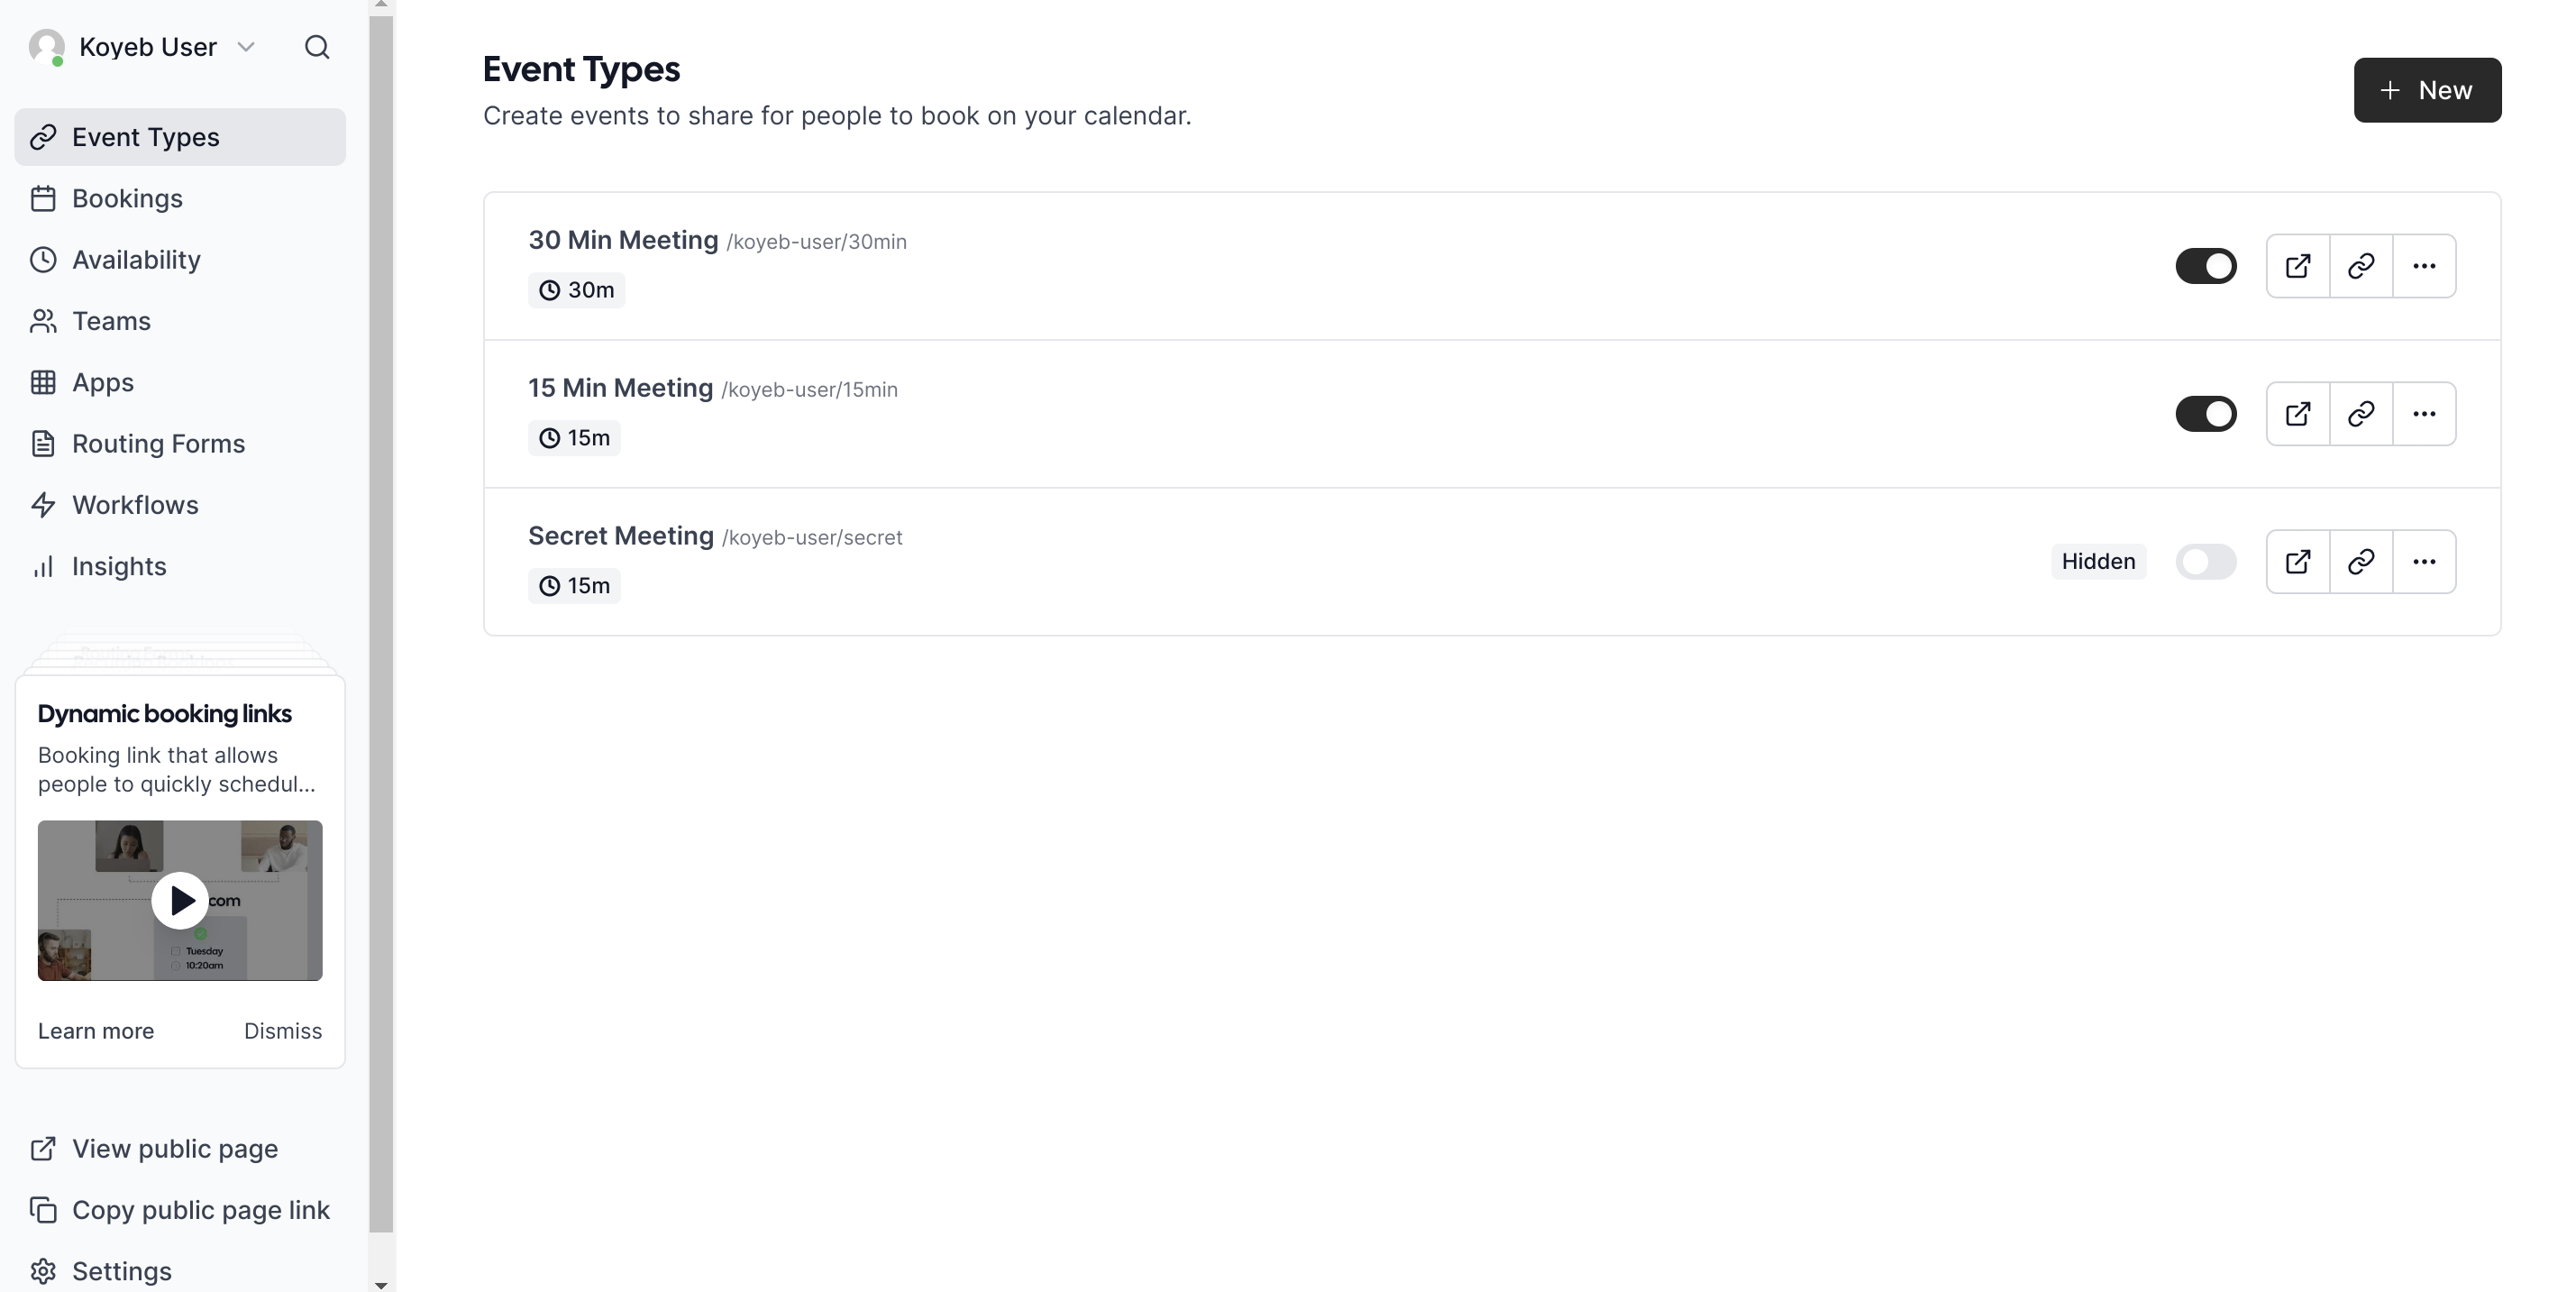
Click View public page in the lower part of the left sidebar menu to access your meeting scheduling page. You'll be taken to the main page that people can use to schedule meetings with you:
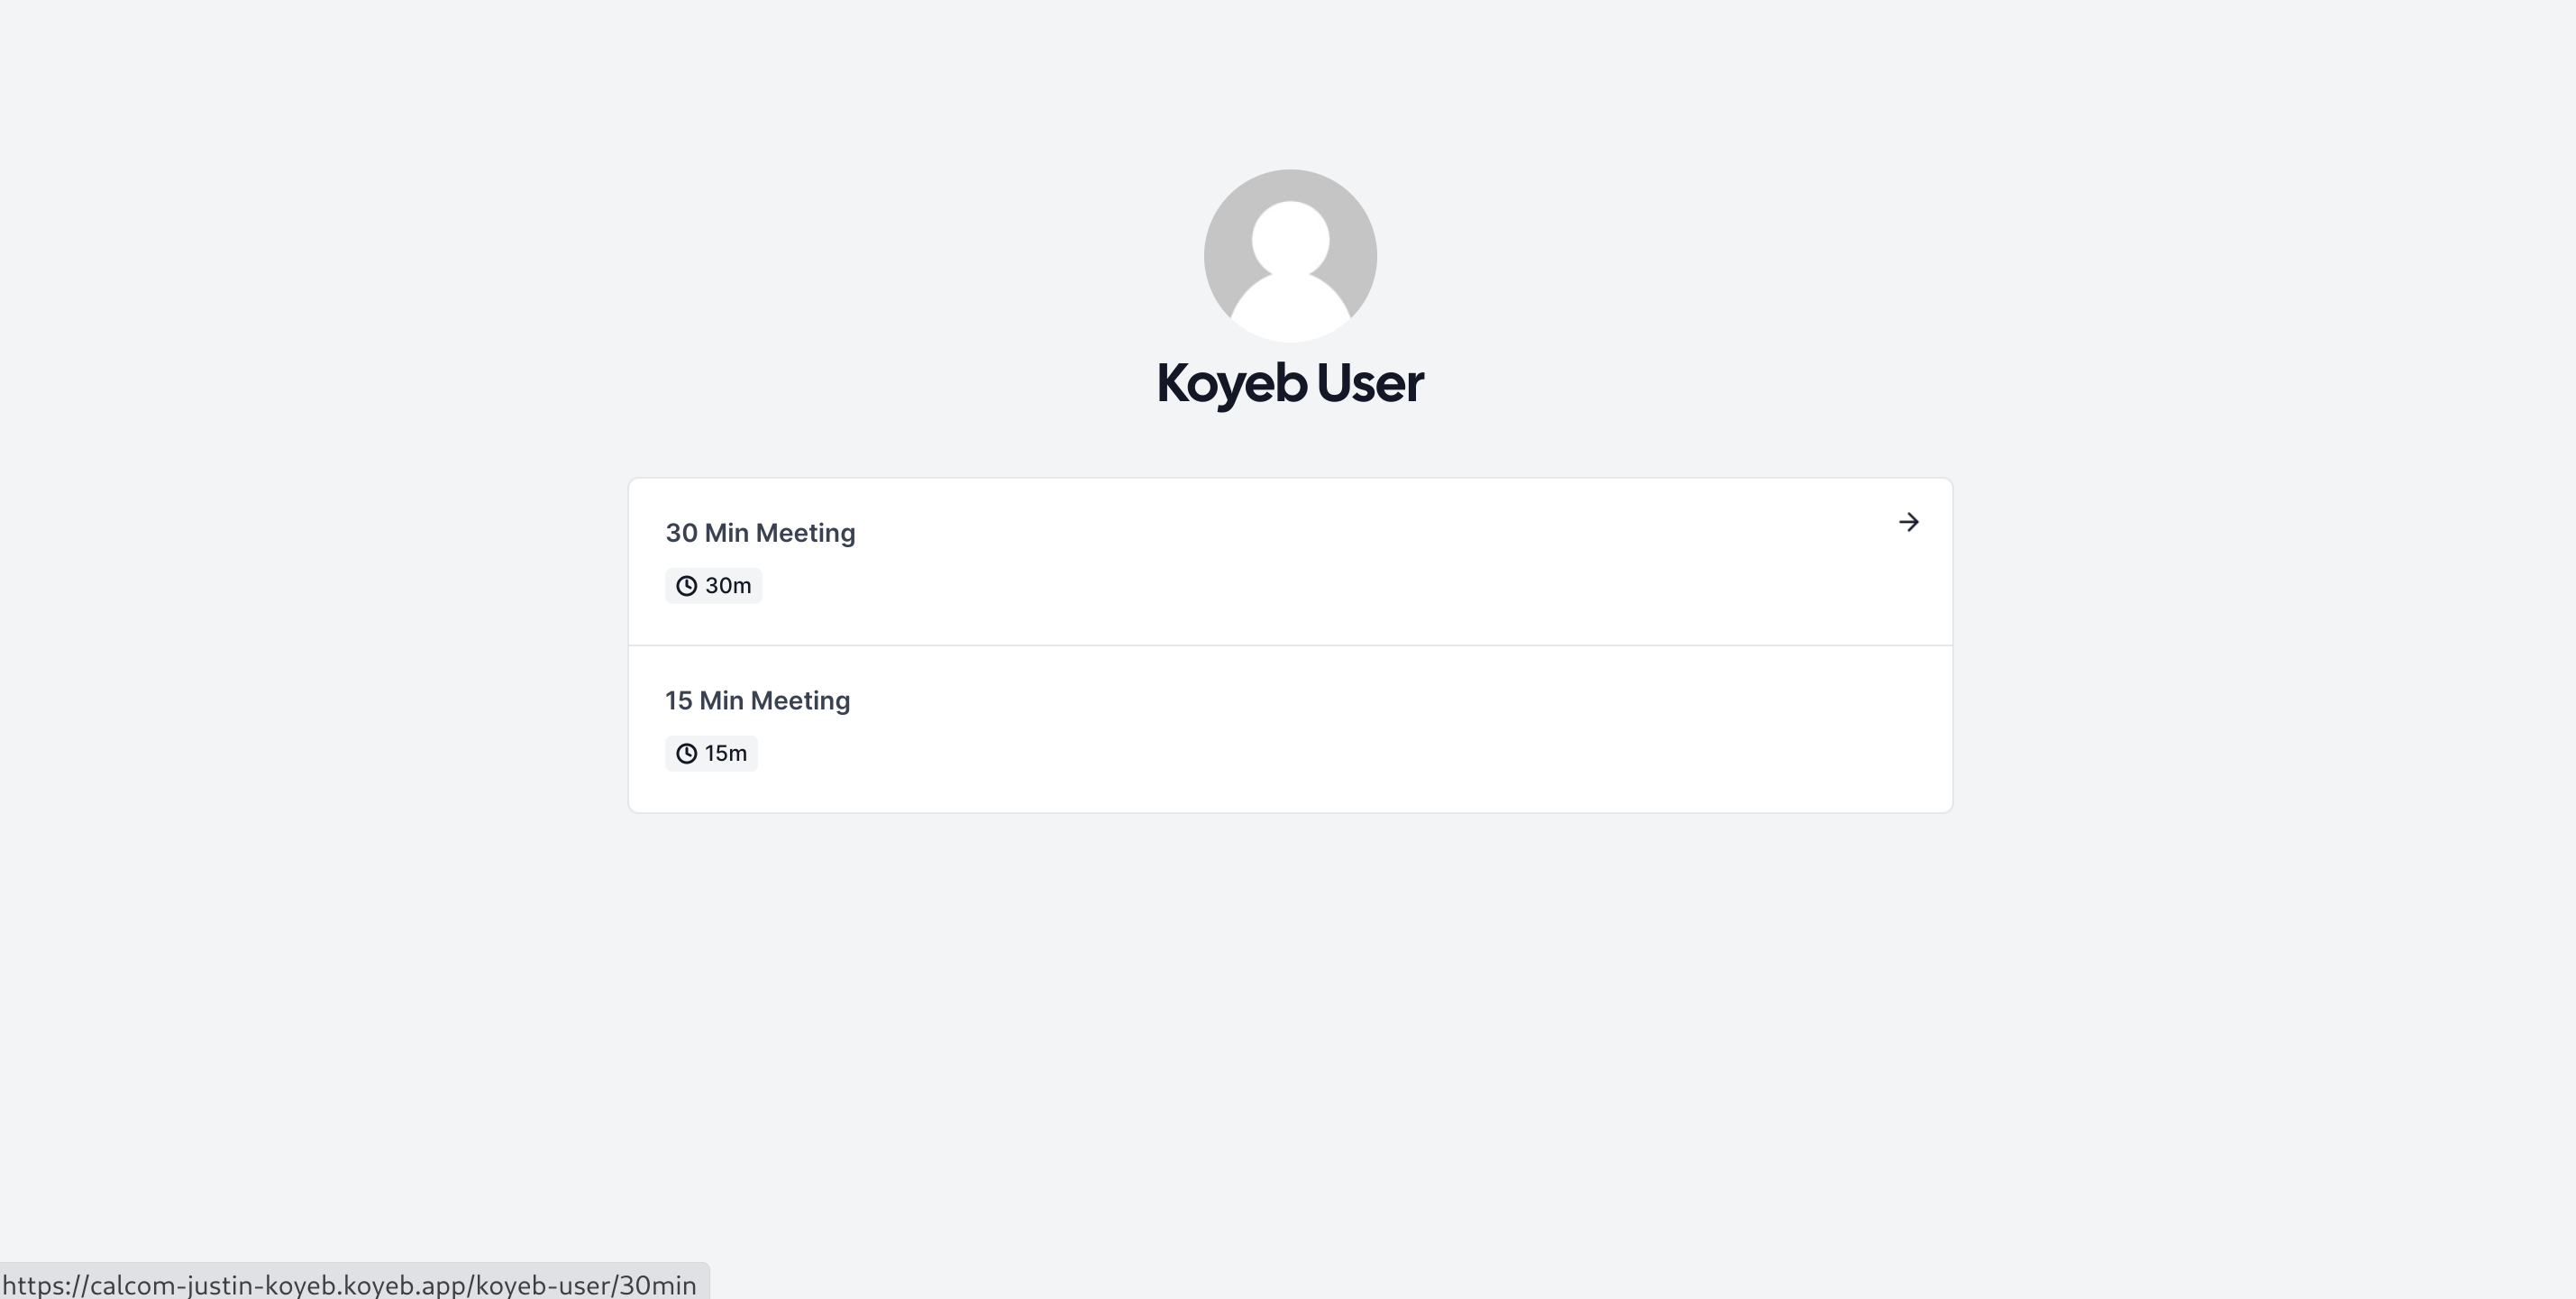
Click one of the meeting lengths. You'll be taken to the scheduling interface to select the timeslot to book:
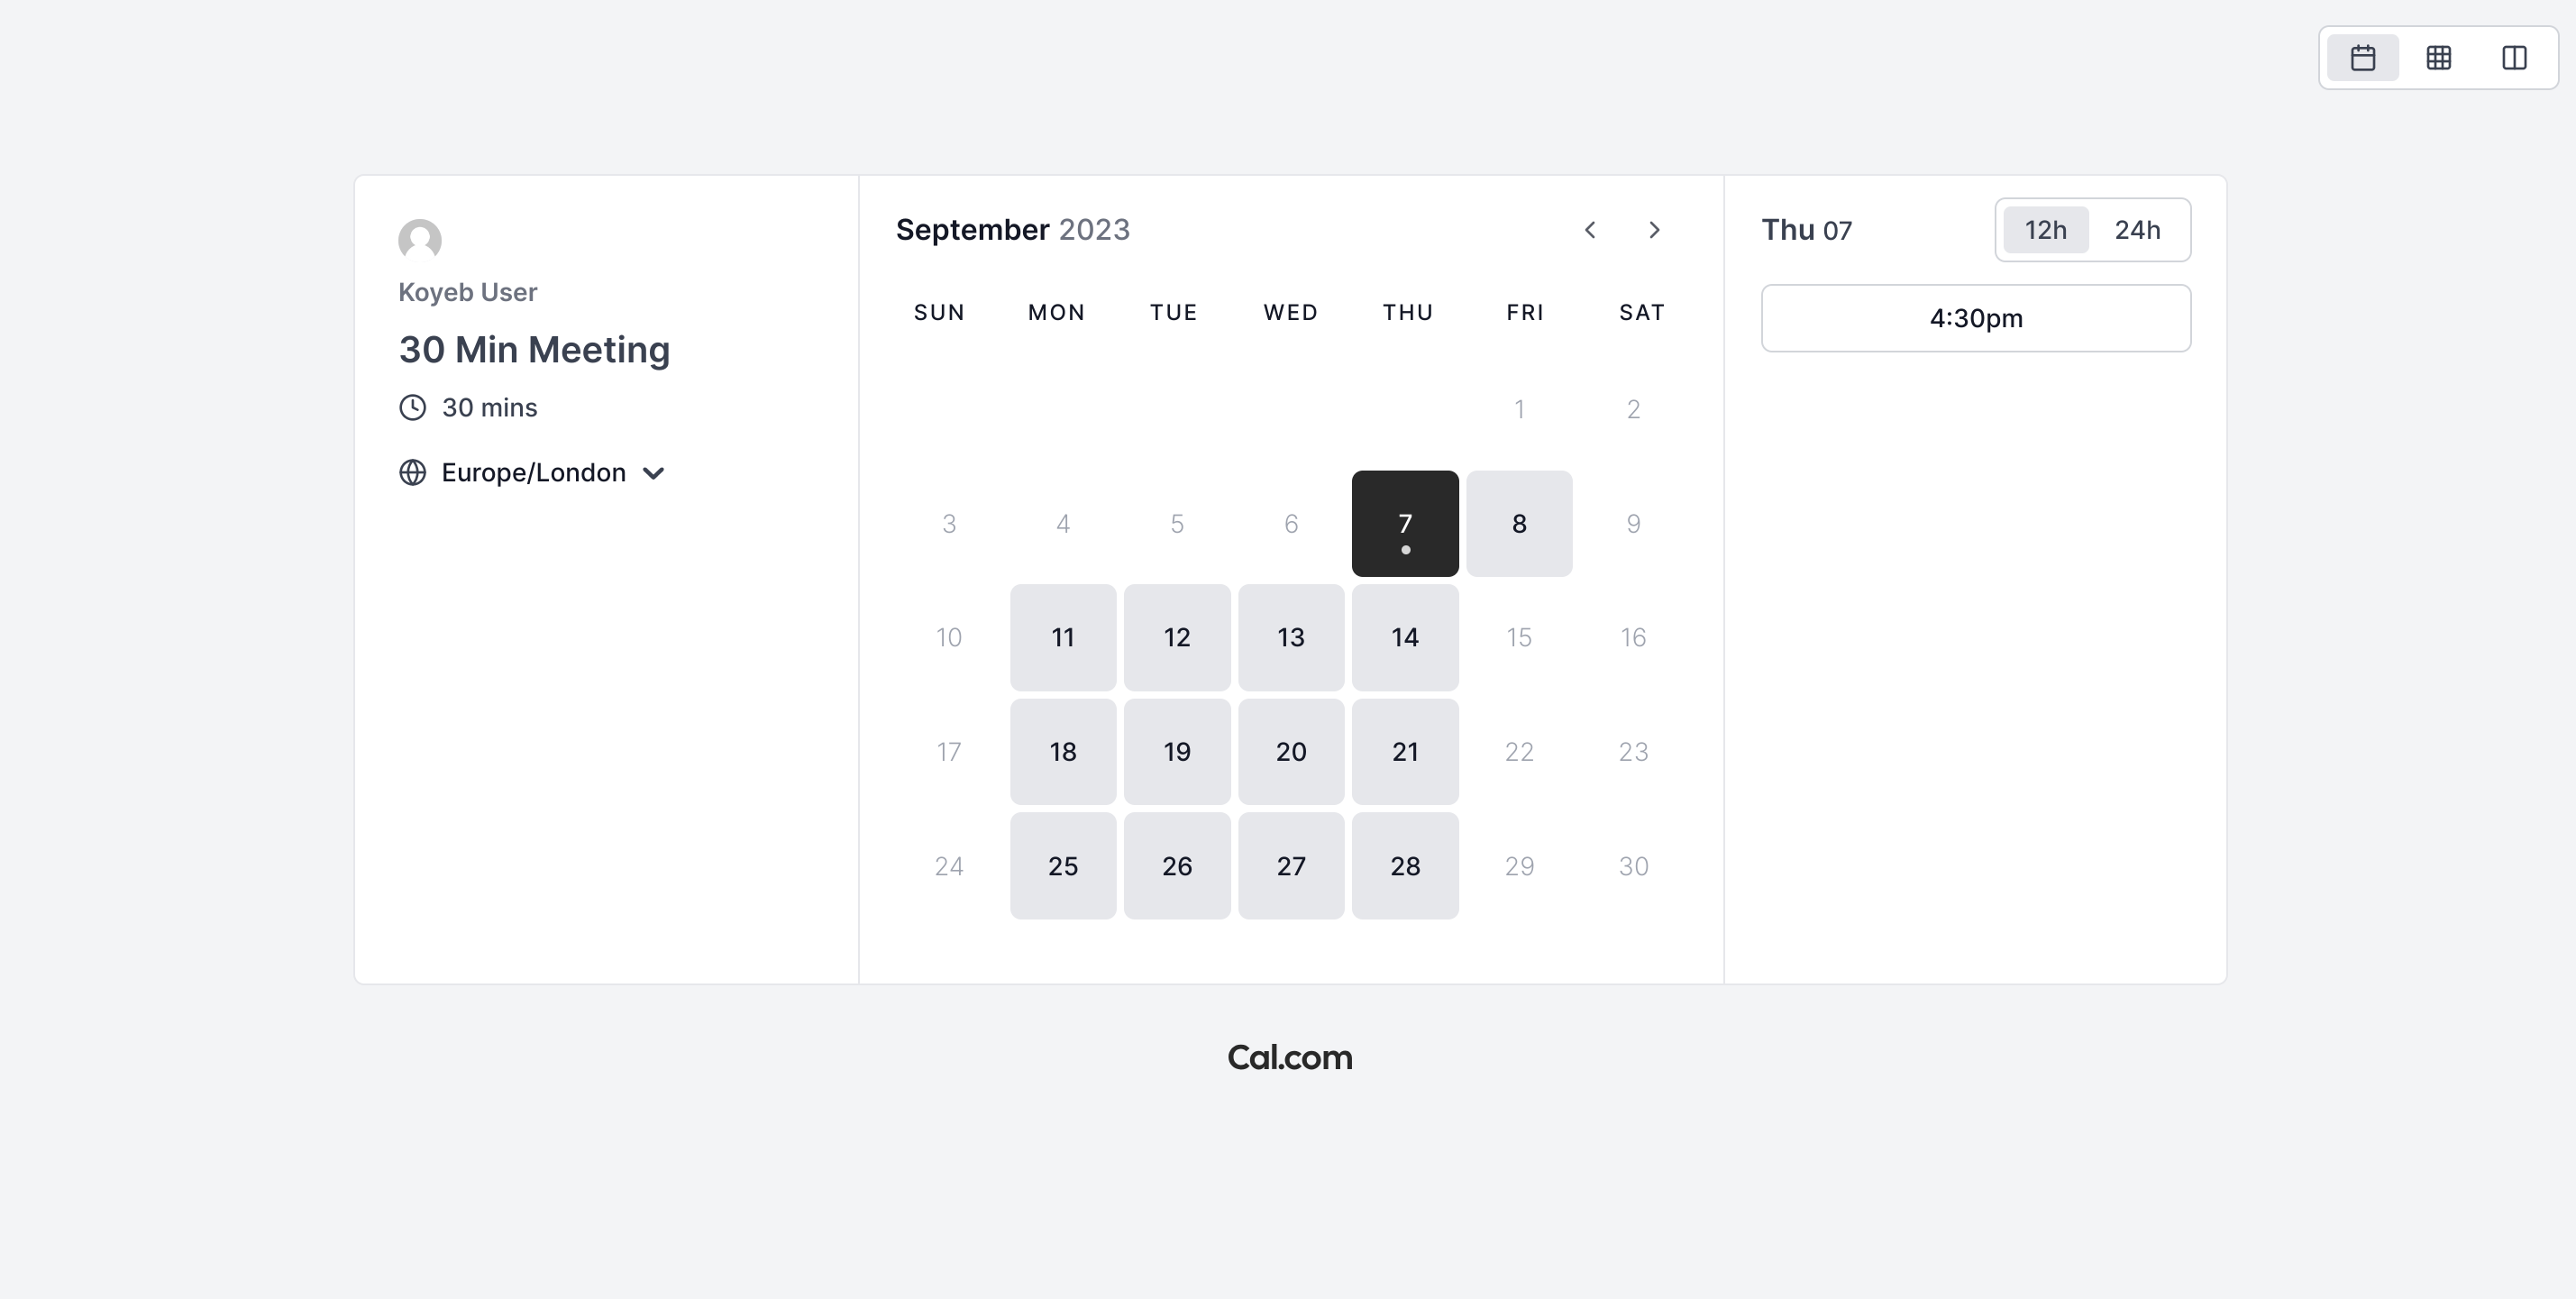
If you take a look at the available slots, you should be able to confirm that:
- All available slots fit into the scheduling windows you configured for your account. You can change these windows at any time by clicking Availability in the left sidebar menu of your Cal.com user dashboard.
- The available slots take into account the events that are already on your Google calendar.
Select an open timeslot from the list of options. You can enter your details on the next page to add meeting notes and enter your personal details:
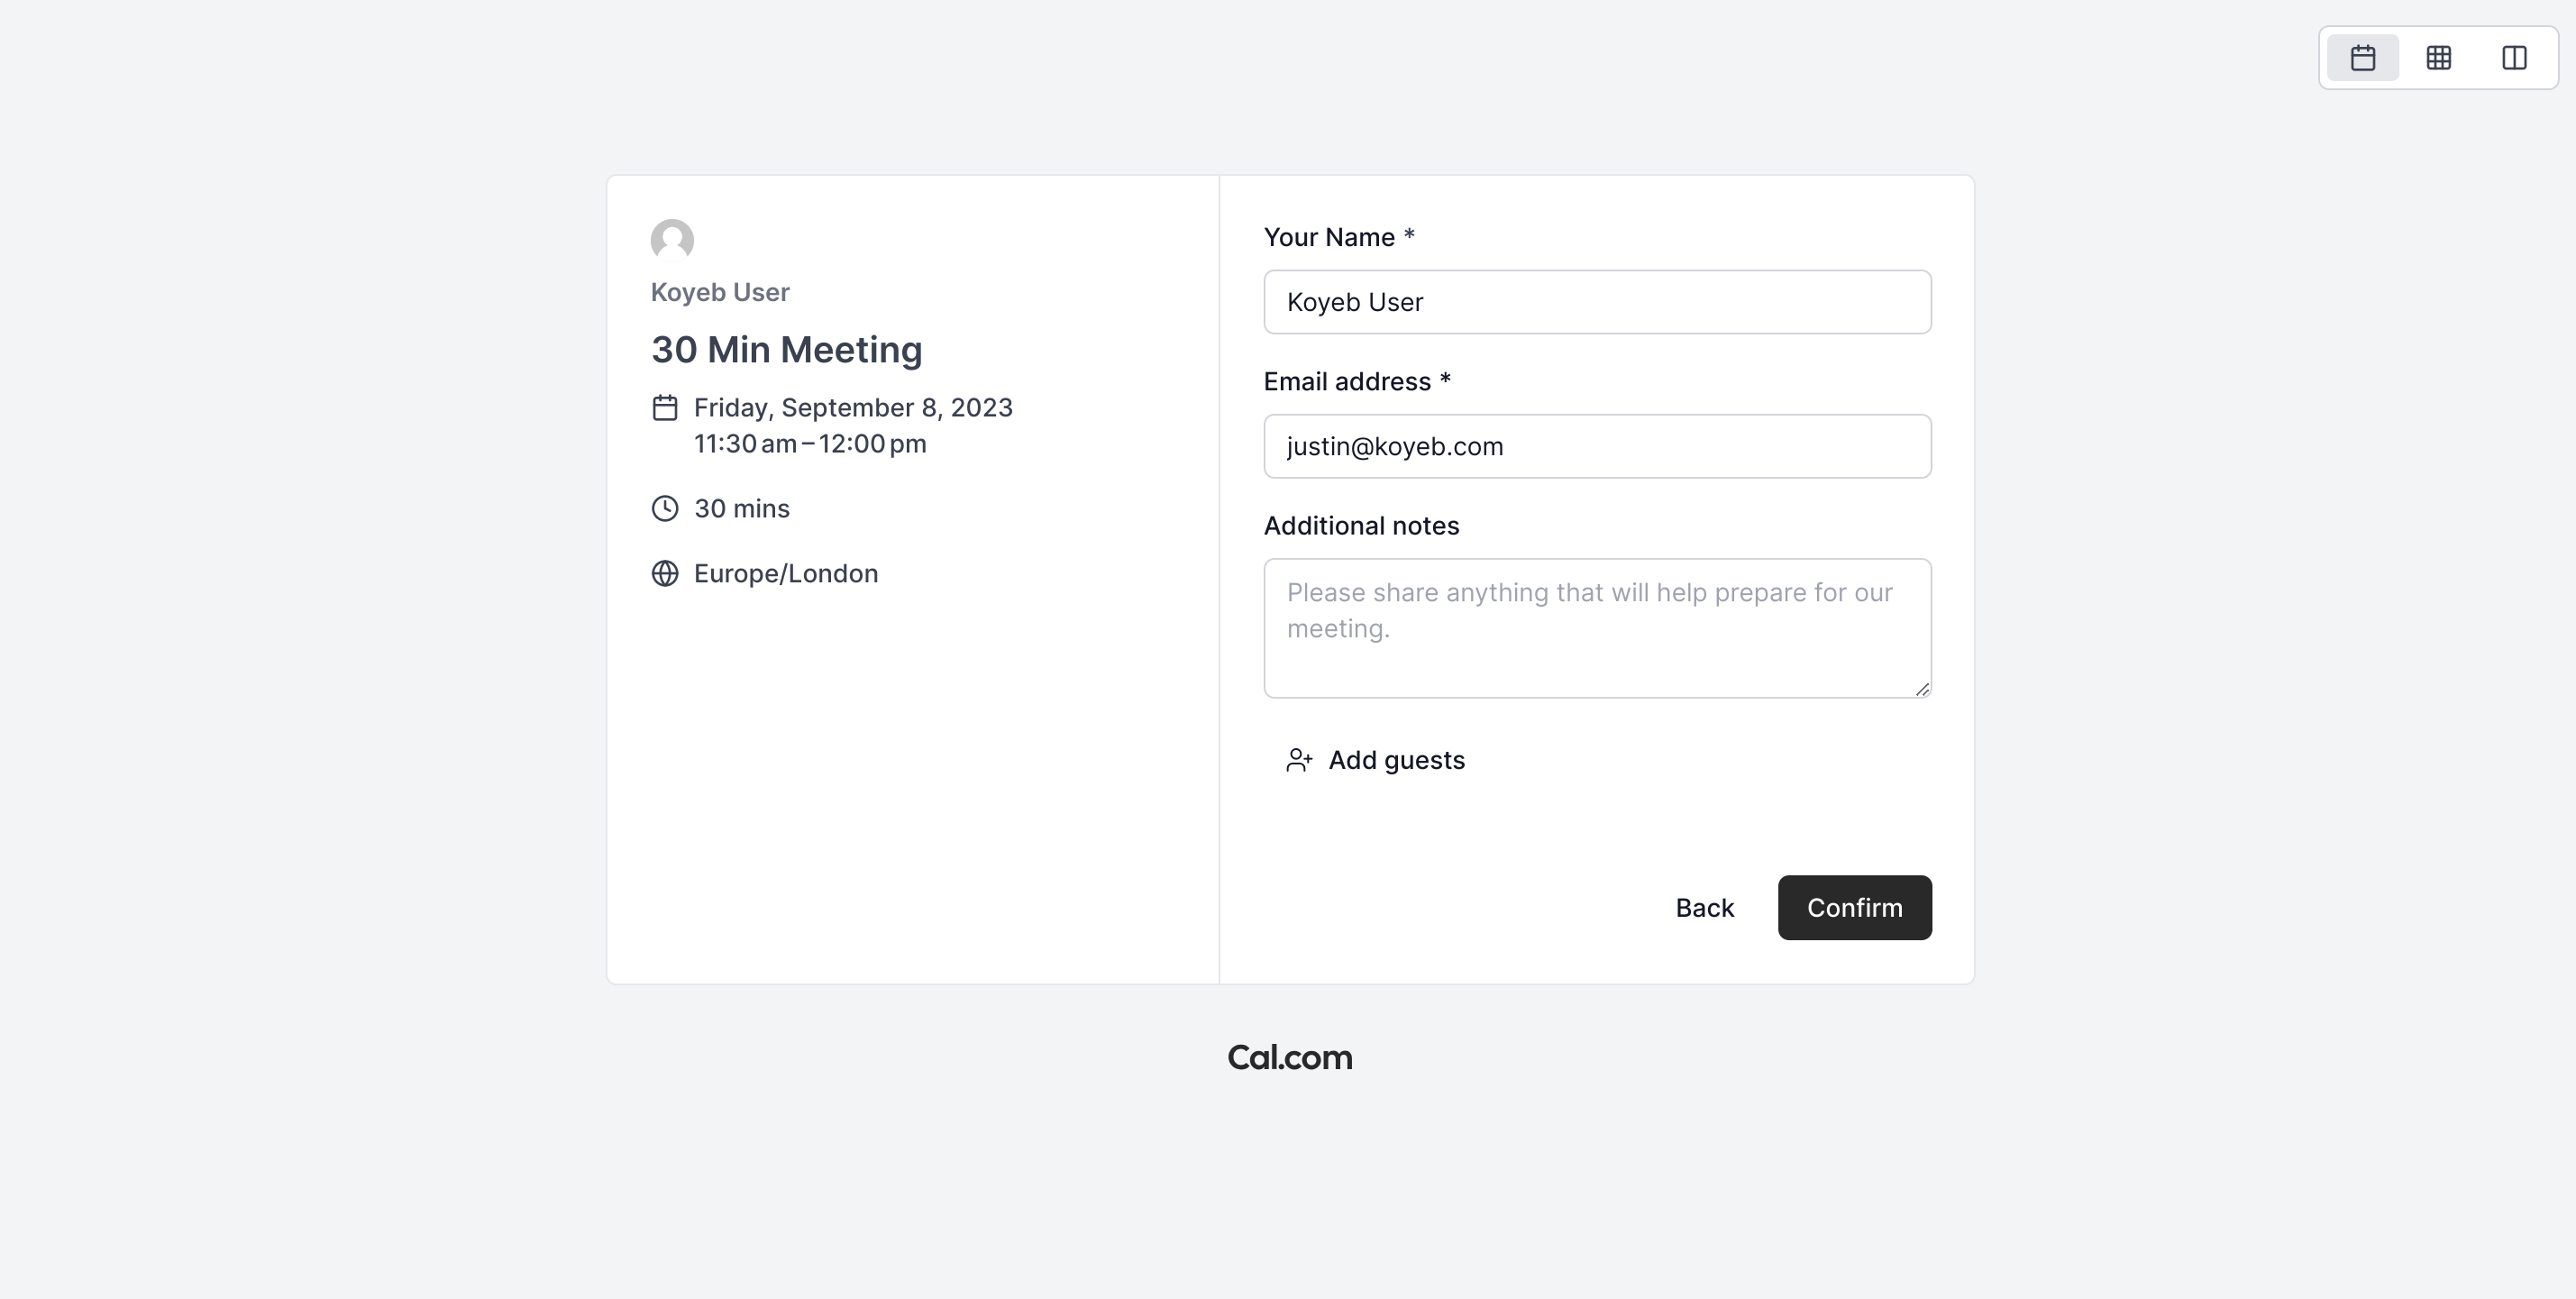
Click Confirm when you are finished to book a new meeting.
You'll get confirmation that the meeting was scheduled successfully:

You should be able to confirm the meeting in a number of ways:
- As the owner of the schedule, you should receive an email informing you that someone has added a meeting to your calendar.
- As the person requesting the meeting, you should receive an email confirming the invitation and providing any relevant details.
- The new meeting should appear on your calendar as expected.
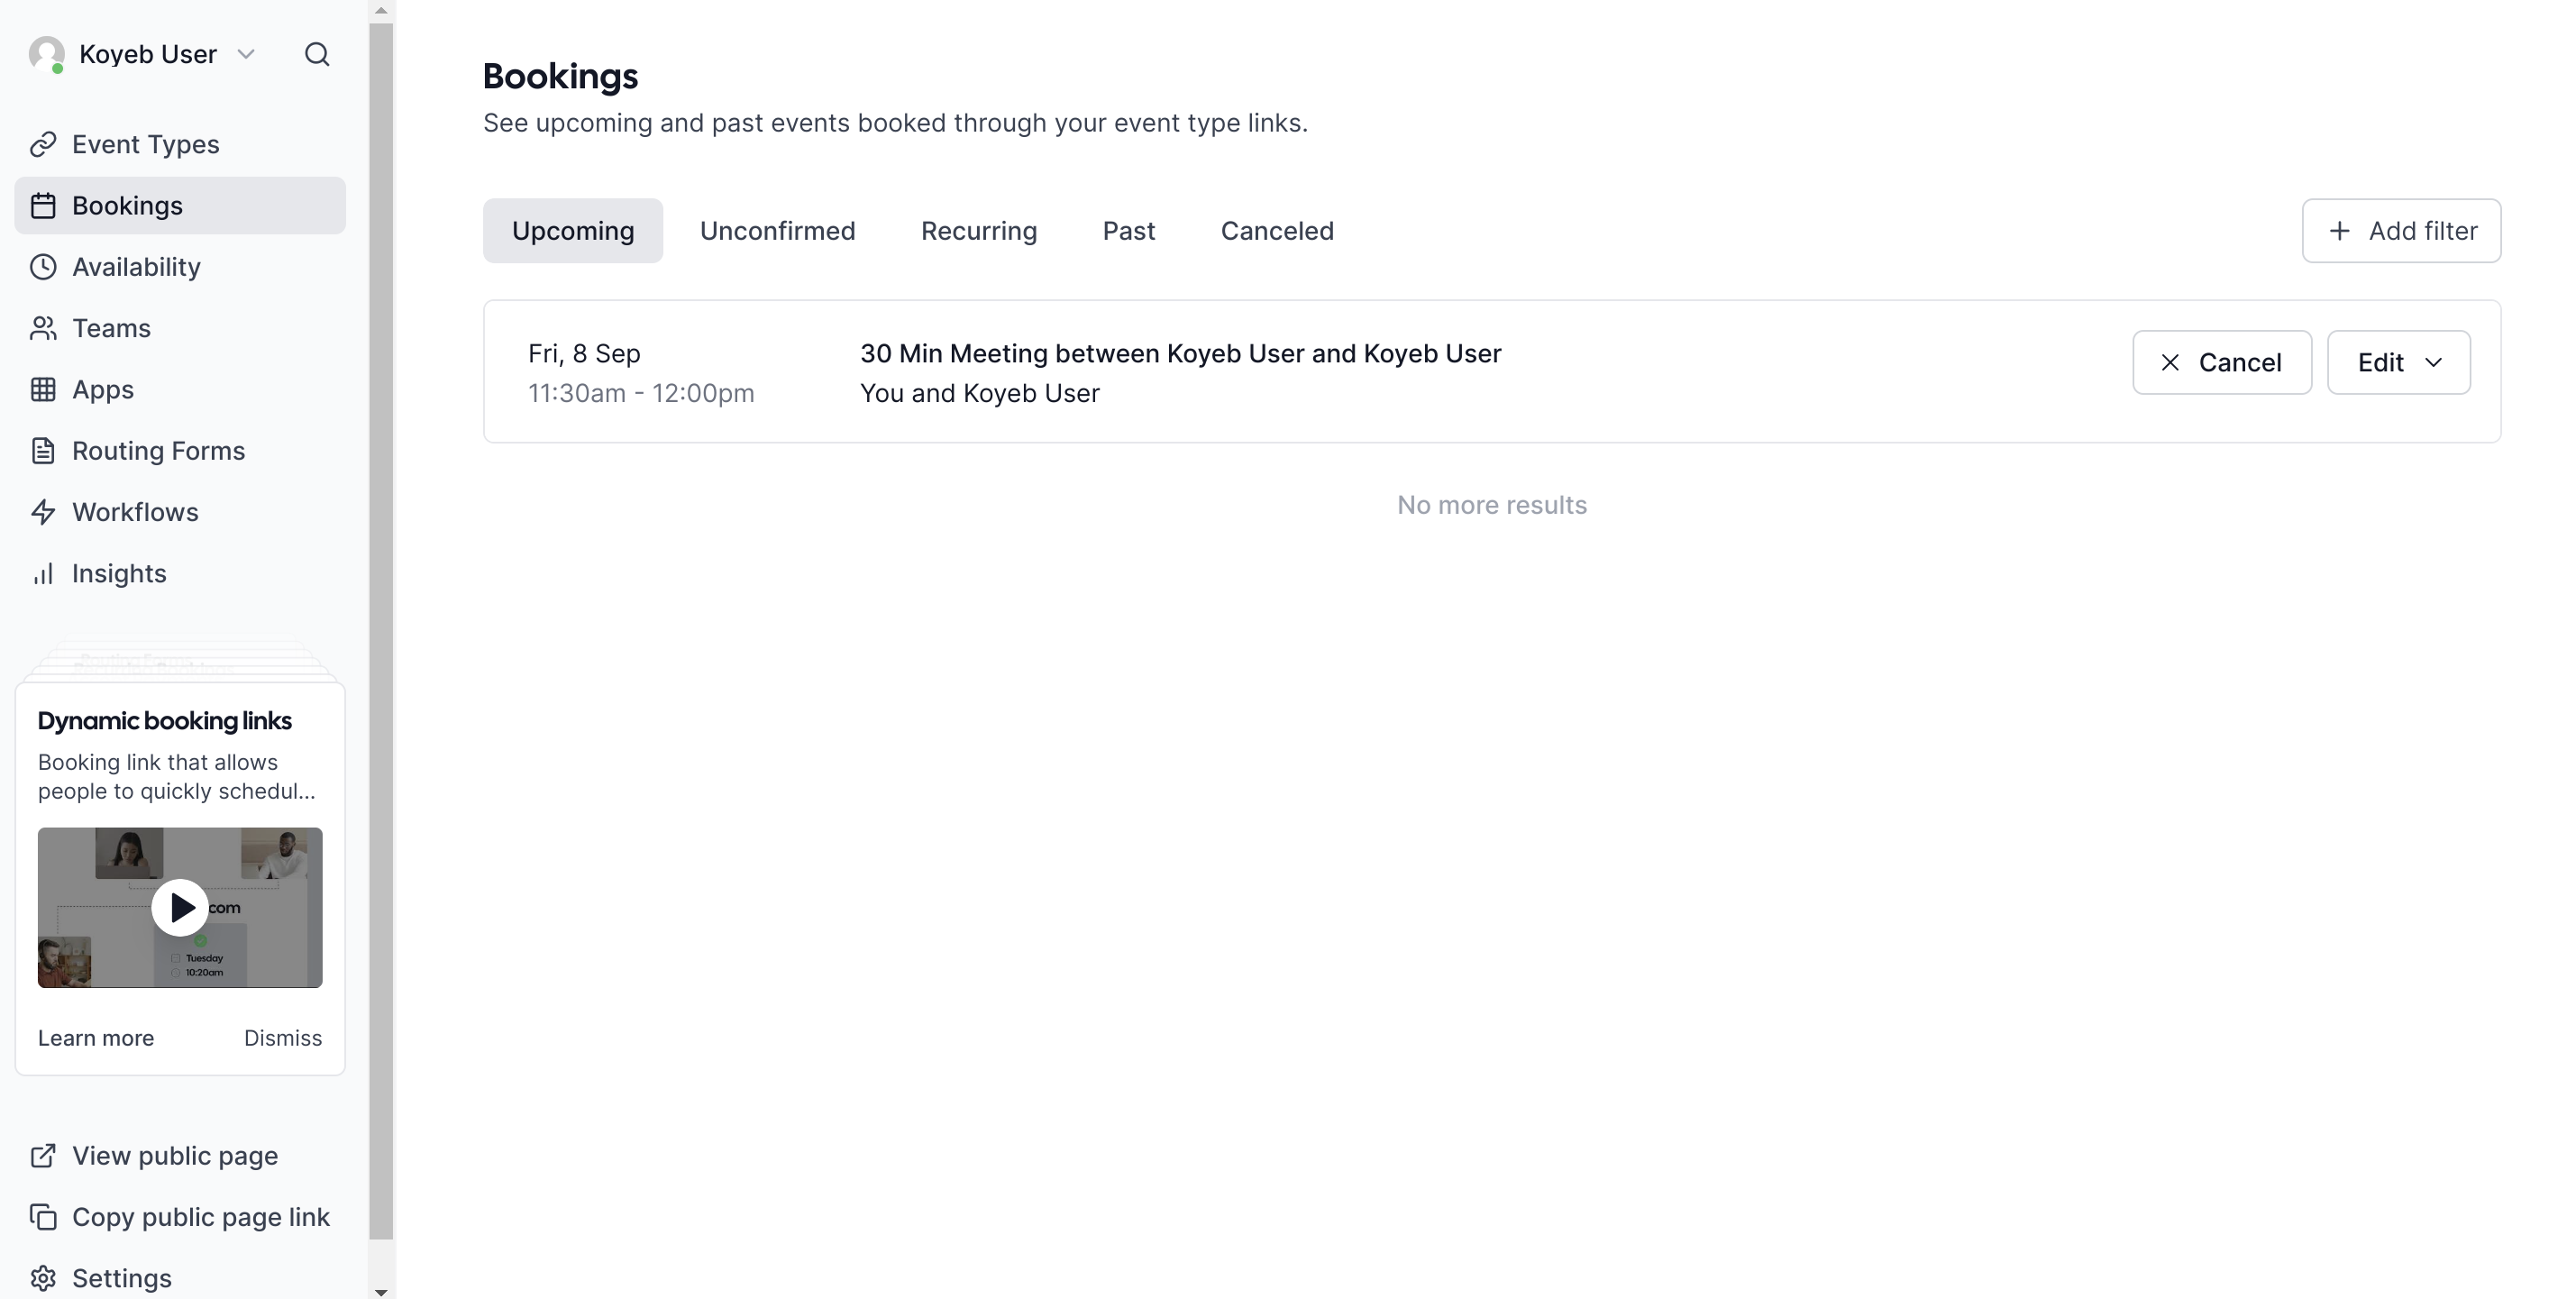
- In the Cal.com dashboard, if you select Bookings in the left sidebar menu, you should see the event in the Upcoming tab.
After confirming the creation was successful, click the Cancel button associated with the event on the Bookings page:
Provide a reason for the cancellation and click Cancel event:
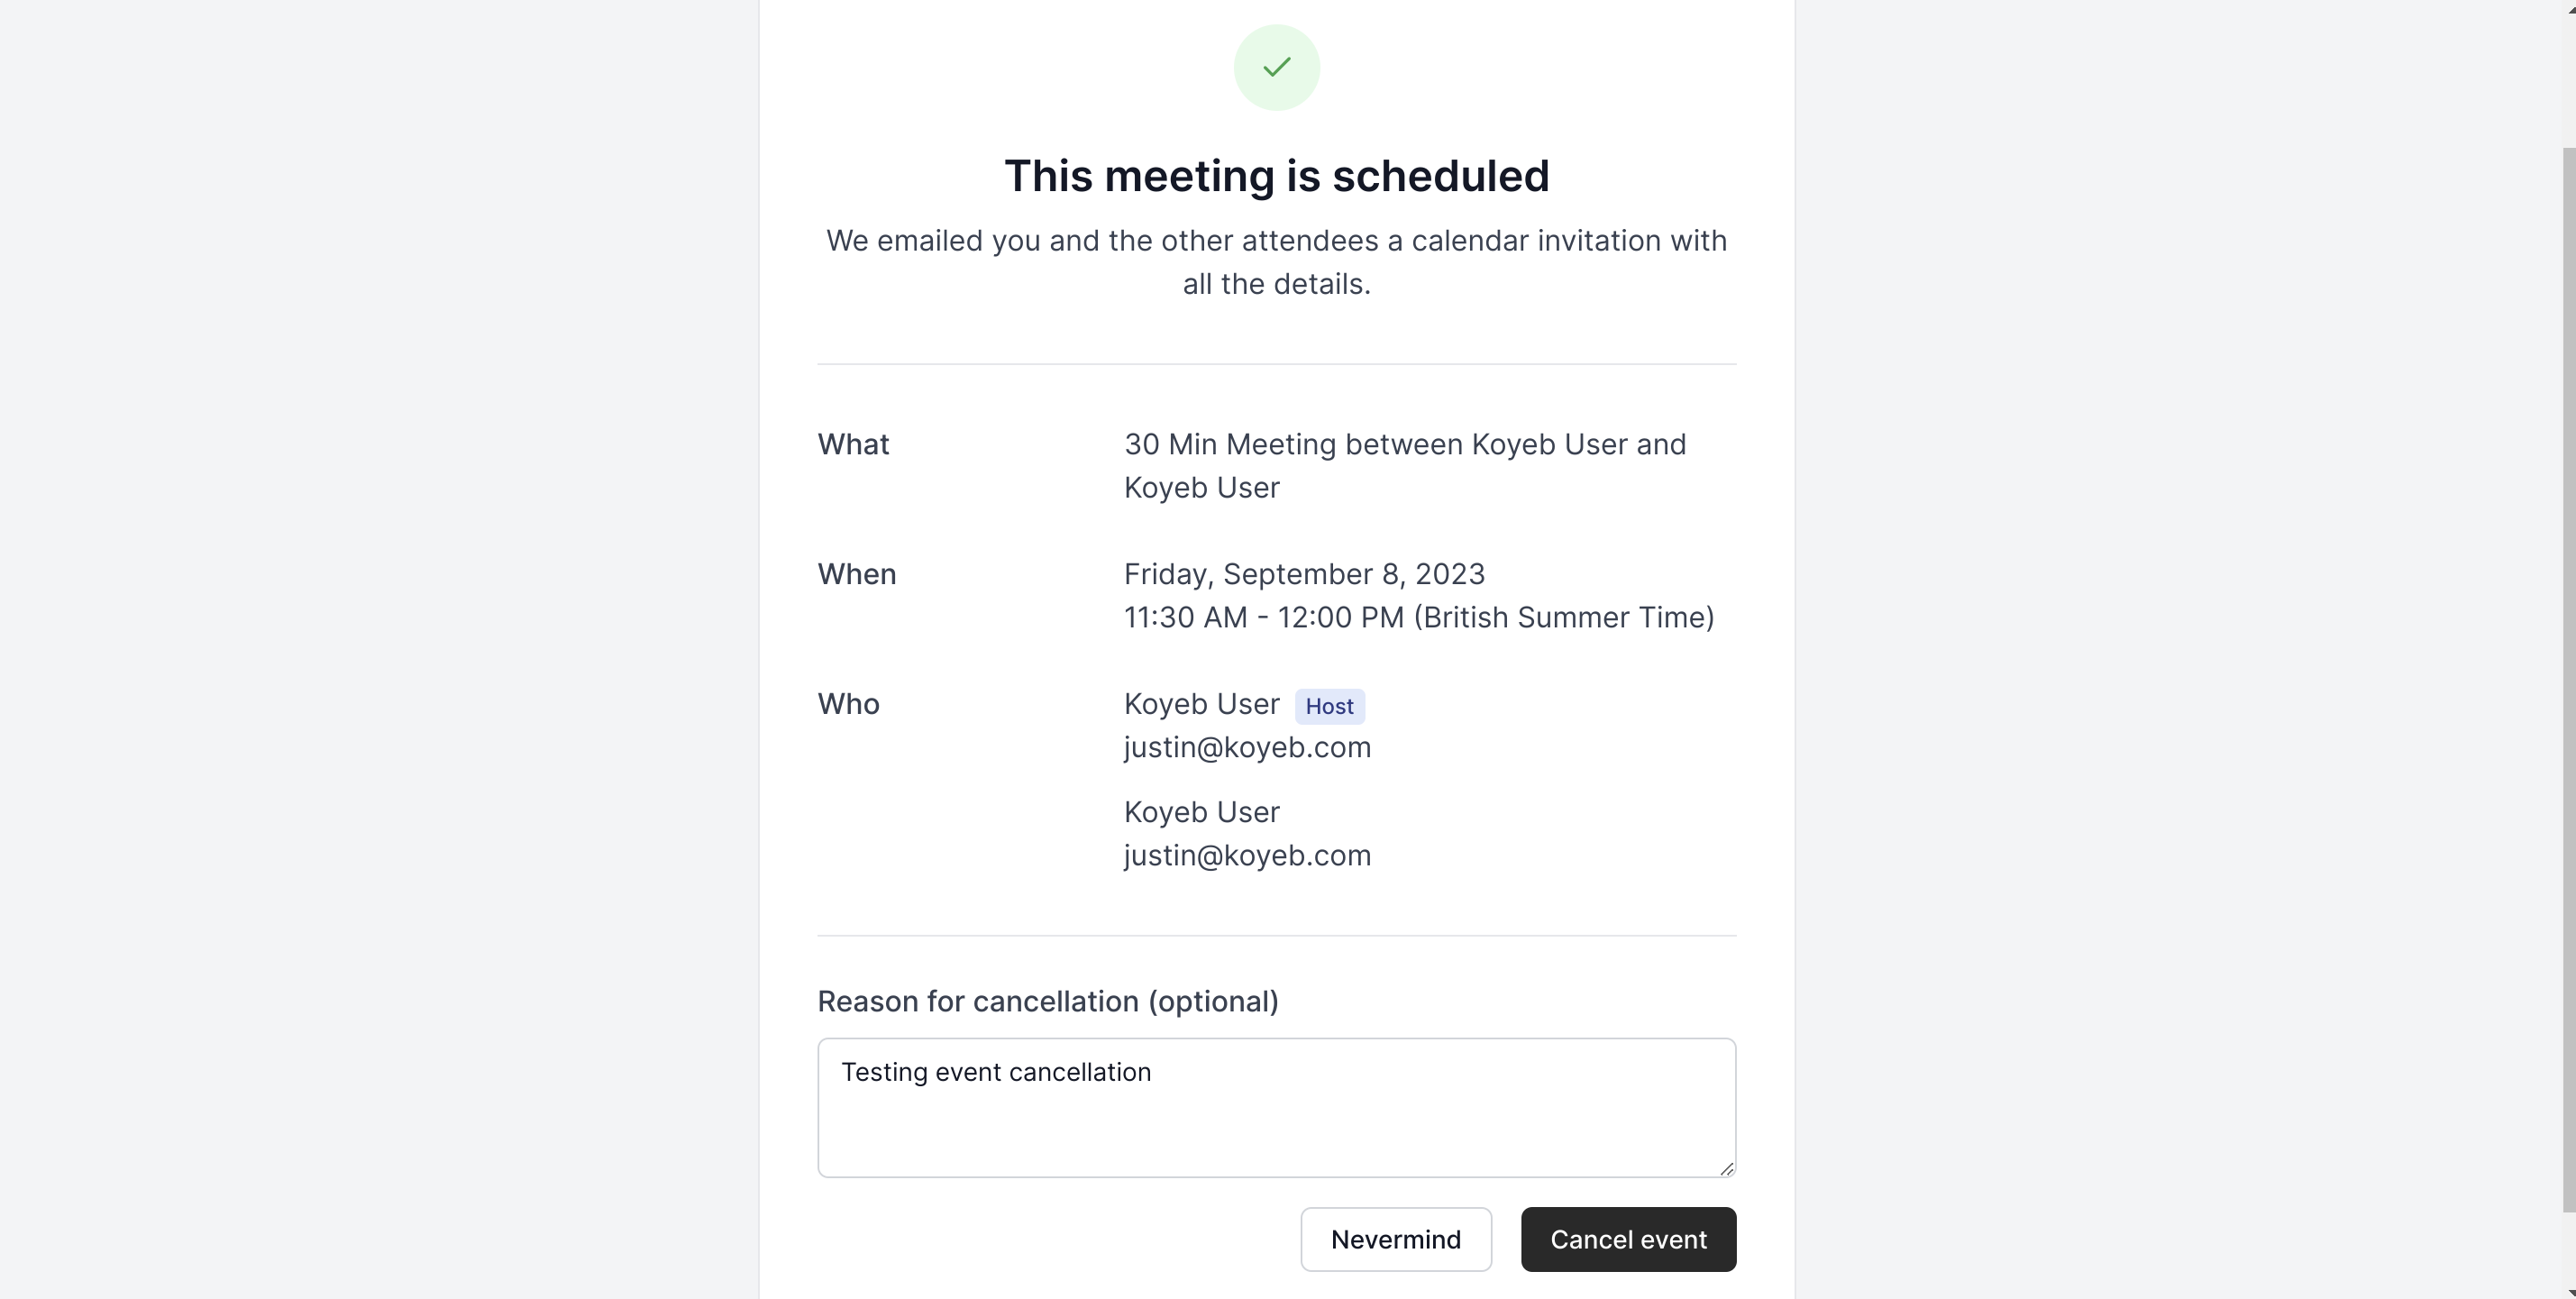
You should be able to confirm the cancellation in the same four places you checked earlier.
Conclusion
In this guide, we deployed and configured a Cal.com instance to Koyeb. The scheduling application is backed by a PostgreSQL database provided by Neon and configured to use Mailgun for transactional emails. Once we launched the application, we configured the Google calendar integration and tested some of the scheduling workflows to confirm that everything works as expected.
You can continue to configure your Cal.com instance by enabling and configuring additional apps in the Cal.com app store. You can find out the configuration details for some of the most popular options in the Cal.com documentation on installed apps. The general process will look much like what we did for the Google calendar integration (create credentials in the associated service, redeploy Cal.com with additional environment variables, and then configure the app). Because all of the data is stored elsewhere, redeploying your application on Koyeb or upgrading to a larger instance if you need additional performance is simple, allowing you to grow as your needs change.